
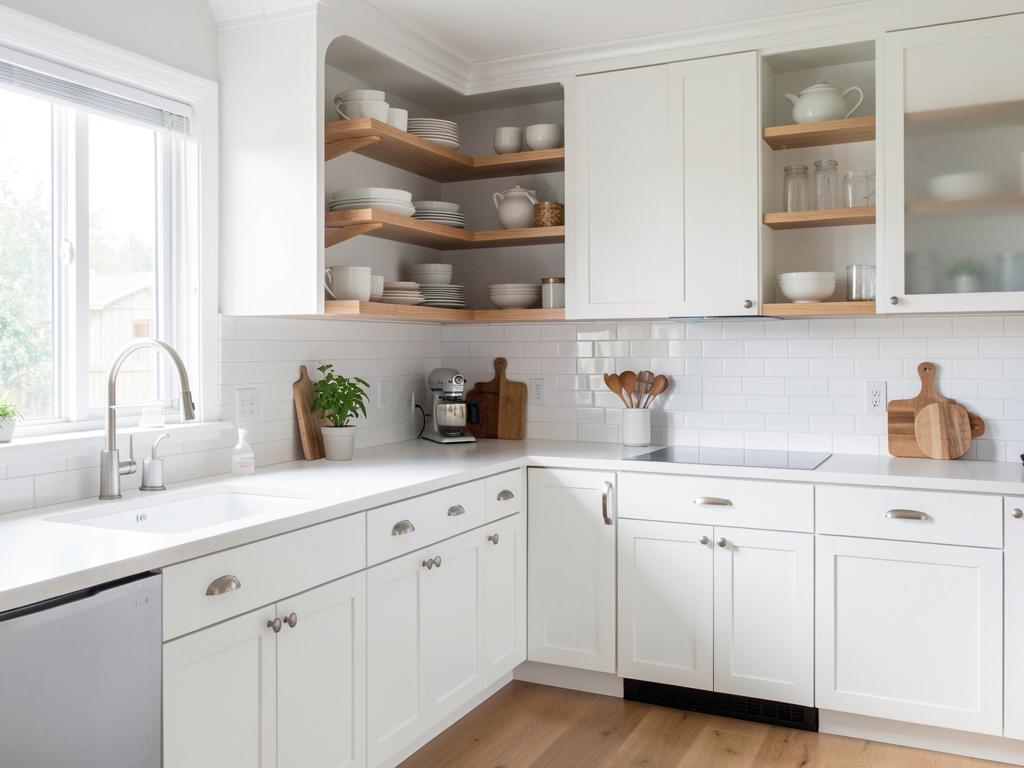
Painting kitchen cabinets is one of the best ways to refresh your kitchen without spending thousands. This guide shows you every step from prep to finish.
Quick Verdict: In short, painting kitchen cabinets takes 3-5 days, costs about $100-$300 in supplies, and transforms your kitchen when you use proper prep, high-quality primer, and a paint sprayer or foam roller. The key is patience and cleaning the surfaces thoroughly before you begin.
Key Takeaways
- You must clean, degrease, and sand your cabinets before painting to ensure the paint sticks.
- Using a high-bonding primer designed for laminate or wood cabinets prevents peeling later.
- Painting cabinet doors flat (not standing) avoids drips and gives a smooth finish.
- A paint sprayer delivers the most professional look, but foam rollers work well for beginners.
- Let each coat dry completely – at least 8 hours – before adding the next layer.
Tools and Materials You Will Need
| Category | Item | Estimated Cost |
|---|---|---|
| Cleaning | TSP or degreaser, sponge, bucket, microfiber cloths | $15 |
| Sanding | 120-220 grit sandpaper, sanding block, tack cloth | $10 |
| Primer | High-bonding primer (Zinsser BIN or similar) | $20 |
| Paint | Semi-gloss or satin acrylic latex paint (1 gallon) | $40-$60 |
| Application | Foam roller (4-inch), high-quality brush, paint sprayer (optional) | $15-$80 |
| Protection | Drop cloths, painter’s tape, gloves, mask | $20 |
Total you will typically spend between $100 and $200 for a standard 10-door kitchen. A paint sprayer adds $80 if you buy one, but you can rent it for $30 per day.
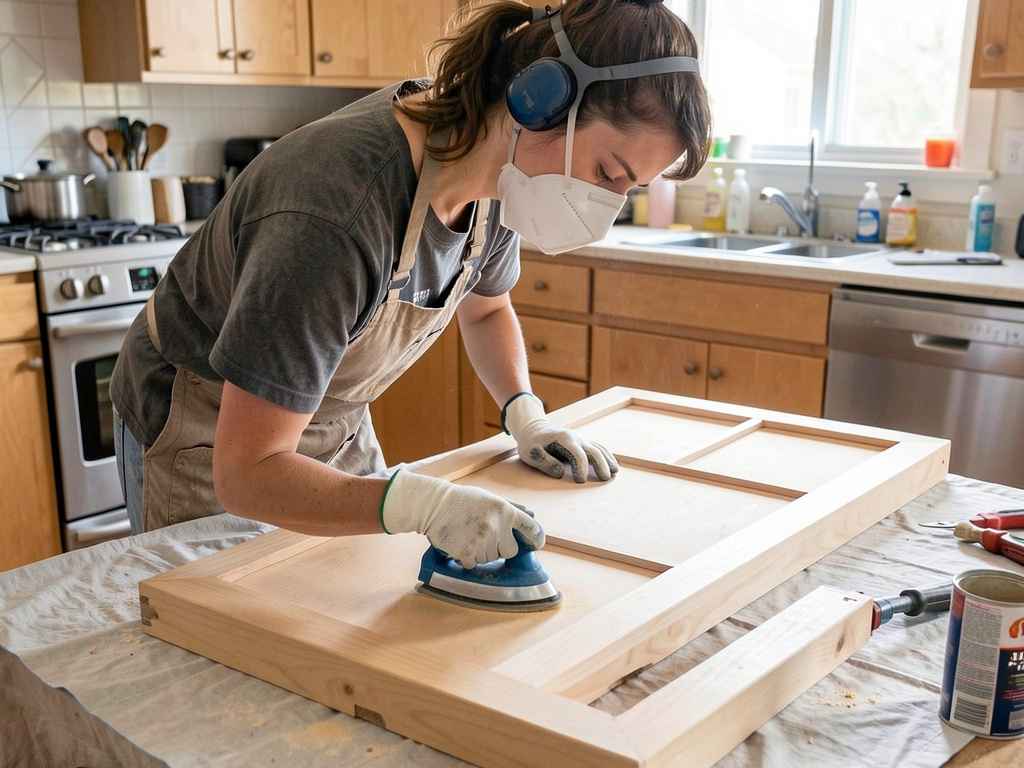
Step-by-Step Process to Paint Kitchen Cabinets
Follow these steps in order. Skipping any step will cause the paint to chip or peel within months.
Step 1 – Remove Doors, Drawers, and Hardware
Take off all cabinet doors and drawers. Label each one with painter’s tape on the back so you know where it goes. Remove all hinges, knobs, and pulls. Store the hardware in a plastic bag per door to keep pieces together.
- Use a screwdriver or drill to remove hinges.
- Label the back of each door with a number and a corresponding number on the inside of the cabinet frame.
- Place screws and hardware in separate zip‑lock bags labeled with the same number.
Tip: Take a photo of your cabinets before you remove anything. This helps you put the hardware back exactly the same way.
Step 2 – Clean the Cabinets
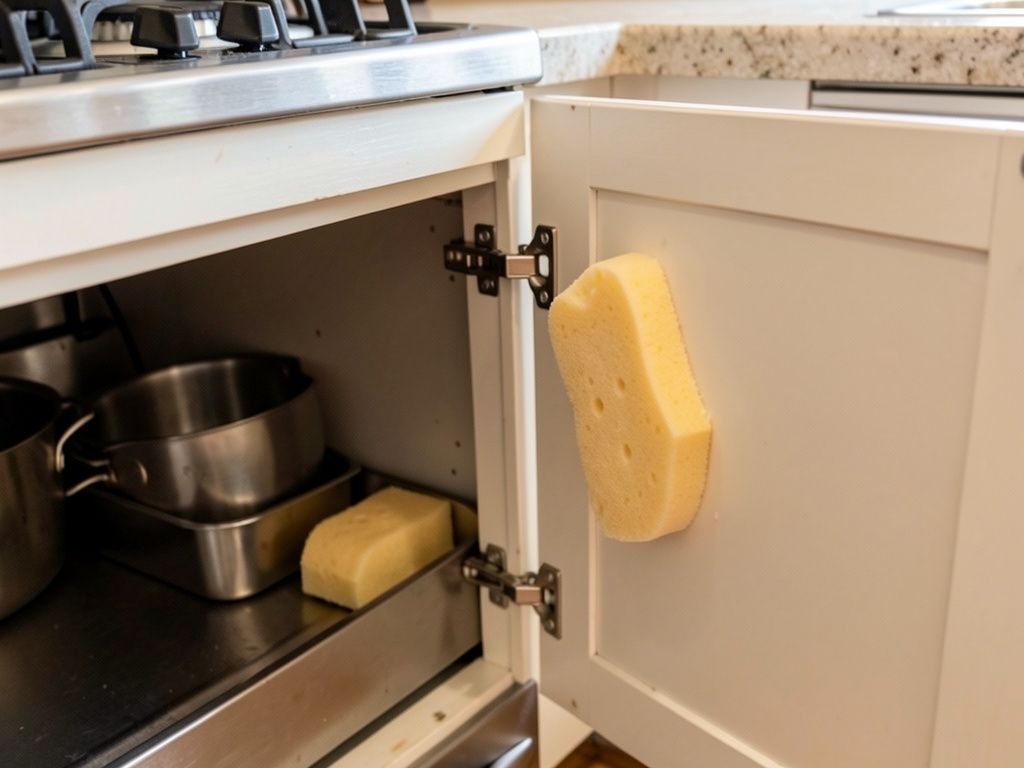
Grease and grime are the biggest enemies of painted cabinets. Mix a solution of TSP (trisodium phosphate) with warm water according to the package directions. Use a sponge to scrub every surface. Rinse with clean water and let dry completely.
- Pay extra attention to the areas near the stove and sink where oil builds up.
- Use a degreaser if TSP is not available. Avoid all‑purpose cleaners that leave a residue.
- Wipe down with a tack cloth to remove any dust after drying.
Warning: Do not skip cleaning. Even a thin layer of grease will cause the primer to bubble or fail. According to the Paint Quality Institute, dirty surfaces cause 80% of cabinet paint failures.
Step 3 – Sand the Surfaces
Sanding creates a rough surface that helps primer and paint stick. Use 120‑grit sandpaper for the first pass and then 220‑grit for a smooth finish. Sand all flat areas and edges.
- Sand by hand or with a sanding block for control.
- Do not sand so hard that you remove the veneer. You only need to scuff the glossy finish.
- After sanding, wipe everything with a tack cloth to remove dust.
According to the National Kitchen and Bath Association, proper sanding can triple the lifespan of your painted cabinets.
Step 4 – Apply Primer
Primer is essential. Choose a high‑bonding, stain‑blocking primer. Zinsser BIN shellac‑based primer works well for wood and laminate. Apply a thin, even coat using a foam roller for flat surfaces and a brush for corners. Let it dry for the time stated on the can – typically 1 to 2 hours. Lightly sand with 220‑grit after drying and wipe clean.
Tip: Apply a second coat of primer if you are covering dark wood or if the cabinets have heavy stains. A solid white base ensures your top coat looks even.
Step 5 – Paint the Cabinet Frames
Paint the cabinet boxes while the doors are off. Use a brush for corners and recessed areas. Use a mini foam roller for the flat panels. Work from the top down to catch drips. Let the first coat dry for 4 to 6 hours, then apply a second coat. Wait overnight before painting the doors.
Step 6 – Paint the Doors and Drawer Fronts
Lay the doors flat on a drop cloth. This prevents drips and gives a smooth finish. Use a foam roller for the large flat areas. Use a high‑quality brush for the edges and any routed details. Apply thin coats – two to three coats are typical. Let each coat dry at least 8 hours.
- Start with the back of the door so any small imperfections are less visible on the front.
- Roll in one direction for a consistent texture.
- Brush out any drips immediately.
Step 7 – Reassemble the Cabinets
After the final coat dries for at least 24 hours, reattach the doors. Use your labeling system to put them in the correct positions. Reinstall the hardware. Wait another 24 to 48 hours before using the cabinets to let the paint fully cure.
What to Expect: Timeline and Drying
The entire process takes between 3 and 5 days. The fastest you can complete it is a long weekend if you work efficiently.
| Phase | Time Required | Notes |
|---|---|---|
| Removal + cleaning | 2-3 hours | Include drying time after cleaning |
| Sanding + primer | Half a day (with drying) | Two primer coats mean more time |
| Painting – 2 coats | 1.5 days (with drying between) | Do not rush drying |
| Reassembly + curing | 1-2 days | Cure before heavy use |
The paint needs a full 30 days to reach maximum hardness. Be gentle with the cabinets during the first month. Avoid slamming doors or scrubbing them hard.
Common Mistakes to Avoid When Painting Kitchen Cabinets
- Skipping the degreasing step – Grease causes the paint to peel. Clean with TSP even if the cabinets look clean.
- Using wall paint – Wall paint is too soft for cabinets. Use a durable acrylic latex or a specially formulated cabinet paint.
- Applying thick coats – Thick coats drip and take forever to dry. Thin, even coats give better results.
- Not labeling doors – Trying to match doors to frames later leads to gaps and misaligned hinges. Label everything.
- Painting the hinges – Paint on hinges wears off quickly and makes doors hard to adjust. Remove or use new hinges.
Warning: Never paint over laminate or thermofoil without proper primer. These slick surfaces repel paint. Use an adhesion primer specifically made for plastic laminates.
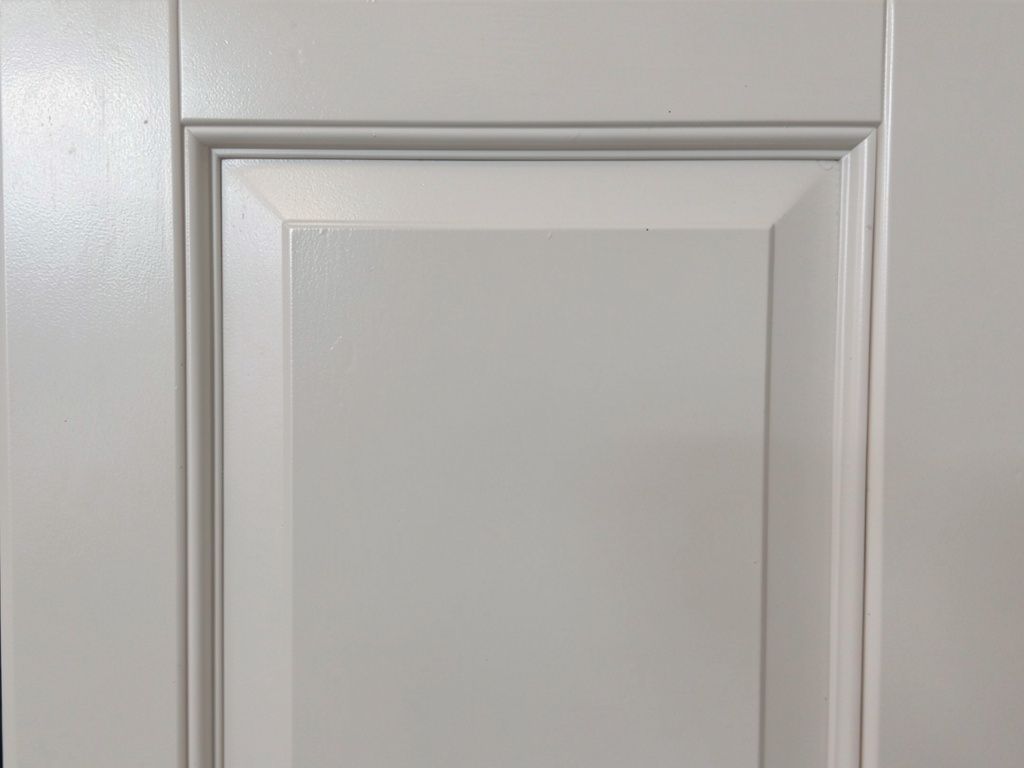
Pro Tips for a Professional‑Looking Finish
- Use a cabinet paint additive like Floetrol to extend drying time and reduce brush marks.
- Keep a wet edge when painting – work in small sections and blend quickly.
- Lightly sand between coats with 320‑grit sandpaper to remove dust nibs.
- Paint cabinet crown molding separately if you have it – it is easier to handle off the cabinet.
- Let the final coat cure for a full week before putting dishes or heavy pots inside.
Important: A high‑quality brush makes a huge difference. Use a brush with nylon/polyester bristles for the smoothest application on edges and trim.
Frequently Asked Questions
Can I paint kitchen cabinets without sanding?
You can use a liquid deglosser instead of sanding, but sanding is still better for adhesion. A liquid deglosser cleans and etches the surface. Make sure you follow the product directions. Even with deglosser, a bonding primer is required.
What kind of paint is best for kitchen cabinets?
Acrylic latex paint with a semi-gloss or satin sheen works best. It is durable, easy to clean, and does not yellow like oil‑based paints. According to Consumer Reports, semi-gloss holds up better against grease and moisture.
How long does painted cabinet paint last?
With proper prep and quality paint, cabinets can look good for 5 to 10 years. High‑traffic areas like the handle zone may need touch‑ups sooner. Using a top coat of polyurethane can extend the life.
Do I need a paint sprayer for cabinets?
No, a paint sprayer is not required. Foam rollers and a good brush give excellent results. A sprayer is faster and gives a smoother finish, but it is messier and requires more setup. Beginners should start with rollers.
Can I paint cabinets that are already painted?
Yes, as long as the existing paint is in good condition. Lightly sand the current paint to create a rough surface, clean it, then prime and paint. If the existing paint is peeling, strip it first before painting.
Final Thoughts
Painting kitchen cabinets is a rewarding weekend project that saves you thousands compared to a full remodel. Focus on cleaning, priming, and applying thin coats. Take your time between steps. With patience, you will get a beautiful, long‑lasting finish that transforms your entire kitchen.