
Installing kitchen cabinets yourself can save you thousands of dollars on a kitchen remodel. This guide walks you through every step, from preparing the room to hanging the final door.
Quick Verdict: Simply put, installing kitchen cabinets requires careful planning, the right tools, and a methodical approach. You start by locating wall studs and marking level lines. Wall cabinets go up first, followed by base cabinets. Leveling and shimming each unit is critical for a professional finish. Expect the project to take a full weekend.
Key Takeaways
- You should hang upper cabinets first to avoid reaching awkwardly over lower cabinets during installation.
- Locating and marking every wall stud before drilling is essential for supporting the weight of countertops and dishes.
- Using a long level and a laser level to draw a perfectly level reference line on the wall is non-negotiable for a straight result.
- Screwing cabinets together through the face frames creates a single rigid block that is much stronger than individual boxes.
- Cutting shims from wood shingle packs fills gaps between cabinets and uneven walls for a seamless built-in look.
What You Need Before You Start
Gather all your tools and materials before you open the first cabinet box. Running to the hardware store mid-project adds hours of frustration. This list covers the essentials for a standard how to install kitchen cabinets project.
Tools Required
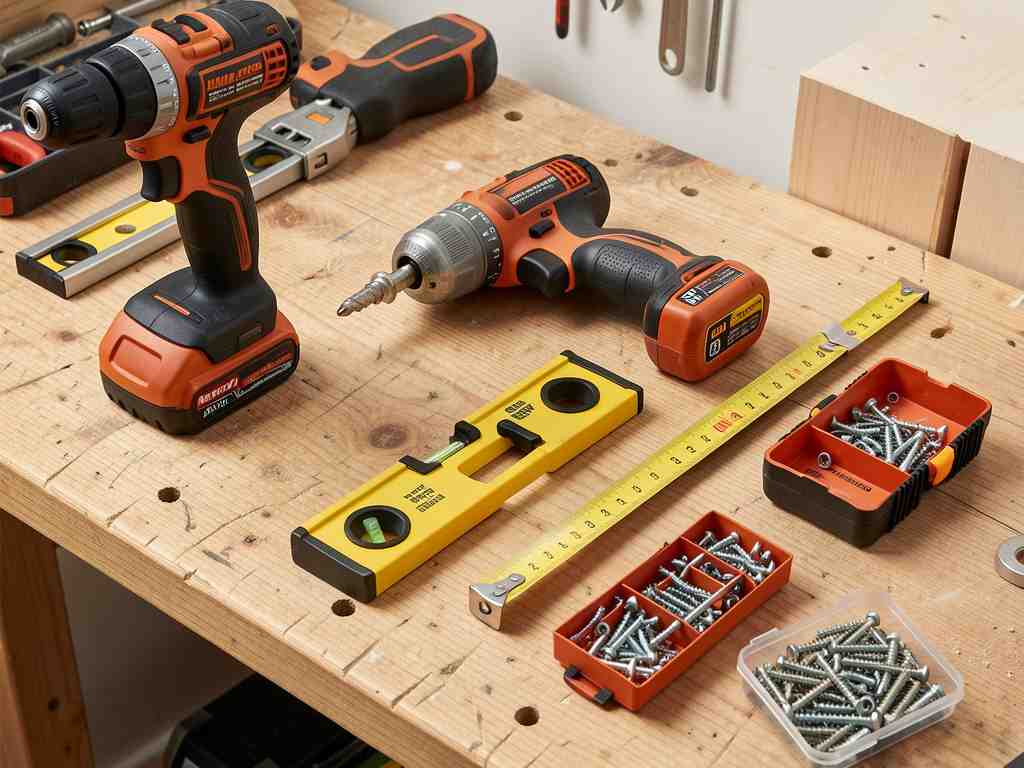
- Cordless drill and impact driver with fresh batteries
- 4-foot bubble level and a laser level for precise lines
- Stud finder capable of detecting wood and metal studs
- Cabinet clamps for holding face frames together
- Circular saw or miter saw for cutting ledger boards and shims
- Tape measure, pencil, and chalk line for layout
- Shims (cedar or composite shingle shims work best)
Materials Required
- 2-1/2 inch cabinet screws for attaching boxes to wall studs
- 1-1/4 inch pan-head screws for joining cabinet face frames
- Wood glue for extra holding strength on face frame joints
- 1×4 lumber for building a temporary ledger board
- Toe-kick trim and filler strips for finishing edges
Important: Do not use drywall screws for cabinet installation. They snap easily under heavy loads. Use only sharp-pointed cabinet screws designed for wood-to-wood connections.
Step-by-Step Process for Installing Kitchen Cabinets
Follow these steps in order for the best results. Skipping ahead or changing the sequence often leads to crooked cabinets and extra work. These instructions apply to both stock cabinets from home centers and custom-built boxes.
-
Step 1: Prepare the Room and Find Studs
Clear the room completely. Remove old cabinets, flooring, and backsplash if they exist. Patch any holes in the drywall and let the patching compound dry. Use a high-quality stud finder to locate every stud in the wall. Mark the center of each stud with a vertical pencil line. Measure 16 inches from the first stud and check for additional studs. Mark these as well. You need a solid connection for every cabinet box.
-
Step 2: Mark the Highest Point and Draw Level Lines
Floors and ceilings are rarely perfectly level. Place a 4-foot level on the floor and slide it along the length of the wall. Find the highest point on the floor. This point determines where your base cabinets will sit. Measure up 34.5 inches from this high point for standard base cabinet height. Draw a perfectly level line at this mark across the entire wall using a laser level. For upper cabinets, measure 18 inches above the countertop line or 54 inches from the floor. Draw another level line. These lines are the bottom of your cabinets.
Warning: Never trust a single measurement from one corner of the room. Always check level across the full wall span. A difference of just 1/8 inch per foot becomes a visible gap over a 10-foot wall.
-
Step 3: Install the Upper Cabinets First
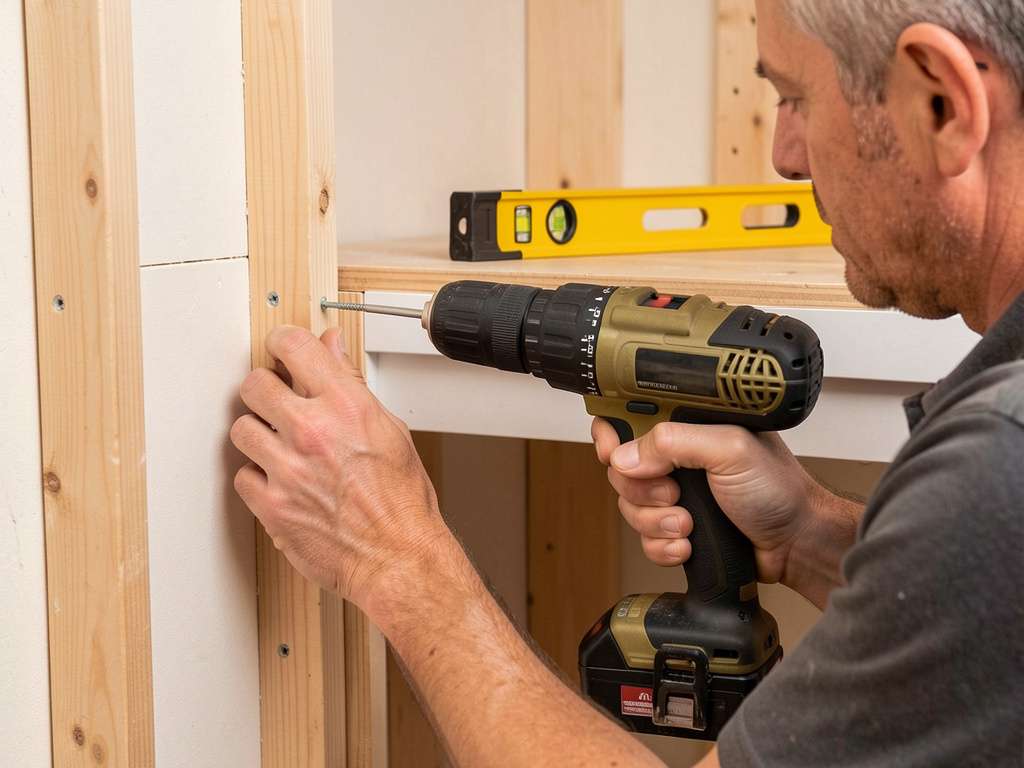
Upper cabinets are easier to install while you have full access to the wall. Build a temporary ledger board by screwing a straight 1×4 board into the studs along your marked level line for the uppers. This board supports the weight of the cabinets while you secure them. Lift the first upper cabinet onto the ledger board. Place shims behind the box where it meets the wall to make it plumb and level. Drill through the back of the cabinet into the wall studs using 2-1/2 inch screws. Attach at least two screws per stud. Repeat for each upper cabinet section, clamping the face frames together before final tightening.
-
Step 4: Hang and Level the Base Cabinets
Position your first base cabinet in the corner. Use shims under the base and behind the back to bring it perfectly level and plumb. Check with a level in both directions. Secure the base cabinet to the wall studs with 2-1/2 inch screws through the hanging strip inside the box. Place the next base cabinet next to the first. Clamp the face frames together. Check that the tops are flush and the faces are in the same plane. Drill pilot holes through the face frames and join them with 1-1/4 inch screws and wood glue.
Tip: Place a level across the top of two cabinets before tightening the clamps. This guarantees a flat surface for your countertop later. Even a small twist in the base cabinets will crack a granite countertop.
-
Step 5: Secure the Cabinets to Each Other and the Wall
Once all cabinets are in place and shimmed, go back and tighten every connection. Screw the cabinet boxes together through the side panels as well as the face frames. This ties the entire row into one solid block. Cut off the visible ends of the shims with a flush-cut saw. Use filler strips to cover gaps between cabinets and the wall. Install toe-kick trim at the bottom of base cabinets to hide the shims and adjusters. This step gives your kitchen a finished, custom appearance.
Important: Use an R2 or R3 screw pattern when joining face frames. Stagger the screws vertically so they do not hit each other inside the frame. Pre-drill the holes to prevent the face frame from splitting.
-
Step 6: Install Doors, Drawers, and Hardware
Install doors and drawers after all boxes are securely mounted. This prevents them from getting damaged during the heavy lifting and leveling phases. Adjust the hinges for consistent gaps around every door. Most modern hinges have three adjustment points: up-down, side-to-side, and in-out. Install drawer slides according to the manufacturer instructions. Attach handles and knobs last. Use a template to keep hardware placement consistent across all doors and drawers.
What to Expect: Timeline and Costs
Knowing the time and budget required helps you plan your project realistically. The size of your kitchen and your experience level are the biggest factors. Here is a breakdown of what to expect when learning how to install kitchen cabinets.
Installation Timeline
| Phase | Time Estimate |
|---|---|
| Room Prep and Demolition | 3 to 4 hours |
| Layout and Level Line Marking | 1 to 2 hours |
| Hanging Upper Cabinets | 4 to 6 hours |
| Installing Base Cabinets | 3 to 5 hours |
| Finishing (Doors and Hardware) | 2 to 3 hours |
Tip: Expect a 10-foot wall of cabinets to take one full day for a first-timer. Add an extra day if you are also installing crown molding or light rail trim on top of the uppers.
Estimated Costs for DIY Installation
| Item | Estimated Cost |
|---|---|
| Drill and Impact Driver Kit | $100 to $300 |
| 4-Foot Level and Laser Level | $50 to $200 |
| Cabinet Screws and Shims | $20 to $50 |
| Wood for Ledger Board and Filler Strips | $10 to $20 |
| Cabinet Clamps | $25 to $60 |
Common Mistakes to Avoid When Installing Cabinets
Even experienced DIYers make errors on cabinet day. Knowing the most frequent mistakes helps you avoid expensive rework. Here are the biggest pitfalls and how to side-step them.
- Not finding wall studs. Cabinet boxes must attach to studs. Anchors into drywall alone cannot support the weight. Use a reliable stud finder and verify your marks by tapping the wall or using a fine nail.
- Assuming walls and floors are perfectly level. Houses settle over time. Never trust the floor or ceiling as a reference. Always draw your own level line and use shims liberally to compensate for uneven surfaces.
- Installing base cabinets first. Base cabinets get in the way when you try to lift heavy upper cabinets into place. Install all wall cabinets first. This gives you unrestricted access to the upper wall area.
- Failing to clamp face frames together before screwing. Without clamps, the face frames shift when you drill. This creates misaligned doors and visible gaps between cabinet boxes. Always clamp, check alignment, then drive screws.
- Over-tightening screws. Cabinet screws are designed to pull wood together, not to bury the head deep into the face frame. Over-tightening splits the wood and strips the connection. Stop turning when the screw head is flush with the frame.
Pro Tips for a Flawless Installation
These strategies come from professional carpenters and cabinet installers. They speed up the process and improve the quality of your final result. Use these tips to make your how to install kitchen cabinets project look like a pro job.
- Build a sturdy ledger board for upper cabinets. Screw a straight 1×4 board into every stud along your level line. It holds the full weight of the cabinet while you drive screws. Remove it when all uppers are secure.
- Clamp the face frames together with cabinet clamps before drilling. Use wood glue between the frames for extra rigidity. Pre-drill the holes to prevent splitting. This creates a single monolithic cabinet run that will not shift over time.
- Use a cabinet jack or an adjustable lift for lifting heavy upper cabinets. A cabinet jack lets you install tall wall cabinets alone. It also prevents back strain when lifting 60-pound boxes above your head.
- Install doors and drawers after all boxes are mounted and leveled. Removing the doors early keeps them safe from dings and dust. It also makes the boxes much lighter to lift and handle.
- Cut shims with a flush-cut saw after the cabinets are attached. Score the shim first with a utility knife to prevent the wood from splintering. A clean shim cut gives a professional look to the toe-kick area.
Frequently Asked Questions
Which goes first, upper cabinets or base cabinets?
Always install upper cabinets first. Base cabinets block your access to the wall area above them. Installing uppers first gives you full freedom to move around and use a ledger board without leaning over lower boxes.
Can I install kitchen cabinets without a stud finder?
It is not recommended. Most walls have studs spaced 16 or 24 inches apart, but they are not always visible. Drilling into hollow drywall without a stud creates a weak connection that can fail under the weight of dishes and countertops.
Do I need a laser level for cabinet installation?
A laser level is strongly recommended for marking level lines across long walls. A 4-foot bubble level works for individual boxes, but a laser gives you a continuous reference line that never wavers across an entire kitchen wall.
How long does it take to install kitchen cabinets?
A standard 10-foot by 12-foot kitchen takes one to two full days for a first-time installer. Professional installers complete the same job in 6 to 8 hours. Plan for a weekend to give yourself time for adjustments and unexpected issues.
Can I install kitchen cabinets alone?
You can install base cabinets alone. Upper cabinets are heavy and awkward to lift overhead. A helper makes the job safer and faster. If you work alone, use a cabinet jack or a temporary ledger board to support the weight while you drive screws.
Final Thoughts
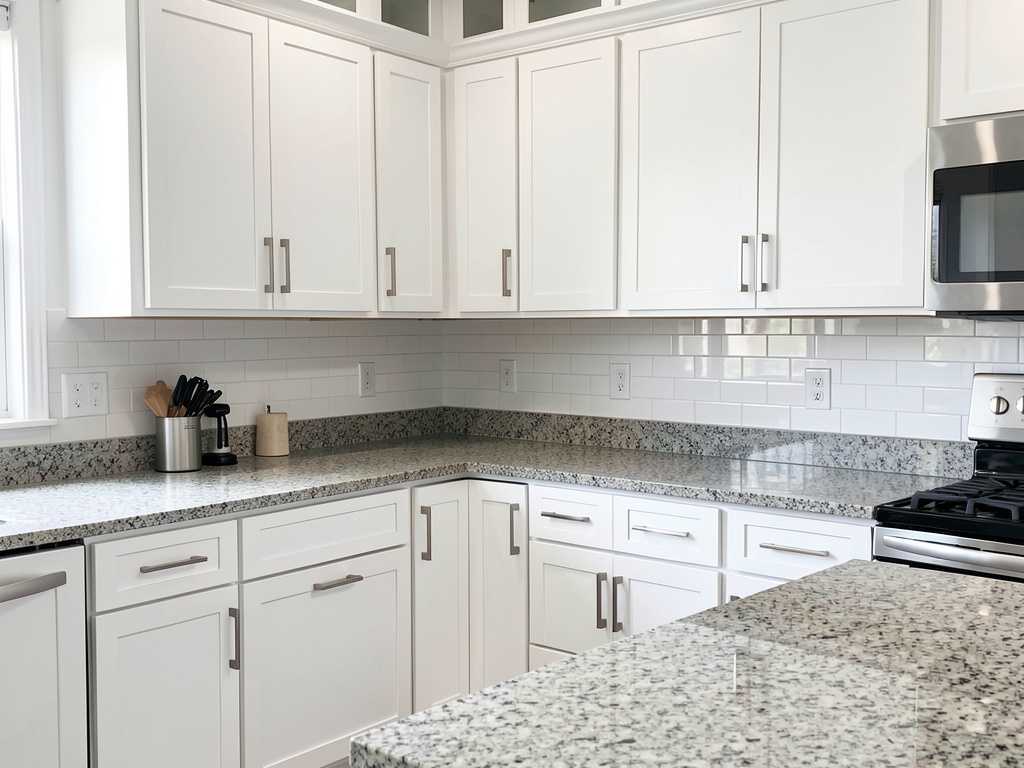
A successful cabinet installation comes down to preparation and patience. Take your time marking level lines and finding every stud before you start drilling. The result is a professional-quality kitchen that saves you thousands in labor costs and gives you lasting pride in your work.