
Knowing how to prep cabinets for painting separates a professional look from a peeling disaster. This guide walks you through every step, from cleaning to the final sanding pass.
Quick Verdict: Paint preparation involves deep cleaning to remove grease, light sanding to scuff the surface, filling any holes, and applying a high-adhesion primer. Skipping any of these steps leads to peeling, chipping, or brush marks. Expect to spend 6 to 12 hours on prep work alone.
Key Takeaways
- Thorough cleaning with a degreaser like TSP removes kitchen grease that blocks paint adhesion.
- Proper sanding with 120-grit and 220-grit paper creates a mechanical bond for the primer to grip onto.
- Applying a high-quality primer seals the wood, blocks stains, and prevents tannin bleed in oak cabinets.
- Filling holes and cracks with wood filler ensures a smooth, seamless surface before the paint goes on.
- Keeping the workspace dust-free during the final coat prevents bumps and contaminants from ruining the finish.
What You Need Before You Start
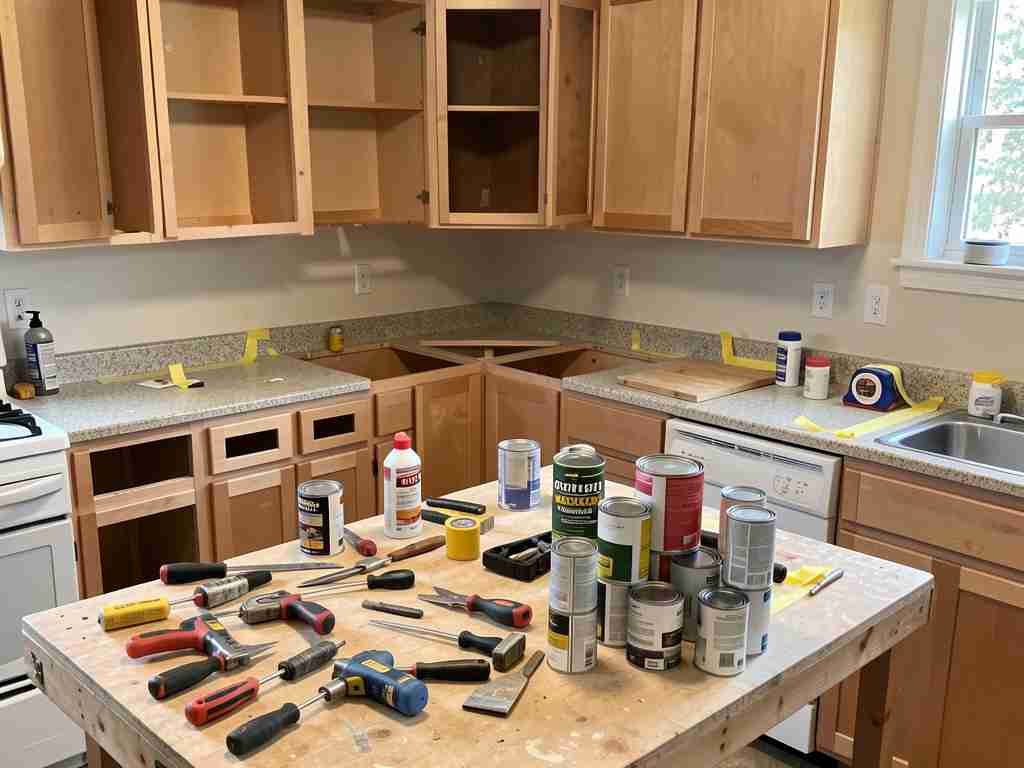
Gather the right tools before you take the doors off their hinges. This saves time and prevents last-minute hardware store runs.
Here is a complete list of materials for preparing cabinets:
- Cleaning solution – Trisodium phosphate (TSP) or a degreasing cleaner like Krud Kutter.
- Sanding paper – 120-grit for initial sanding, 220-grit for a final smooth pass.
- Sandpaper block or orbit sander – A hand block works, but an orbital sander saves hours on large cabinet frames.
- Wood filler – A water-based filler for dents, nail holes, and deep scratches.
- Primer – A bonding primer from Zinsser or Sherwin-Williams designed for laminate or glossy surfaces.
- Tack cloth – A sticky cloth that picks up sanding dust after every grit change.
- Painter’s tape – High-quality blue tape for masking hinges, handles, and nearby walls.
- Drop cloths – Canvas or plastic drop cloths to protect floors and countertops.
Important: Do not skip the degreasing step. Grease from cooking is invisible on the surface but prevents paint from bonding. Use a sponge with warm water and TSP, then rinse thoroughly.
Step-by-Step Process for Prepping Cabinets
Follow these steps in order. Skipping any stage will show in the final paint job.
1. Remove Doors, Drawers, and Hardware
Take off all doors and drawers. Label each door with masking tape on the back to match its position.
Remove all handles, pulls, hinges, and screws. Store them in a labeled bag so you do not lose them.
Set the doors on a clean, flat surface. A foldable work table or saw horses with a sheet of plywood work well.
2. Clean Every Surface Thoroughly
Mix TSP with warm water according to the directions on the box. Use a sponge or soft cloth to scrub the frames, doors, and drawers.
Pay extra attention to the area around the stove and sink. Grease builds up there faster than anywhere else.
Rinse with clean water and a fresh sponge. Let the cabinets dry completely for at least 2 to 4 hours.
Warning: Do not use a heavy degreaser on unfinished wood. TSP can raise the grain on raw wood. If your cabinets are unsealed, use a mild soap instead.
3. Fill Holes, Cracks, and Dents
Inspect each door and drawer for damage. Use wood filler to patch nail holes, small dents, and deep scratches.
Apply the filler with a putty knife. Press it firmly into the hole so it fills completely.
Let the filler dry according to the package instructions. Most fillers need 30 to 60 minutes.
Sand the filled areas flush with the surrounding surface using 120-grit paper.
4. Sand All Surfaces
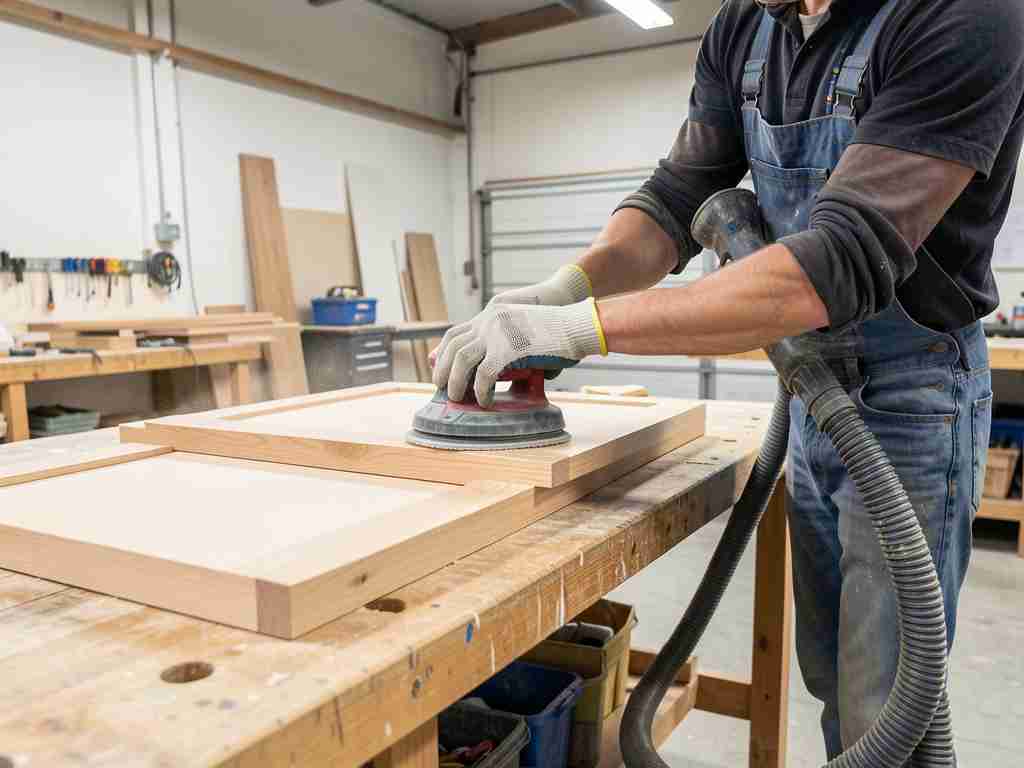
Sanding is the most critical step. It removes the existing sheen and creates a rough surface for the primer to grip.
Use 120-grit sandpaper on the doors, drawer fronts, and cabinet frames. Sand in the direction of the wood grain.
After the first sanding pass, switch to 220-grit paper for a smoother finish. This reduces visible sanding scratches.
Do not sand through the veneer if your cabinets are laminate or thermofoil. Light scuffing is enough.
Tip: Use a vacuum with a brush attachment to remove dust after each sanding grit. Follow up with a tack cloth to pick up fine particles that a vacuum misses.
5. Wipe Down Again
After sanding, wipe each surface with a damp cloth to remove dust. Let the surfaces dry completely.
Run your hand over the panels. They should feel smooth, not rough or sticky.
If you feel bumps or rough spots, do a light hand-sanding with 220-grit again and wipe clean.
6. Apply Painter’s Tape and Mask Off Areas
Mask the edges of walls, countertops, and backsplash with painter’s tape. Cover the inside of the cabinet boxes with a drop cloth or plastic sheet.
Do not tape directly onto unpainted surfaces. The tape can pull off the primer if left on too long.
What to Expect: Timeline and Costs
Prep work takes longer than painting. Expect to spend 8 to 12 hours on prep for a standard kitchen of 20 doors and 8 drawer fronts.
| Task | Estimated Time | Cost Range |
|---|---|---|
| Removing doors and hardware | 30 minutes – 1 hour | $0 |
| Deep cleaning | 1 – 2 hours | $5 – $15 for cleaner |
| Filling holes and sanding | 3 – 5 hours | $10 – $25 for filler and sandpaper |
| Final cleaning and masking | 1 – 2 hours | $5 – $10 for tape and drop cloths |
| Primer application and drying | 3 – 4 hours plus drying | $15 – $30 for primer |
Total preparation costs range from $30 to $70 in materials. This is far cheaper than hiring a professional painter, who often charges $200 to $500 for prep alone.
Common Mistakes to Avoid
Even experienced DIYers make errors during prep. Here are the most frequent issues and how to skip them.
- Skipping the degreasing step – Grease creates a barrier that paint cannot stick to. Paint will peel off within weeks.
- Sanding too aggressively on laminate – Laminate has a thin plastic layer. Sanding through it leaves a pitted surface that primer cannot fix.
- Using a poor-quality primer – Low-adhesion primer does not bond to glossy surfaces. Invest in a bonding primer from a reputable brand.
- Not letting filler dry completely – Wood filler shrinks as it dries. If you paint over wet filler, it cracks and leaves a depression.
- Rushing the sanding process – Skipping the 220-grit step leaves visible scratches that show through the paint.
Common Myths vs Facts About Cabinet Preparation
Many homeowners believe prep work is optional. These myths lead to wasted time and bad results.
- Myth: You can paint over cabinets without sanding if you use a special primer. Fact: Even bonding primers need a scuffed surface. Sanding is always required for the paint to stick.
- Myth: Degreasing is only needed if the cabinets feel sticky. Fact: Grease is often invisible. Cleaning removes a thin film that blocks adhesion even on seemingly clean cabinets.
- Myth: You can sand cabinets with one grit and be done. Fact: Starting with 120-grit and finishing with 220-grit removes scratches and gives you a smoother final coat.
Pro Tips for Professional Results
These tips come from professional painters who prep cabinets every day.
- Use a degreaser with phosphates – TSP or TSP substitute cuts through grease more effectively than all-purpose cleaners.
- Sand with the grain – Cross-grain sanding creates scratches that are visible under paint. Always move in one direction.
- Wipe between coats of primer – After each primer coat dries, lightly sand with 320-grit paper and wipe clean. This removes dust nibs.
- Set up a dust-free zone – Close doors and windows in the sanding area. Use a fan to push dust out, not into the room.
- Use a high-density foam roller – Rollers leave a smooth finish without brush strokes. Use them for doors and flat panels.
Tip: If your cabinets have a glossy factory finish, sand until the shine is completely gone. A gloss surface repels primer and paint, leading to peeling. Test by dripping a little water on the surface; if it beads up, sand more.
How to Prep Different Cabinet Materials
Not all cabinets are the same. The prep steps vary based on the material you are working with.
| Material | Prep Focus | Primer Needed |
|---|---|---|
| Solid wood | Light sanding with 120-grit, then 220-grit | Oil-based or shellac primer |
| MDF (medium-density fiberboard) | Seal edges with primer before sanding | High-build primer or shellac |
| Laminate / thermofoil | Light scuff only, do not sand through | Bonding primer (Stix or similar) |
| Painted cabinets | Check for peeling paint, sand until smooth | Any quality bonding primer |
Always test a small area first. If the primer beads up or peels off, your prep is not aggressive enough.
Tools and Resources for Cabinet Prep
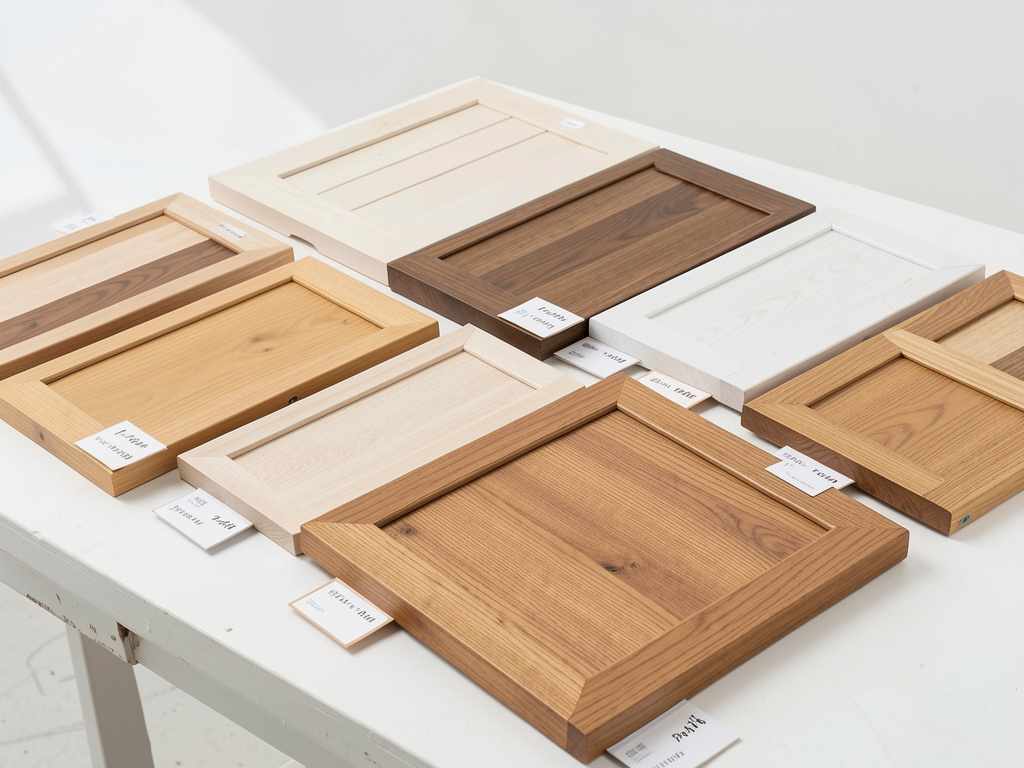
Having the right equipment makes the job faster and delivers a smoother finish. Here are some useful tools.
- Krud Kutter Original Cleaner – A degreaser that cuts through kitchen grease effectively. Affordable and widely available.
- Zinsser BIN Shellac Primer – A bonding primer that blocks stains and tannin bleed. Dries in 15 minutes.
- 3M SandBlaster Sandpaper – A long-lasting sandpaper that resists clogging on sanded surfaces.
- Wagner SprayTech Paint Sprayer – Optional for those who want to spray the paint instead of rolling it. Saves time on large kitchens.
- Blue Painter’s Tape for Delicate Surfaces – A tape that does not pull off fresh primer when removed within 24 hours.
Frequently Asked Questions
Can I skip sanding if I use a special primer?
No. Even the best bonding primers need a scuffed surface. Light sanding with 120-grit paper creates a mechanical bond that prevents peeling.
How long should I let the primer dry before painting?
Most primers take 1 to 2 hours to dry to the touch. Wait 24 hours before painting for the strongest bond. Follow the label instructions for your specific primer.
What happens if I paint over greasy cabinets?
The paint will not stick. It will peel, bubble, or chip within weeks. Degreasing is a non-negotiable first step.
Do I need to remove the cabinet doors to prep them?
Yes. Removing the doors gives you access to the edges and hinges. It also prevents drips and runs on the cabinet frames.
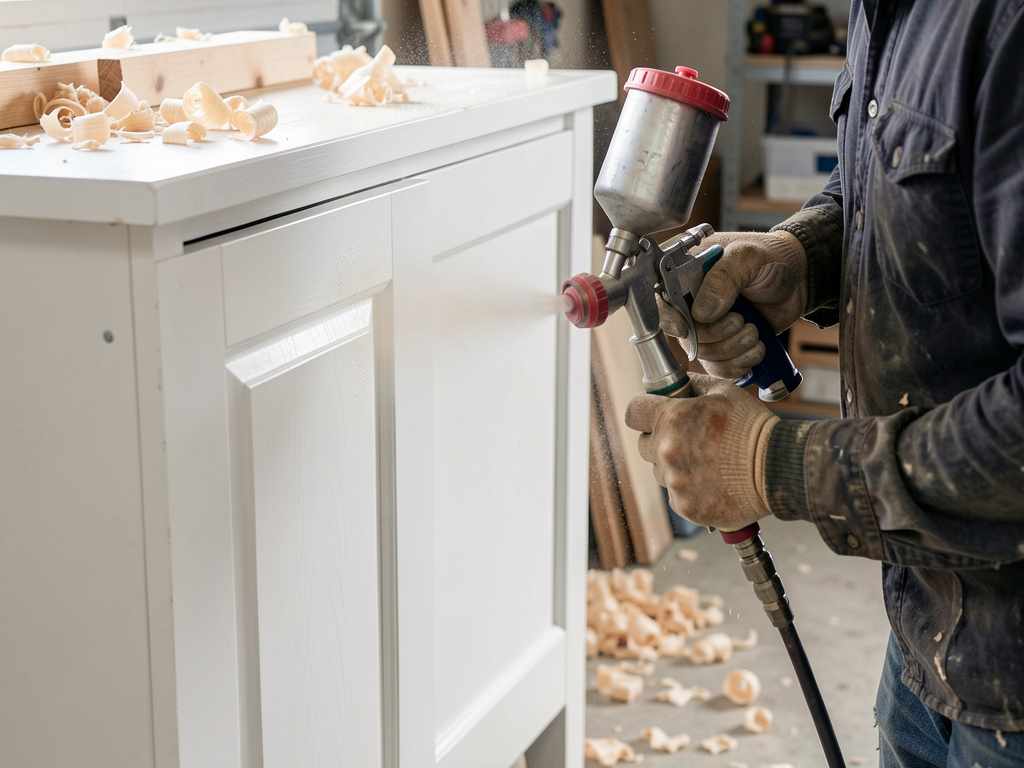
Can I use a paint sprayer for primer?
Yes. Spraying primer gives a thinner, more even coat. Thin the primer slightly according to the sprayer instructions for best results.
Final Thoughts
Good prep work takes time but saves you from repainting in a few months. Focus on cleaning, sanding, and priming in the right order. The effort you put into preparing the surface pays off with a smooth, durable finish that lasts for years.