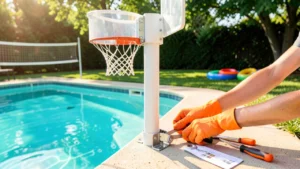
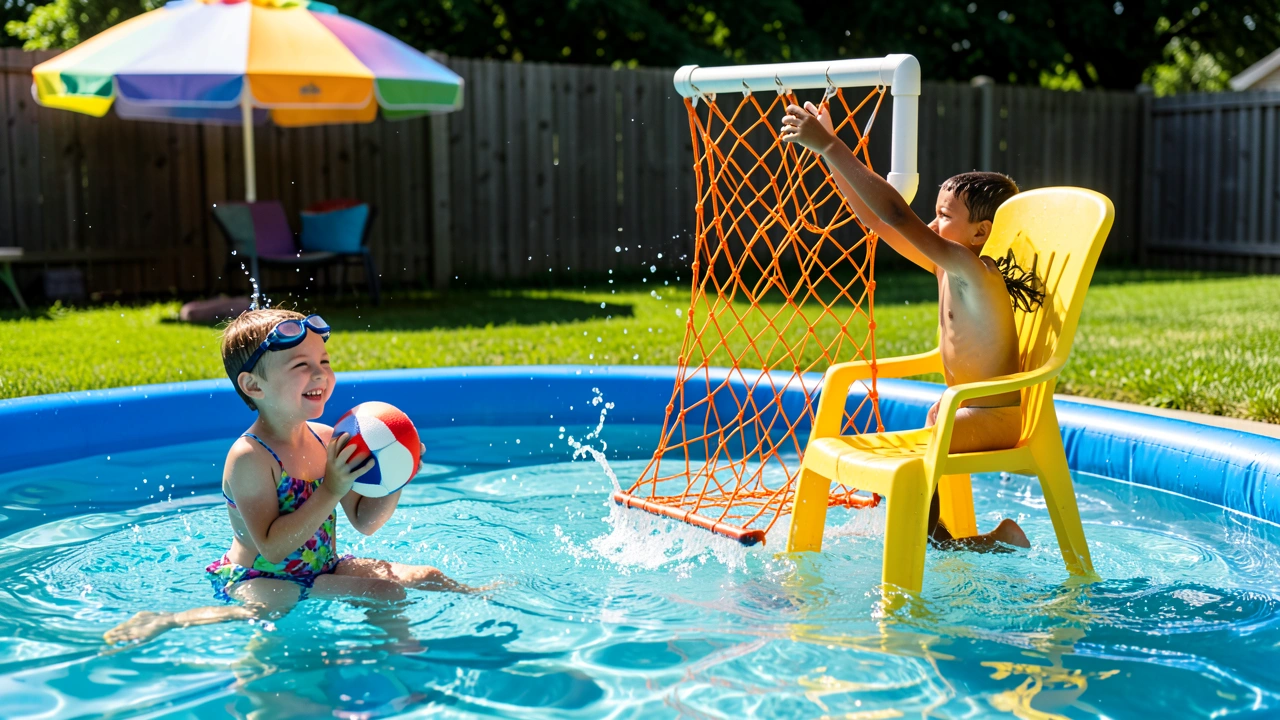
Learning how to make a pool basketball hoop is the perfect DIY project to boost your backyard enjoyment and add hours of family-friendly competition. Building your own hoop is a cost-effective way to upgrade your pool area, and it ensures you get a design that fits your space and skill level perfectly. This guide walks you through every step, from choosing materials to final installation, so you can start making memories in the water.
Simply put, you can build a durable, fun pool basketball hoop using simple materials like a backboard from plywood or acrylic, a sturdy rim, a net, and a support post or wall-mount bracket. The process involves measuring, cutting, assembling the backboard, attaching the rim, and securely mounting it to withstand splashes and active play.
Key Takeaways
- Building a DIY pool basketball hoop is a budget-friendly project that significantly increases poolside entertainment.
- Choosing the right location and mounting method is critical for both safety and gameplay experience.
- You can use readily available materials from hardware stores to create a hoop that is both durable and water-resistant.
- Proper assembly and secure attachment of the rim are essential to prevent wobbling and ensure long-lasting use.
- Finishing touches like painting and adding a net complete the look and enhance the fun of your homemade hoop.
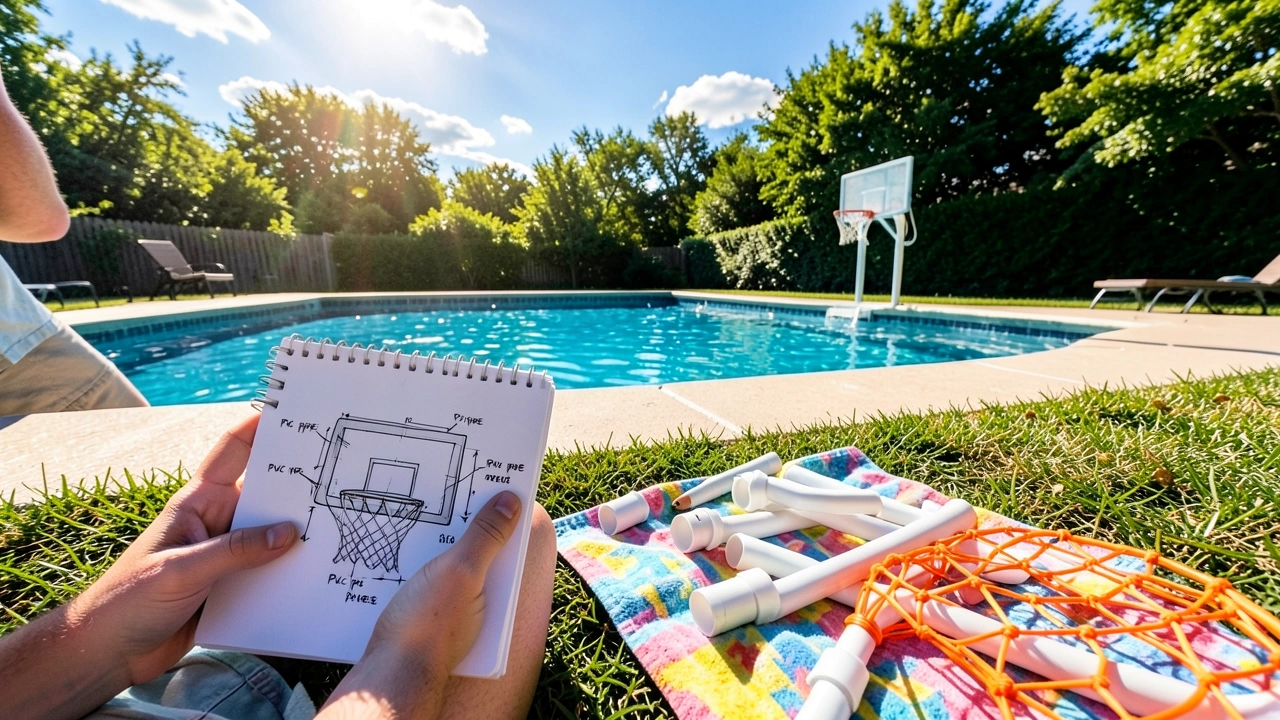
Step 1: Plan Your Hoop and Choose the Location
The first and most crucial step is deciding where the hoop will go. This decision impacts safety, gameplay, and the materials you’ll need. Measure the available space around your pool to ensure there’s enough clearance for players to shoot without hitting walls, fences, or other structures.
Consider the sun’s position to avoid blinding players during peak hours.
Think about the mounting style. Will you mount it on an existing fence or wall, or will you need to build a standalone post? The pool’s depth in the intended area also matters for player safety during vigorous play.
Taking time to plan now prevents headaches later and ensures your project is a success from the start.
Factors for Location Selection
- Clearance Space: Allow for at least 5-6 feet of space behind and to the sides of the hoop for players to move.
- Surface Stability: If using a post, the ground must be level and firm enough to support the installation.
- Player Safety: Avoid placement near pool steps, ladders, or shallow ends where jumping might cause injury.
- Sun Glare: Position the hoop so players aren’t shooting directly into the sun during common play times.
- Water Access: Ensure the hoop height is appropriate for swimmers of different ages and skill levels.
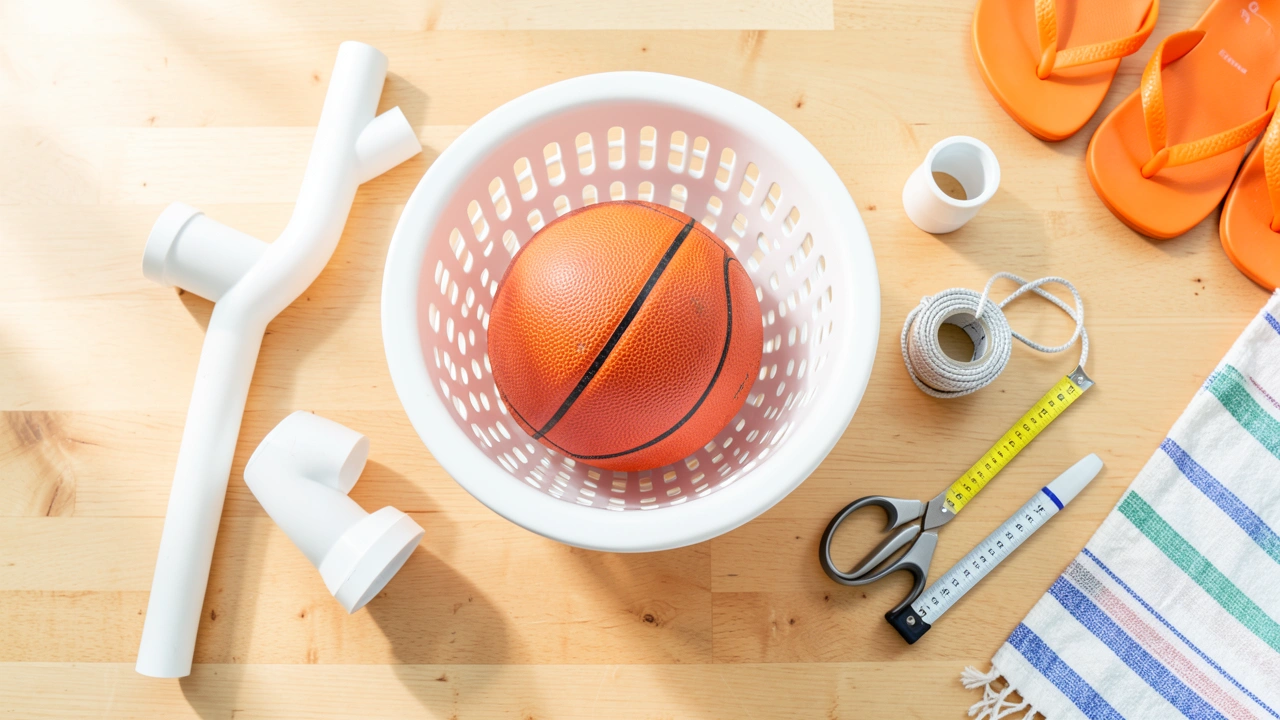
Step 2: Gather Your Materials and Tools
Once your plan is set, head to the hardware store. The core materials are straightforward and designed to withstand a wet environment. Investing in water-resistant or marine-grade components will make your hoop last for seasons.
Don’t forget all the necessary hardware like screws and brackets.
Having all tools on hand before you start makes the process smooth and efficient. The list below covers everything from basic hand tools to optional power tools for a faster build. Always prioritize safety and wear appropriate gear like gloves and safety glasses during construction.
Essential Materials List
- Backboard Material: A piece of 1/2-inch plywood, polycarbonate sheet, or thick acrylic (standard size is around 36″ x 24″).
- Poolside Basketball Rim: A sturdy, rust-resistant rim with a spring-loaded breakaway feature is ideal for safety.
- Basketball Net: A nylon or waterproof net designed for outdoor/pool use.
- Mounting Hardware: Depending on your plan, this could include L-brackets, U-bolts, a galvanized steel post, or a wall-mount bracket kit.
- Fasteners: Stainless steel or galvanized screws, bolts, and nuts to prevent rust.
- Sealant or Paint: Exterior-grade paint, primer, and a waterproof sealant to protect the backboard.
| Tool | Purpose |
|---|---|
| Tape Measure | For accurate measurements of space and materials |
| Pencil & Carpenter’s Square | Marking straight cuts on the backboard |
| Circular Saw or Jigsaw | Cutting the plywood or polycarbonate to size |
| Drill with Bits | Drilling holes for mounting screws and bolts |
| Screwdriver or Wrench Set | Driving screws and tightening bolts securely |
| Sandpaper (120-grit) | Smoothing the edges of the cut backboard |
| Paintbrush or Roller | Applying primer, paint, and sealant |
This table summarizes the primary tools you’ll need. Most are common household items or available for rent at tool libraries, keeping your project cost-effective.
Step 3: Build and Prepare the Backboard
Your backboard is the canvas for the hoop. Using your measurements, carefully mark the desired dimensions on your plywood or acrylic sheet. A standard rectangular shape is classic, but you can also create a fan-shaped board for a more professional look.
Make sure your cuts are straight and clean.
After cutting, thoroughly sand all edges to prevent splinters and create a smooth, finished look. This is also the time to drill the mounting holes for the rim. Most rims come with a mounting template or pre-drilled holes.
Align it carefully in the center of your backboard and mark the holes. Drill them slightly larger than the bolts to allow for easy adjustment.
What is the Best Material for a Pool Hoop Backboard?
Choosing the right material balances durability, cost, and performance. Plywood is the most affordable and easiest to work with, but it requires excellent sealing to prevent water damage over time. Acrylic and polycarbonate are more expensive but offer superior weather resistance and a cleaner rebound.
For most DIYers, a well-sealed plywood backboard provides the best value.
- Plywood (Marine or Exterior Grade): Budget-friendly, easy to cut and paint. Must be sealed thoroughly.
- Polycarbonate: Extremely durable, shatter-resistant, and offers good bounce. More expensive and harder to cut.
- Acrylic (Plexiglass): Clear, professional appearance with good weather resistance. Can be brittle if not handled carefully.
- Metal (Aluminum Sheet): Very durable but can be loud, hot in the sun, and cause excessive ball rebound. Less common for DIY.
Tip: Apply at least two coats of an exterior primer followed by two coats of outdoor paint, and finish with a clear marine-grade spar urethane or sealant. This multi-layer approach is the best defense against moisture, UV rays, and pool chemicals.
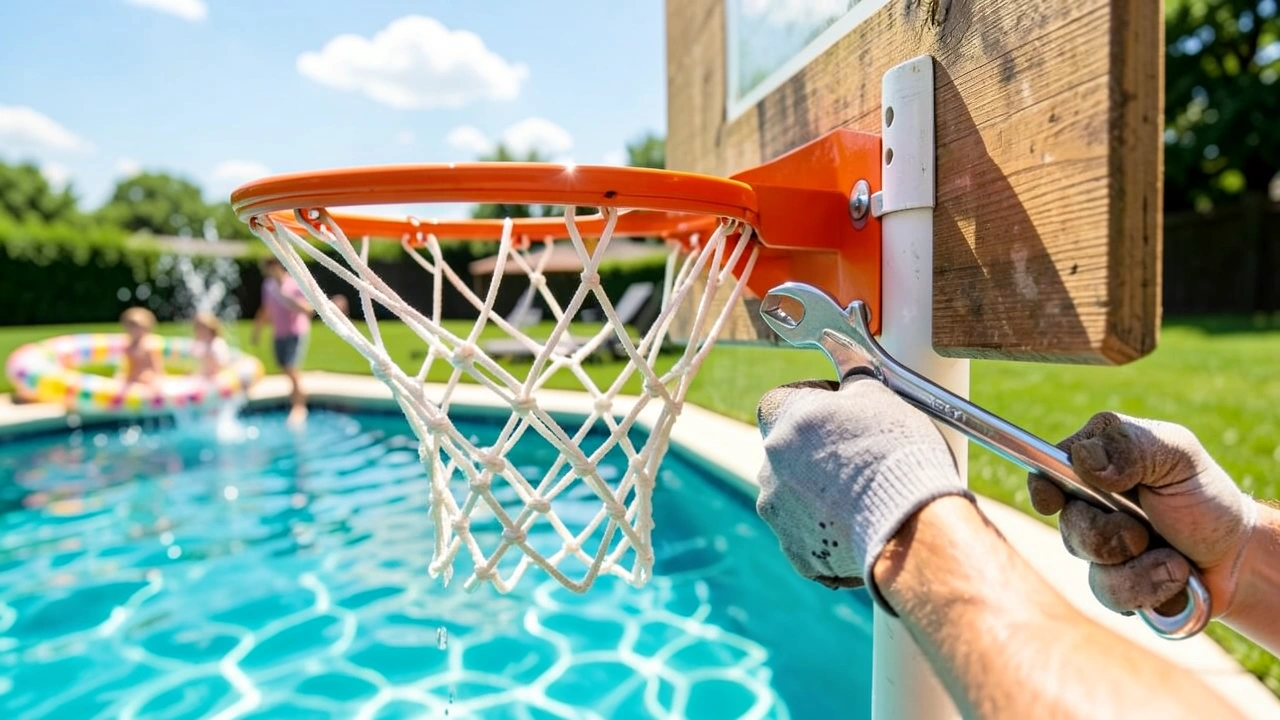
Step 4: Attach the Rim and Net
With the backboard prepared, it’s time to attach the hardware that makes it a hoop. Place your chosen rim over the pre-drilled holes. Use the bolts, washers, and nuts provided with the rim to secure it firmly.
Tighten the bolts in a crisscross pattern to ensure even pressure and a snug fit against the backboard.
Once the rim is rock-solid, attach the net. Most pool basketball nets have a simple loop system that hooks onto the rim’s net hooks. Double-check that all connection points are secure.
A wobbly rim will ruin the game and could become a safety hazard. Give it a good shake to test its stability before moving to the mounting phase.
How Do I Ensure the Rim Is Secure and Safe?
A secure rim is non-negotiable for safety and enjoyment. Follow these steps for a solid installation. First, use a lock washer under each nut to prevent loosening from vibration during play.
Second, if your backboard is plywood, consider adding large fender washers on the inside to distribute the pressure and prevent the bolts from pulling through.
- Align the rim perfectly center on the backboard using a measuring tape from both edges.
- Insert bolts from the front of the backboard through to the back.
- Place a washer and then a lock washer on each bolt end.
- Thread on the nut and hand-tighten first to ensure alignment.
- Use a wrench to tighten each nut gradually in a cross pattern until fully secure.
- Test the rim by applying firm, downward pressure; there should be no movement.
| Rim Feature | Why It Matters | Recommended Type |
|---|---|---|
| Breakaway Spring | Bends under pressure to prevent injury and damage | Highly Recommended for Pool Play |
| Material (Coated Steel) | Resists rust from constant water exposure | Powder-coated or Stainless Steel |
| Net Hooks | Secure attachment point for the net | Integrated, sturdy metal hooks |
This table highlights key features to look for when selecting a rim specifically for a pool environment. A breakaway rim is especially important for enthusiastic play around water.
Step 5: Mount the Hoop to Your Chosen Structure
This step transforms your assembled backboard into a functional pool hoop. The mounting method depends entirely on your initial plan. For a fence mount, you’ll use heavy-duty U-bolts or specialized fence brackets that strap around the fence posts.
For a wall mount, you’ll need lag bolts driven into the wall studs or masonry.
If you’re installing a standalone post, dig a hole at least 24 inches deep, set the galvanized steel post in concrete, and let it cure fully before attaching the backboard. Regardless of the method, the hoop must be level and rigid. A wobbly mount will make gameplay frustrating and can lead to structural failure over time.
What are the Common Mounting Options for a Pool Basketball Hoop?
Your mounting choice is determined by the structures already in your backyard. Below are the most common methods, each with its own advantages.
- Fence Mount: Ideal for those with a sturdy wooden or vinyl fence. Uses straps or brackets to secure the backboard to the fence posts. Non-invasive and adjustable.
- Wall Mount: Uses your house wall, garage, or a solid garden wall. Provides a very stable base. Requires finding studs or using appropriate anchors for masonry.
- Standalone Post: The most permanent and customizable option. Allows placement anywhere with a clear view of the pool. Requires digging and concrete for stability.
- Deck Mount: For pools with surrounding decking. Uses posts or brackets bolted directly into the deck structure. Ensure the deck can support the weight and leverage.
Warning: Never mount the hoop to a thin fence panel or a non-load-bearing structure. The force from players dunking or hanging on the rim can rip the mount free, causing serious injury or damage. Always attach to structural posts, studs, or a properly engineered post.
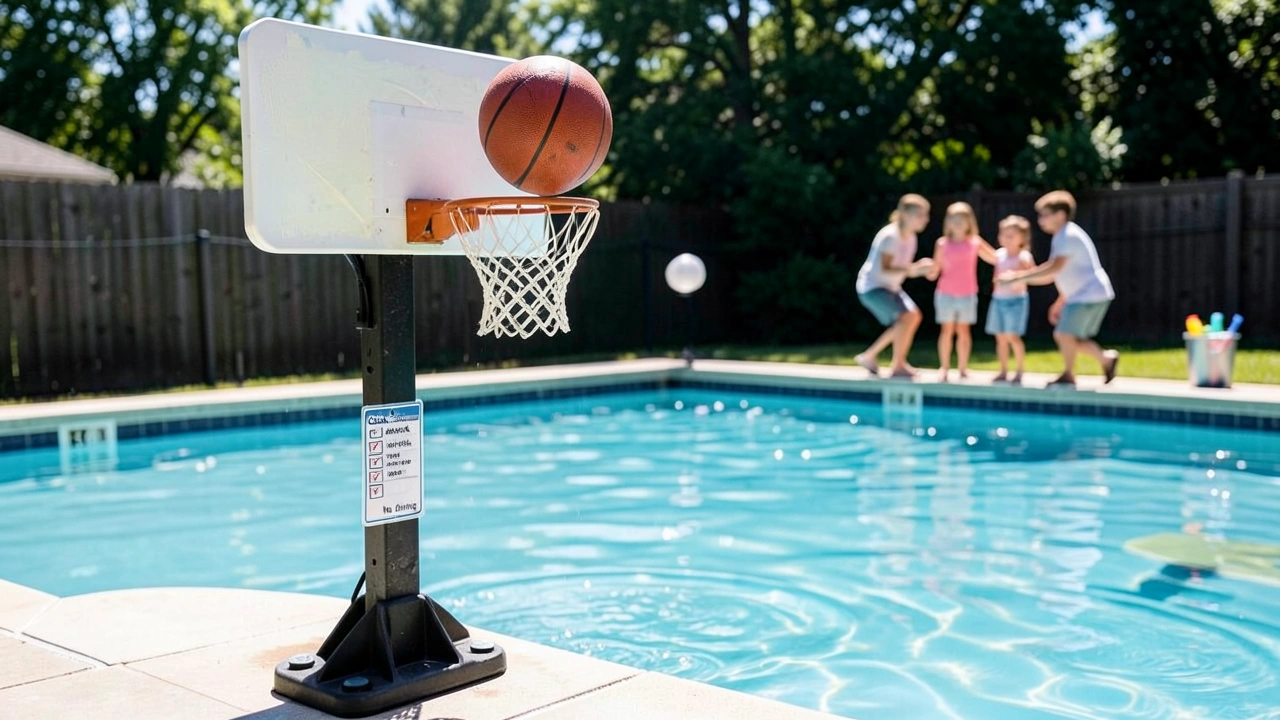
Step 6: Final Touches, Maintenance, and Safety
Your hoop is built and mounted, but a few final steps will extend its life and enhance the experience. Give all painted surfaces a final check and touch up any chips. Consider adding a scoreboard or fun decals to personalize it.
Most importantly, establish simple safety rules for its use.
Regular maintenance is key to keeping your DIY project in top shape. Before each summer season, inspect all bolts and connections for tightness, check the net for wear, and clean the backboard. Rinse the hoop occasionally to remove chlorine or salt buildup, which can degrade materials over time.
Proper care means your hoop will provide fun for many summers.
Poolside Basketball Safety and Maintenance Checklist
- Pre-Season Inspection: Check all mounting hardware and tighten any loose bolts.
- Net Replacement: Inspect the net for fraying; replace it at the start of each season for best performance.
- Surface Cleaning: Wipe down the backboard with mild soap and water to remove grime and chemical residue.
- Player Rules: Prohibit climbing on the rim, hanging, or dunking with excessive force.
- Supervision: Always have adult supervision when children are playing with the hoop.
- Weather Storage: If possible, remove the net during off-season or harsh weather to prolong its life.
Frequently Asked Questions
How high should a pool basketball hoop be?
The standard height for a pool basketball hoop is typically lower than a regulation basketball hoop. A height between 6 to 8 feet from the water surface is ideal for most recreational play. This makes the game accessible and fun for both adults and children swimming in the pool.
Adjusting the height based on your primary players ensures everyone can enjoy the game.
Can I use a regular basketball hoop outdoors by the pool?
While you can, it’s not recommended. Regular hoops are not designed for constant water exposure and will rust quickly. They also lack the safety features of pool-specific rims, like breakaway mechanisms, which are important for play around water.
Building or buying a hoop specifically rated for outdoor/pool use is a safer and more durable choice.
How do I make my DIY hoop more stable?
Stability comes from secure mounting and solid construction. Ensure you are attaching the backboard to a structural element like a fence post, wall stud, or a dedicated concrete-set post. Using stainless steel hardware and tightening bolts in a cross pattern helps.
Adding diagonal support braces from the back of the backboard to the mounting post can also significantly reduce wobble.
What is the best backboard material for a pool basketball hoop?
For most DIY projects, a high-quality exterior-grade plywood that has been properly sealed with primer, paint, and a marine-grade sealant offers the best balance of cost, ease of use, and performance. Polycarbonate is a premium alternative that is virtually indestructible and weatherproof but requires specialized tools to cut and is more expensive.
How do I protect my DIY basketball hoop from rust and weather damage?
Protection starts with material choice and finishes with proper sealing. Use galvanized or stainless steel for all metal parts, including screws and bolts. For the backboard, apply multiple coats of exterior primer, outdoor paint, and a clear waterproof sealant like spar urethane.
Regular rinsing to remove pool chemicals and a yearly inspection for chips in the paint will prevent rust and decay.
Final Thoughts
Building your own pool basketball hoop is a rewarding project that delivers endless summer entertainment. By carefully planning your location, selecting durable materials, and following a secure mounting process, you create a safe and long-lasting addition to your backyard oasis. Remember that regular maintenance and setting clear safety rules are just as important as the initial build.
Now that you know exactly how to make a pool basketball hoop, it’s time to gather your tools, dive into the project, and get ready for some serious poolside competition.

As the founder of RayaVila, Raya Quinn is passionate about helping consumers cut through the noise of online shopping. Through thorough research and unbiased recommendations, she creates content that makes buying decisions easier and more informed.