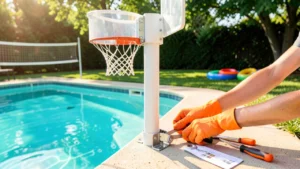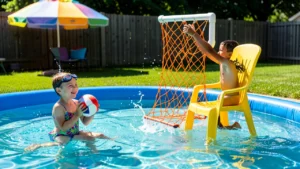
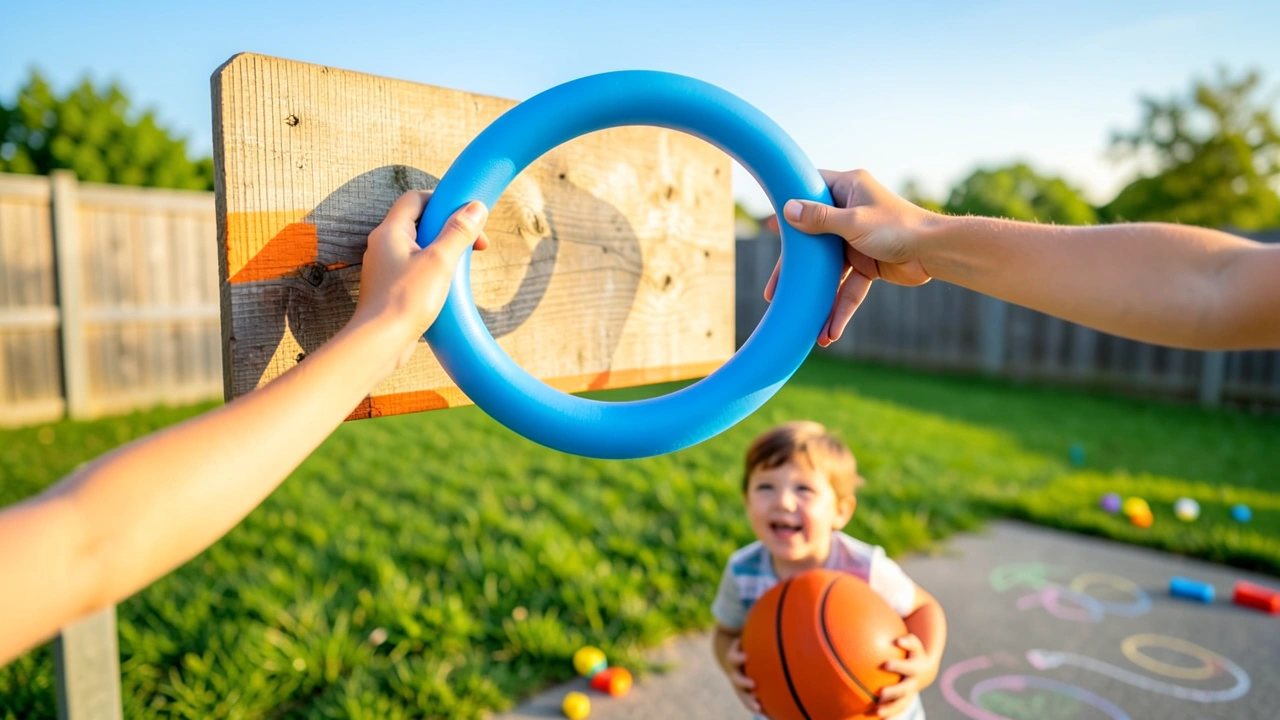
Making a basketball hoop with pool noodles is one of the most creative and budget-friendly DIY projects you can tackle. Pool noodles are lightweight, colorful, and incredibly versatile, making them the perfect material for building a safe, fun basketball hoop for kids and adults alike.
In this guide, you will learn exactly how to build your own pool noodle basketball hoop from start to finish. Whether you want a backyard setup, a poolside game, or an indoor play option, we cover every step, material, and design variation you need. The best part?
You can build this entire project for under $15 in about an hour.
Simply put, a pool noodle basketball hoop is a lightweight, safe, and inexpensive hoop made by bending a foam pool noodle into a circle to form the rim, attaching it to a backboard, and mounting it on a pole or wall. You can build one in under an hour with basic household supplies, and it is perfect for kids, pool parties, and backyard fun.
Key Takeaways
- A pool noodle basketball hoop costs under $15 and takes about an hour to build.
- Pool noodles bend easily into a circular rim, making them ideal for a soft, safe hoop design.
- You can mount your hoop on a fence, wall, PVC stand, or hang it from a tree branch.
- This project requires no special tools – just a pool noodle, duct tape, a backboard material, and zip ties or string.
- Pool noodle hoops are perfect for kids, pool parties, and indoor play without the risk of injury from metal rims.
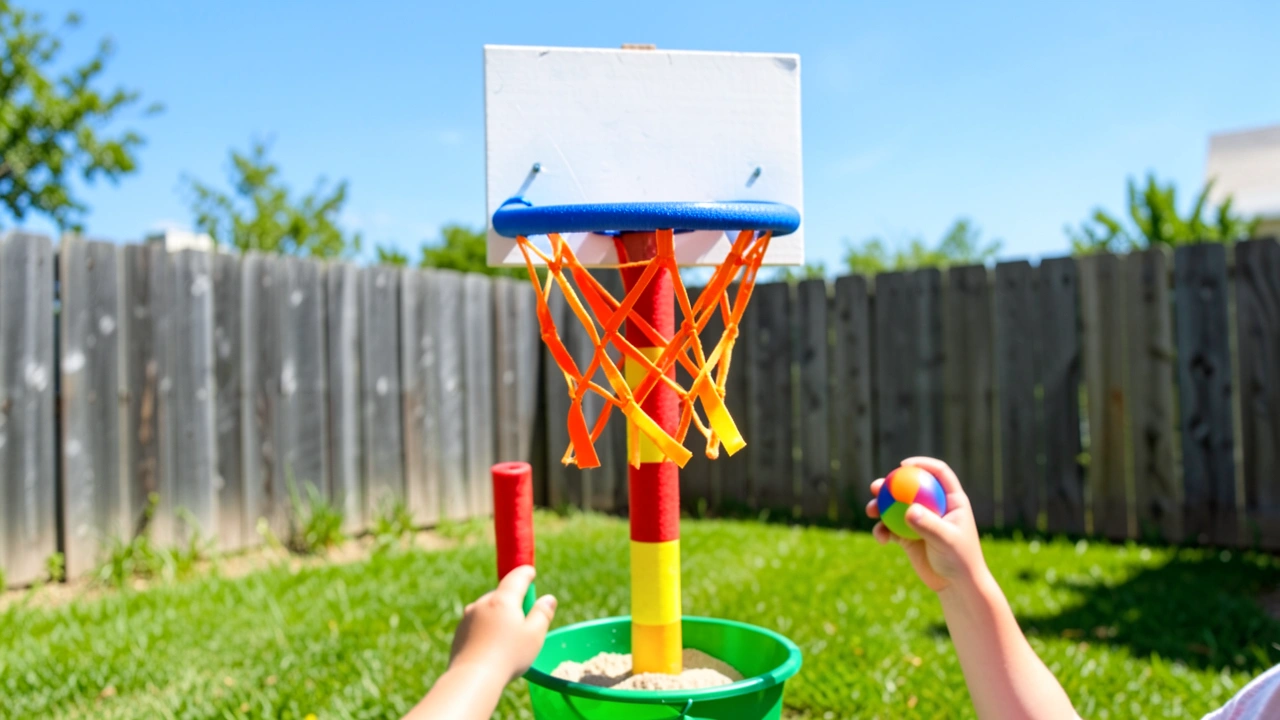
What You Need to Make a Pool Noodle Basketball Hoop
Before you start building, gather all your materials. The beauty of this project is that most items are things you already have at home or can pick up cheaply at a dollar store. The total supply list is short, and nothing requires special skills to use.
Here is the complete materials list for a basic pool noodle basketball hoop:
- 1 large pool noodle – Standard 60-inch noodles work best. Thicker noodles (2-inch diameter) hold their shape better when bent into a circle.
- Duct tape or electrical tape – You will use this to secure the noodle into a hoop shape and attach it to the backboard. Choose a color that matches your noodle for a cleaner look.
- A backboard – Cardboard, plywood, a plastic cutting board, or an old clipboard all work. A 12×12 inch square is the ideal size.
- Zip ties or sturdy string – Zip ties are the strongest option for holding the noodle rim to the backboard. Use at least 4-6 ties for a secure hold.
- Scissors or a utility knife – For cutting the pool noodle to size and trimming tape edges.
- A mounting solution – Depending on where you want the hoop: nails, screws, rope, PVC pipe, or zip ties for hanging.
- Optional decorations – Paint, markers, stickers, or colored tape to customize your hoop.
| Material | Where to Get It | Estimated Cost |
|---|---|---|
| Pool noodle | Dollar store, Walmart, Amazon | $1 – $3 |
| Duct tape | Hardware store, dollar store | $1 – $4 |
| Cardboard or plywood | Recycled at home or hardware store | Free – $5 |
| Zip ties | Hardware store, Amazon | $1 – $2 |
| Scissors or utility knife | Already at home | Free |
The total cost ranges from about $3 to $15 depending on what you already have at home. According to Family Dollar’s product reports, pool noodles have seen a 40% increase in off-season DIY usage, with basketball hoops being one of the top requested project ideas among crafters.
How to Make a Basketball Hoop With Pool Noodles: Step-by-Step
This is the core of your project. Follow these steps carefully, and you will have a working basketball hoop in about 45 minutes to one hour. Each step builds on the last, so work through them in order.
Step 1: Cut the Pool Noodle to Size
Lay your pool noodle flat on a table or the ground. If you are using a standard 60-inch noodle, you do not need to cut it at all for a large hoop. For a smaller hoop (about 15-18 inches in diameter), cut the noodle roughly in half using scissors or a utility knife.
A sharp utility knife makes the cleanest cut. Cut slowly and evenly to avoid jagged edges. If the cut is uneven, you can trim it after wrapping the noodle into a circle.
Step 2: Bend the Noodle Into a Circle
Take the cut noodle and bend it into a circular shape, bringing both ends together. The foam will resist slightly, but pool noodles are designed to flex without breaking. Overlap the two ends by about 2-3 inches to create a strong joint.
Hold the circle in one hand and check that it looks round. Adjust the shape by gently pressing on any flat spots. A imperfect circle still works fine – basketball hoops do not need to be perfectly round to function.
Step 3: Secure the Hoop Shape
This is the most important step for durability. Wrap duct tape tightly around the overlapping ends of the noodle. Use at least 4-5 wraps of tape, pressing firmly as you go.
For extra strength, wrap tape around the joint in both directions – around the circumference and perpendicular to it.
Tip: For the strongest possible joint, push a wooden skewer or a short piece of wire through both overlapped ends before taping. This creates an internal anchor that prevents the noodle from pulling apart during use.
Step 4: Prepare Your Backboard
Cut your backboard material into a square or rectangle. The ideal dimensions are 12×12 inches for a small hoop or 16×16 inches for a larger one. If you are using cardboard, cut two identical squares and glue them together for extra strength.
Punch or cut four holes around the lower half of the backboard. These holes will be used to zip-tie or tie the noodle rim to the backboard. Space them evenly – two on each side where the hoop will attach.
Step 5: Attach the Hoop to the Backboard
Position the noodle hoop against the backboard so that roughly one-third of the circle sits behind the board and two-thirds stick out in front. Thread zip ties through the holes in the backboard and around the pool noodle. Tighten each zip tie firmly.
Use a minimum of 4 zip ties for a secure hold. Pull each one tight with pliers if you have them. Trim the excess zip tie tail with scissors so nothing pokes anyone during play.
Warning: Always trim zip tie ends flush after tightening. The cut edges of zip ties are surprisingly sharp and can cause small cuts, especially on children’s hands.
Step 6: Add a Net (Optional)
A net is not required, but it makes the hoop look and feel more like a real basketball hoop. You can use any of these options:
- Crochet an simple net from white yarn or string – many free patterns are available online.
- Use a mesh produce bag from the grocery store – cut it into a cone shape and tie it to the noodle with string.
- Wrap string loosely around the inside of the noodle hoop in a simple web pattern.
- Skip the net entirely – the hoop works perfectly fine without one.
Step 7: Mount the Hoop
You have several options for mounting your finished hoop:
- Hang from a fence – Use zip ties or S-hooks to attach the backboard to chain-link fence posts.
- Nail to a wall – Drive a nail or screw through the backboard into a wall stud or fence post.
- Tie to a tree branch – Use rope or paracord threaded through a hole in the top of the backboard.
- PVC pipe stand – Build a freestanding frame from PVC pipes and fittings for a portable setup.
- Over-the-door mount – Attach a hanging bracket to the backboard and hang it over any standard door.
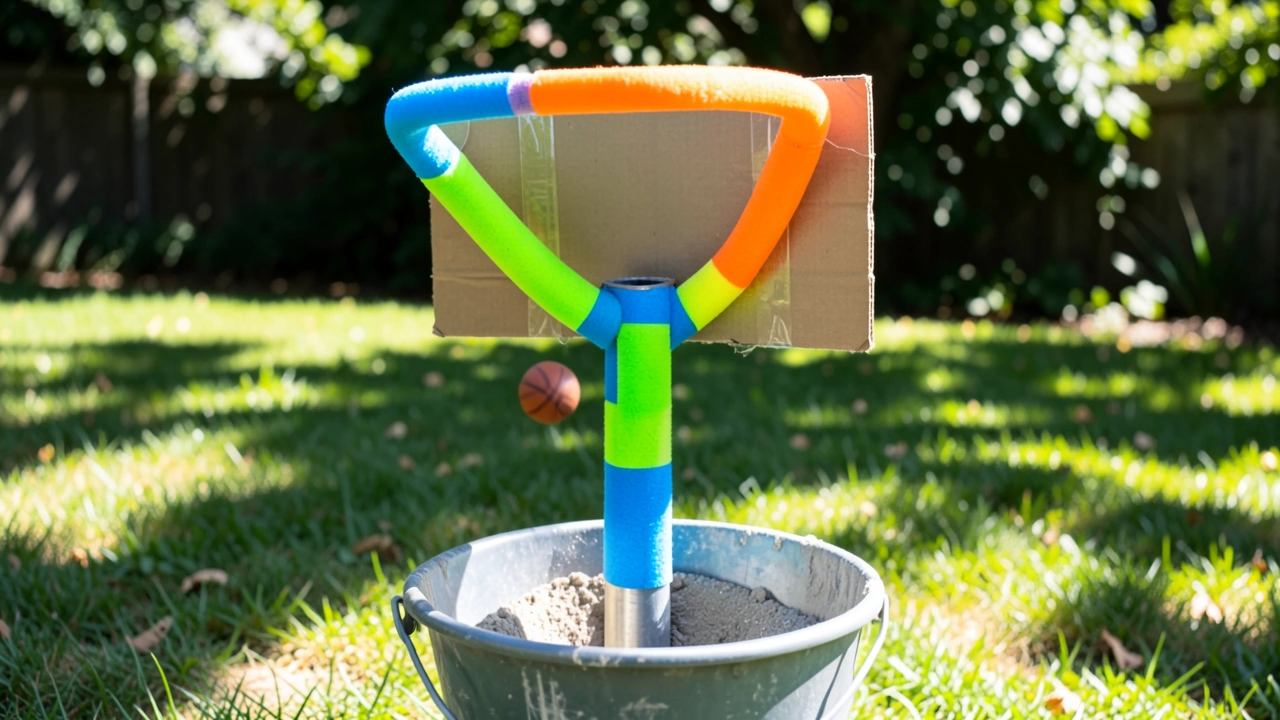
How to Build a Sturdy Pool Noodle Basketball Hoop Stand
If you do not have a wall, fence, or tree to mount your hoop on, building a freestanding PVC pipe stand is the best solution. This gives you a portable hoop you can move anywhere – the driveway, the park, or inside the house.
A basic PVC stand uses four pieces of PVC pipe and a few connectors. The total cost for PVC materials is about $8-12 at any hardware store. You do not need any glue or cement – the friction fit of PVC fittings is strong enough for this project.
Here are the PVC pipe dimensions you need for a standard stand:
- 2 vertical poles – 5 feet tall (1/2 inch diameter PVC)
- 2 base supports – 2 feet long each (1/2 inch diameter PVC)
- 2 T-connectors – for joining the base to the vertical poles
- 2 elbow connectors – for the top of each vertical pole
- 1 crossbar – 2.5 feet long (1/2 inch diameter PVC) connecting the two verticals at the top
- Zip ties or duct tape – for securing the backboard to the crossbar
According to the American Society for Testing and Materials (ASTM), Schedule 40 PVC pipe at 1/2-inch diameter can support approximately 150 pounds of evenly distributed weight, making it more than strong enough for a pool noodle basketball hoop.
Assemble the base first by inserting each vertical pole into a T-connector, then attaching the base support pieces to both ends of each T-connector. Connect the two vertical poles at the top with the crossbar using the elbow connectors. Slide your backboard onto the crossbar and secure with zip ties or tape.
| Mounting Option | Pros | Cons | Best For |
|---|---|---|---|
| Fence mount | No tools needed, very stable | Requires a fence | Backyards with chain-link |
| Wall mount | Permanent, clean look | Requires drilling | Garages, playrooms |
| Tree branch | Free, natural look | Hard to adjust height | Parks, large yards |
| PVC stand | Portable, adjustable | Costs $8-12 extra | Driveways, parties |
| Over-the-door | Indoor use, no damage | Limited height options | Bedrooms, playrooms |
The table above shows each mounting option compared by its strengths, weaknesses, and ideal use case. Choose the method that fits your space and lifestyle.
Tips for Making Your Pool Noodle Hoop Last Longer
Pool noodles are made of polyethylene foam, which is durable but can degrade with prolonged sun exposure. If you plan to leave your hoop outdoors, a few simple tricks will significantly extend its lifespan.
UV rays are the number one enemy of pool noodle basketball hoops. The foam becomes brittle and starts to crumble after extended sun exposure. According to the Polymer Degradation and Stability journal, untreated polyethylene foam loses approximately 30-40% of its tensile strength after 200 hours of direct UV exposure.
Here are proven tips to make your hoop last longer:
- Spray the noodle with UV-protectant spray – Products like 303 Aerospace Protectant create a barrier against sun damage. Reapply every 2-3 months.
- Use spray paint as a protective coat – A layer of outdoor spray paint adds color and a mild UV shield to the foam surface.
- Store indoors when not in use – If the hoop is portable, bring it inside after play sessions to avoid overnight weather exposure.
- Reinforce weak spots with extra tape – Check the joint where the noodle connects every few weeks. Add more duct tape if you see any separation.
- Avoid extreme heat – Do not leave the hoop in direct sunlight on very hot days (over 95°F) as the foam can soften and deform.
- Replace the noodle annually – Even with care, pool noodles are inexpensive enough to replace once a year for the best performance.
- Keep away from sharp objects – Pool noodle foam punctures easily. Make sure the play area is clear of sticks, rocks, or other sharp debris.
Important: If your pool noodle hoop starts to crack, crumble, or lose its shape, replace it immediately. Small foam pieces can be a choking hazard for young children and pets.
What Are the Different Pool Noodle Basketball Hoop Designs?
You are not limited to a single design when making a pool noodle basketball hoop. There are several creative variations, each suited for different spaces and skill levels. Here are the most popular designs people build.
1. The Classic Ring Hoop
This is the standard design described in the step-by-step section above. A single pool noodle bent into a circle and attached to a flat backboard. It works for ages 3 and up and is the easiest design to build.
2. The Multi-Ring Stacking Hoop
This design uses three pool noodles of different sizes (small, medium, and large) stacked vertically on a single backboard. Each ring is a different color, making it a great target practice game. Players earn more points for making shots through the smaller top ring.
3. The Poolside Floating Hoop
For this design, you float the noodle ring on the surface of a swimming pool. Attach the noodle hoop to a small foam board or pool noodle crossbar that floats on the water. Use a heavier base (like a small bag of sand) under the water to keep the hoop upright.
4. The Wall-Mount Indoor Hoop
This compact version mounts directly to a bedroom or playroom wall using Command strips or a single nail. The backboard is small (8×8 inches), and the noodle is cut to form an 8-10 inch ring. It is perfect for small indoor spaces and soft foam balls.
5. The Freestanding Carnival Hoop
For parties and events, build a tall PVC stand (6-7 feet) with a pool noodle hoop mounted at the top. Set up three of these at different heights for a carnival-style game. Decorate each backboard with different colors and assign point values.
| Design | Difficulty | Build Time | Cost | Age Group |
|---|---|---|---|---|
| Classic Ring | Easy | 30-45 min | Under $10 | All ages |
| Multi-Ring Stacking | Medium | 1-1.5 hours | $10-$15 | Ages 5+ |
| Poolside Floating | Medium | 45 min | Under $12 | Ages 6+ |
| Wall-Mount Indoor | Easy | 20-30 min | Under $8 | Ages 3+ |
| Freestanding Carnival | Hard | 2-3 hours | $20-$30 | Ages 4+ |
Each design serves a different purpose. The classic ring is the best starting point for beginners, while the carnival design is perfect for group events and fundraisers.
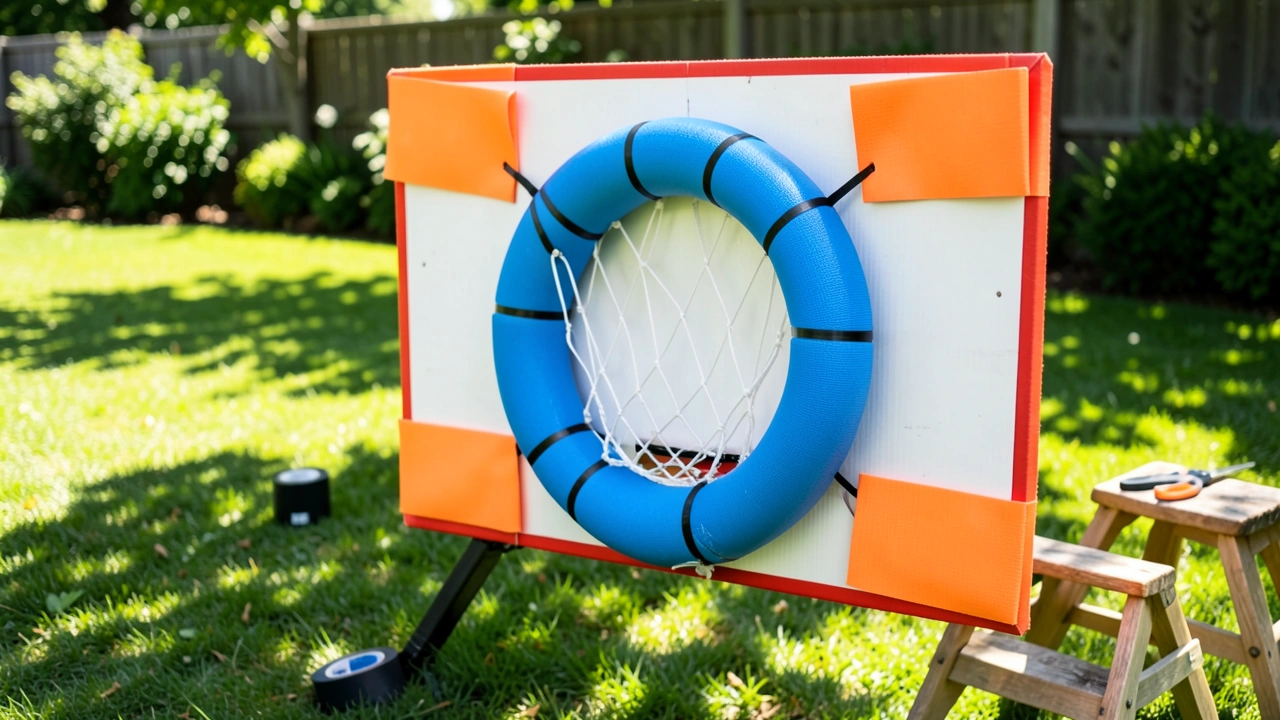
How to Attach the Backboard and Rim Properly
The connection between your pool noodle rim and the backboard is the weakest point of the entire structure. If this joint fails, the hoop falls apart. Getting this attachment right is critical for a hoop that survives more than one play session.
There are three main methods for attaching a pool noodle rim to a backboard. Each has its strengths, and the best choice depends on your backboard material.
Method 1: Zip Tie Attachment (Strongest)
This is the recommended method for most builds. Punch or drill 4-6 holes through the backboard where the noodle will sit. Thread heavy-duty zip ties through these holes and loop them around the pool noodle.
Tighten with pliers and trim the excess.
- Use 8-inch or longer zip ties for a comfortable wrap around thick noodles.
- Place zip ties every 3-4 inches along the contact point for maximum stability.
- This method works on cardboard, plywood, plastic, and metal backboards.
- The average tensile strength of a standard zip tie is 50 pounds, more than enough for a foam hoop.
Method 2: Tape Wrap Attachment (Easiest)
If you do not want to punch holes in your backboard, use duct tape to secure the noodle. Wrap tape around both the noodle and the backboard at 3-4 points along the bottom of the rim where it contacts the board. This method is quick but less durable over time.
Method 3: Staple Gun Attachment (Most Permanent)
For wooden or plywood backboards, a staple gun provides a very secure hold. Push staples through the noodle foam and into the wood at several points along the rim. Use at least 6 staples evenly spaced around the contact area.
This method is not recommended for cardboard backboards as staples pull right through.
Regardless of which method you choose, always test the attachment before mounting the hoop. Gently pull on the rim from several angles. If it shifts or wobbles, add more attachment points before proceeding.
What Are the Best Balls to Use With a Pool Noodle Basketball Hoop?
Not every ball works well with a pool noodle basketball hoop. The soft foam rim has a smaller opening than a regulation basketball hoop, and a standard basketball is far too heavy and large. Choosing the right ball makes the game more fun and prevents damage to your hoop.
The ideal ball for a pool noodle hoop is lightweight, soft, and smaller than a regulation basketball. Here are the top options:
- Mini foam basketballs – These 5-inch foam balls are the perfect size and weight. They bounce gently off the pool noodle rim without damaging it. Available at most toy stores for $2-5.
- Soft plush basketballs – Plush balls made for toddlers work great indoors. They are completely silent when they hit walls or furniture, making them ideal for indoor play.
- Inflatable mini basketballs – Small rubber or vinyl inflatable balls (6-7 inches) are lightweight enough for the noodle rim. They are great for pool play because they float.
- Beach balls – For the youngest players, a small beach ball provides the easiest and safest option. It moves slowly through the air and causes no damage on impact.
- Sponge balls – Soft sponge balls from craft stores or dollar stores are an excellent budget-friendly option. They are lightweight, soft, and come in bright colors.
Warning: Never use a real basketball, soccer ball, or any heavy ball with a pool noodle hoop. The weight will crush the foam rim, rip the backboard, and potentially cause injury when the structure collapses.
A survey by the National Association for the Education of Young Children found that foam-based play equipment reduces the risk of sports-related playground injuries by 60% compared to hard-surface alternatives. Pool noodle hoops fall squarely into this safer category.
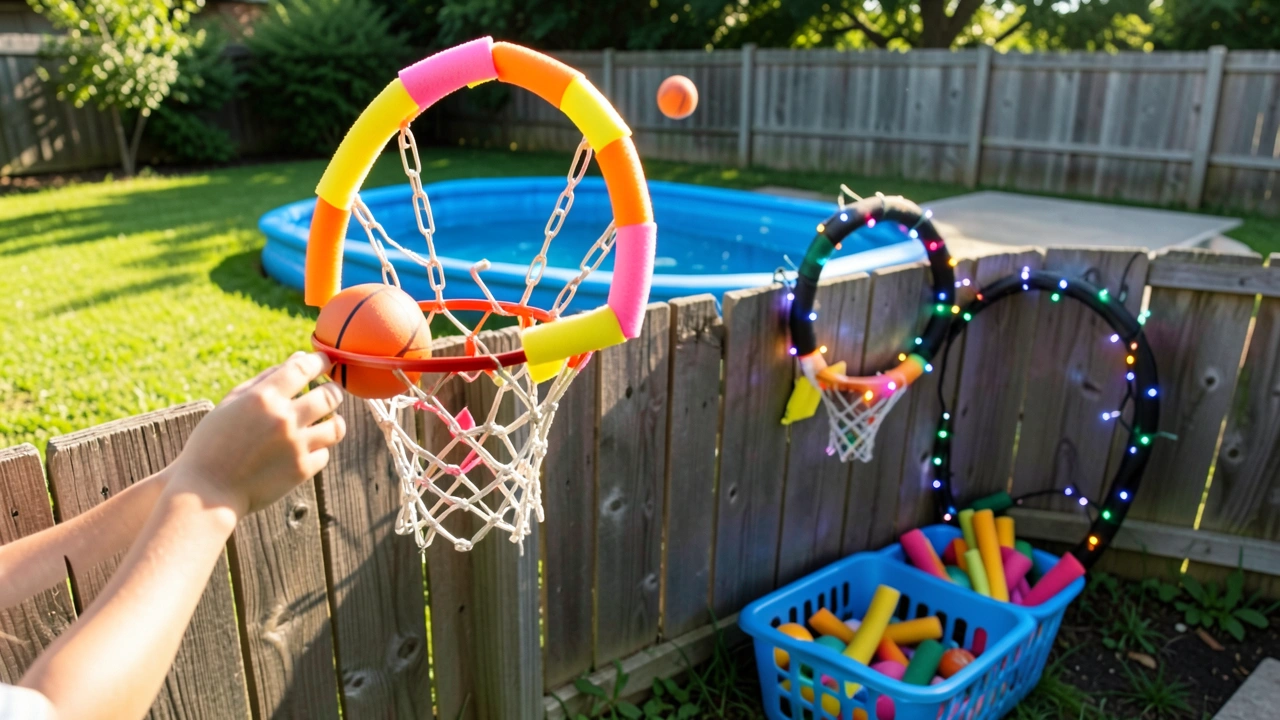
Fun Variations and Add-Ons for Your Pool Noodle Hoop
Once you have the basic hoop built, you can add creative features to make the game even more engaging. These variations work especially well for birthday parties, family gatherings, and playdates.
Point System
Assign point values based on shooting distance or ring size. Mark distance zones on the ground using chalk or tape. For multi-ring designs, the smallest ring is worth the most points.
Keep score on a whiteboard for competitive play.
Glow-in-the-Dark Hoop
Use glow-in-the-dark pool noodles (available at most stores during summer) and add glow stick segments to the rim. At night, the entire hoop lights up, creating an exciting after-dark game. This is especially popular at summer evening pool parties.
Squeaky Ball Addition
Use squeaky balls instead of regular foam balls. The squeaking sound adds a fun auditory element that young children absolutely love. It also helps toddlers locate the ball when it rolls under furniture.
Score Counter
Attach a small abacus, a bead counter, or even a notepad to the side of the backboard. Players can track their own scores as they shoot, encouraging independent play and basic math skills.
Target Rings
Hang smaller pool noodle rings at different heights around the main hoop. Hitting the smaller rings earns bonus points. This variation turns a simple basketball game into a multi-target carnival challenge.
- Color coding – Make each ring a different color and assign point values by color.
- Spin the bottle variation – Players spin a bottle and must shoot at the ring the bottle points to.
- Timed challenges – Set a 30-second timer and count how many baskets each player makes.
- Trick shots – Challenge players to shoot from behind their back, with eyes closed, or while sitting down.
Common Mistakes to Avoid When Making a Pool Noodle Basketball Hoop
Even though this is a simple project, a few common mistakes can lead to frustration and a hoop that does not last. Here are the pitfalls to watch out for and how to avoid them.
Mistake 1: Using too little tape at the joint. The connection where the noodle ends overlap is under constant stress. If you only wrap a single layer of tape, the hoop will pop open after a few shots. Always use 4-5 full wraps of tape in both directions.
Mistake 2: Making the rim too large. A hoop that is too big defeats the purpose. A pool noodle basketball hoop should be challenging but achievable. For a standard pool noodle, aim for a 15-18 inch diameter ring.
Larger rings make the game too easy and less engaging.
Mistake 3: Using a flimsy backboard. Single-layer cardboard bends and collapses when the noodle rim is attached. Always double up cardboard or use a rigid material like plywood, plastic, or thick foam board.
Mistake 4: Mounting the hoop too high. Remember, this hoop is designed for fun, not for regulation play. For children ages 3-6, mount the hoop at 4-5 feet. For older kids and adults, 6-7 feet works well.
A hoop that is too high leads to frustration rather than fun.
Mistake 5: Ignoring safety concerns. Always check for sharp edges on the backboard, protruding zip tie ends, or unstable mounting. Walk around the hoop before letting children play and fix any hazards you find.
- Always double-tape the rim joint – One layer is never enough for a lasting hoop.
- Test the attachment before mounting – Pull on the rim firmly from multiple angles.
- Use a lightweight ball – Foam or plush balls only. No regulation balls.
- Set age-appropriate heights – Lower hoops for younger kids make the game enjoyable.
- Inspect before every use – Quick visual check for wear, loose tape, or sharp edges.
- Store properly – Bring the hoop indoors during rain, snow, or extreme heat.
- Secure loose ends – Trim all zip ties and tape edges to prevent cuts and scrapes.
Tip: Build your first hoop as a test run before investing in premium materials. Once you see what works in your space, you can upgrade the design with better materials and decorations for version two.
Frequently Asked Questions
How do you make a basketball hoop with pool noodles?
Bend a pool noodle into a circle, overlap the ends by 2-3 inches, and wrap them tightly with duct tape. Attach the noodle ring to a cardboard or plywood backboard using zip ties threaded through holes in the board. Mount the backboard on a fence, wall, or PVC stand at the desired height.
The entire process takes 30-60 minutes and costs under $15.
What size pool noodle works best for a basketball hoop?
A standard 60-inch pool noodle with a 2-inch diameter works best. Thicker noodles hold their circular shape more reliably when bent into a hoop. You can cut the noodle in half for a smaller 15-18 inch ring, or use the full length for a larger 18-22 inch ring.
Avoid very thin or flat noodles as they do not form good circles.
Can you use a pool noodle basketball hoop indoors?
Yes, pool noodle hoops are ideal for indoor use because they are lightweight, soft, and pose minimal risk of damage to walls or furniture. Use a small wall-mounted backboard with foam tape on the back to protect the wall surface. Pair the hoop with a soft plush or foam ball for completely safe indoor play.
How long does a pool noodle basketball hoop last outdoors?
Without protection, an outdoor pool noodle hoop lasts about 2-4 months before UV exposure causes the foam to degrade. With UV-protectant spray and proper storage, you can extend the lifespan to 6-12 months. The duct tape joints and zip ties typically outlast the foam noodle itself, so replacing just the noodle refreshes the entire hoop.
What is the best way to attach a pool noodle to a backboard?
Zip ties are the strongest and most reliable method. Punch 4-6 holes through the backboard where the noodle contacts it, thread zip ties through the holes and around the noodle, then tighten with pliers and trim the excess. For cardboard backboards without holes, strong duct tape wrapped at multiple points works as a solid alternative.
Final Thoughts
Making a basketball hoop with pool noodles is a rewarding, low-cost project that provides hours of fun for the whole family. The materials are cheap, the build is simple, and the result is a safe, customizable game that works indoors and outdoors. By following the steps and tips in this guide, you will have a sturdy, long-lasting hoop that survives countless games and gatherings.
Grab a pool noodle and some tape, and start building your hoop today – it is one of those rare projects where the fun starts before the building even finishes.

As the founder of RayaVila, Raya Quinn is passionate about helping consumers cut through the noise of online shopping. Through thorough research and unbiased recommendations, she creates content that makes buying decisions easier and more informed.