Installing a pool basketball hoop transforms your backyard pool into an exciting summer activity zone for family and friends. This complete guide walks you through every step of the installation process, ensuring a safe and secure setup that lasts all season long.
Simply put, installing a pool basketball hoop involves choosing the right type for your pool, gathering the necessary tools, and following a step-by-step process to secure it safely to your pool deck or wall. The most common method uses an adjustable, weighted base or a permanent deck mount, requiring about 1-2 hours for a proper setup that prioritizes safety and durability.
Key Takeaways
- Installing a pool basketball hoop requires choosing between a portable, weighted-base model or a permanent deck-mounted system.
- You must gather specific tools like a wrench, drill, and level to ensure a stable and secure installation.
- Proper pool basketball hoop installation focuses on stability, correct height adjustment, and following safety guidelines.
- Testing the hoop for stability and checking all connections is a non-negotiable final step.
- Regular maintenance, like checking base weight or hardware tightness, extends the life of your pool basketball setup.
What You Need Before Starting Your Pool Basketball Hoop Installation
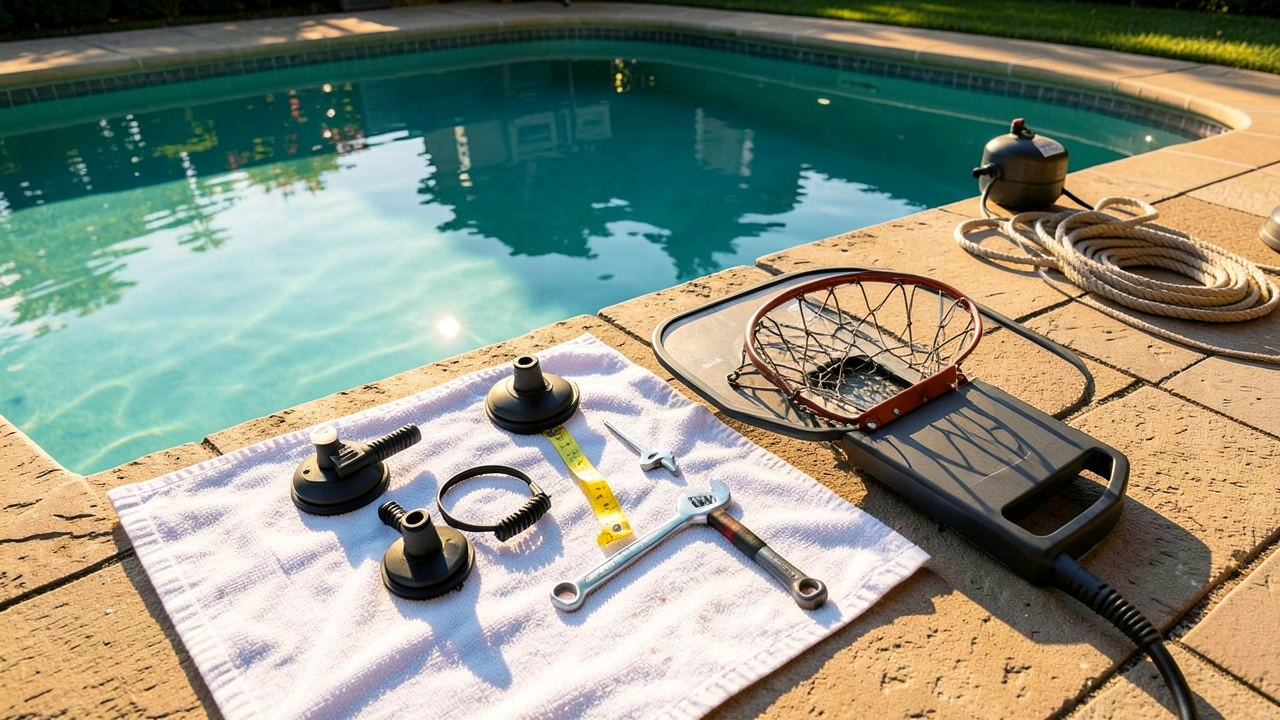
Before you unbox your new hoop, preparation is key. Having everything ready streamlines the installation and prevents multiple trips to the hardware store. A proper checklist ensures you won’t be left frustrated halfway through the project.
The specific items you need depend on the type of hoop you purchased. Portable models require less but still benefit from preparation. Deck-mounted systems involve more tools and hardware.
Always start by thoroughly reading the manufacturer’s instructions that came with your specific model.
| Category | Tools & Materials |
|---|---|
| Essential Tools | Adjustable wrench, socket set, Phillips & flat-head screwdrivers, rubber mallet, tape measure |
| For Deck Mounting | Power drill with masonry bit (for concrete), level, pencil, appropriate concrete anchors/bolts |
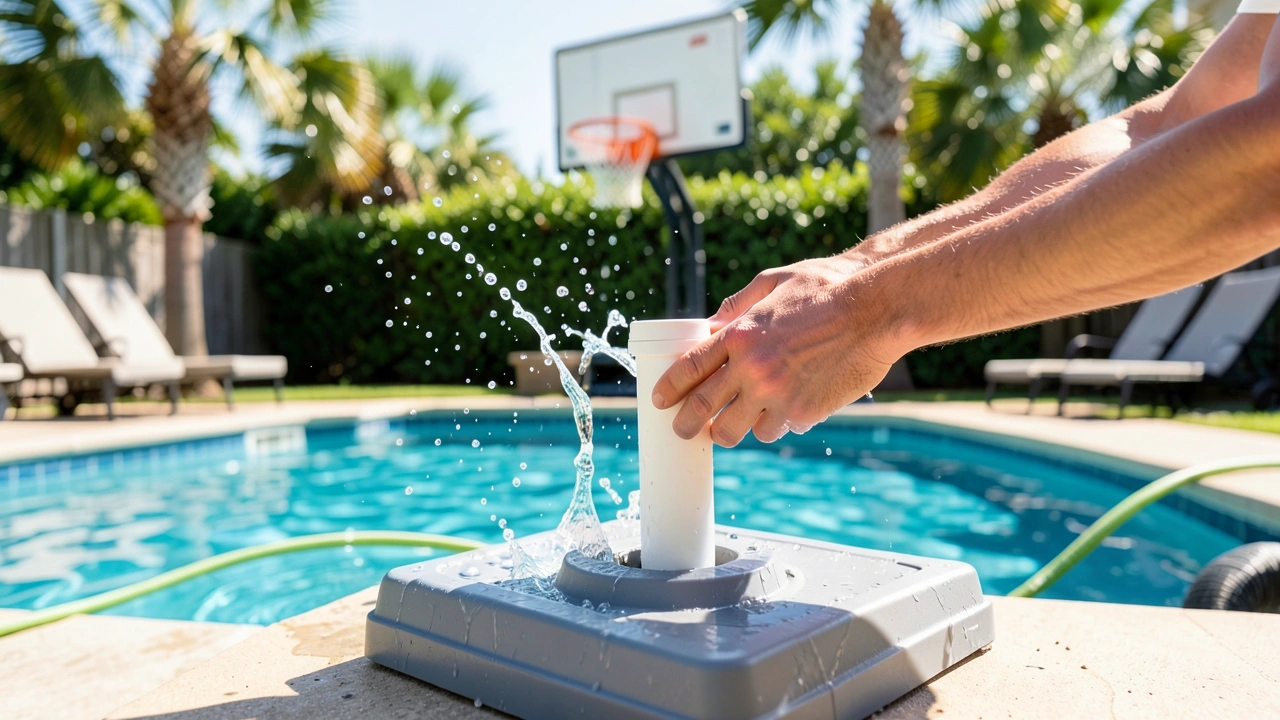
| For Portable Bases | Water, sand, or pea gravel (for filling the base), funnel |
| Safety & Prep | Safety glasses, work gloves, towel, level surface |
Start by clearing the installation area. For a deck mount, this means the specific spot on your pool deck. For a portable hoop, you need a flat, stable area near the pool’s edge free of trip hazards.
Having a helper is not just recommended for many models – it’s often necessary for safe assembly and positioning.
Tip: Lay out all parts and hardware from the box on a towel. Match them against the parts list in the manual to ensure nothing is missing or damaged before you begin.
How to Choose the Right Installation Method for Your Pool
The first major decision is selecting the hoop type that fits your pool and lifestyle. This choice dictates the entire installation process, tools needed, and level of permanence. Two main categories exist: portable, weighted-base hoops and permanent, deck-mounted hoops.
Portable models offer flexibility and are generally easier to install. They rest on the pool deck and use a heavy base filled with water or sand for stability. This makes them ideal for renters or anyone who wants to store the hoop during the off-season.
The installation is primarily about assembling the hoop and filling the base.
Deck-mounted hoops provide a more stable, permanent feel. They are bolted directly into your concrete or wood pool deck. This installation is more involved, requiring drilling and secure anchoring.
They are perfect for dedicated players who want a hoop that feels like a professional setup and won’t budge during play.
Key Factors in Your Decision
- Pool Deck Material: Deck mounting requires a solid concrete or reinforced wood deck. Not suitable for tile or pavers that can crack.
- Permanence: Do you want the hoop up all season, or just for parties? Portable = flexible; Deck mount = fixed.
- Stability Needs: If you have aggressive players or teens, a deck mount offers superior stability against tipping.
- Rental vs. Owned Property: Renters should almost always choose portable models to avoid property modifications.
- Budget: Deck-mounted systems and their installation costs are typically higher than portable units.
Step-by-Step Guide: Installing a Portable Pool Basketball Hoop
This is the most common installation scenario. Portable hoops are designed for relatively quick and easy setup. The primary focus here is on proper assembly and, crucially, adequately weighting the base for safety.
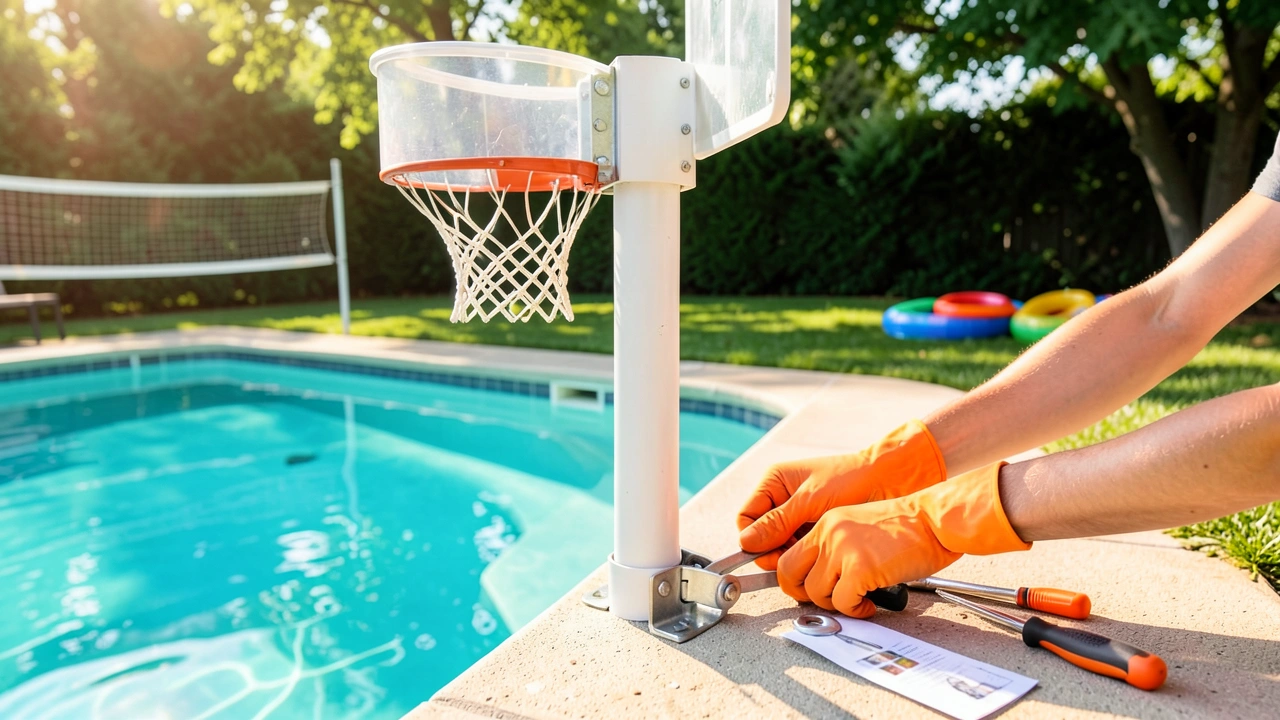
Step 1: Assemble the Pole and Hoop System. Following the manual, connect the vertical pole sections using the provided hardware. Attach the backboard to the top of the pole. Use your wrench to ensure every bolt is snug, but avoid over-tightening which can strip threads or crack plastic.
Step 2: Attach the Pole to the Base. Insert the assembled pole into the sleeve on the portable base. Secure it with the locking pin or bolts provided. This connection is critical for the hoop’s stability, so double-check it’s secure.
Step 3: Fill the Base Completely. Use a funnel to fill the base with water, sand, or pea gravel. Water is easiest but can freeze in cold climates; sand provides more weight. Fill it to the very top.
A partially filled base is unstable and dangerous.
Step 4: Position and Level. Move the assembled hoop to your desired location on the pool deck. Use a level to check the pole is perfectly vertical. If it leans, you can adjust the base position slightly.
Warning: Never use a portable hoop with a partially filled base. The weight is what prevents it from being knocked over into the pool or onto people. A full base for a standard hoop often weighs over 200 pounds.
Pro Tips for Portable Hoop Stability
- Location Matters: Place the base as close to the pool edge as safely possible. This makes the hoop more reachable and reduces the chance of players climbing out of the pool to shoot.
- Check Ground Level: A sloped deck can make the hoop lean. Use shims under the base if needed to achieve a perfectly level setup.
- Consider a Tether: Some manufacturers offer optional anchor straps that bolt to the deck and clip to the base for extra wind and impact security.
- Drain for Storage: If storing the hoop, fully drain the base. This prevents algae growth and makes it light enough to move.
How to Install a Deck-Mounted Pool Basketball Hoop
Installing a permanent hoop is a more substantial project that provides maximum stability. This process involves drilling into your pool deck, so precision is important. The result is a professional-feeling setup ready for serious games.
Step 1: Mark the Mounting Location. Decide exactly where the pole will go. Position the mounting plate on the deck and use a pencil to mark the center of each bolt hole. The location should be far enough from the pool edge for safety but close enough for play.
Step 2: Drill Anchor Holes. Using a power drill with the correct masonry bit (specified in the manual), drill holes at each marked spot. The depth must match the length of your concrete anchors or expansion bolts. Keep the drill perfectly vertical.
Step 3: Secure the Mounting Plate. Place the mounting plate over the holes. Insert the concrete anchors or bolts through the plate and into the drilled holes. Use a wrench or socket to tighten them securely.
This plate must be completely immovable.
Step 4: Attach the Pole and Assemble. Bolt the vertical pole to the secure mounting plate. From there, the assembly of the backboard and hoop follows the same process as the portable model. Use a level frequently to ensure the pole stays perfectly straight as you build upward.
| Installation Aspect | Portable Hoop | Deck-Mounted Hoop |
|---|---|---|
| Primary Stability | Weighted base (water/sand) | Bolts anchored into concrete |
| Tools Needed | Basic wrenches, funnel | Power drill, masonry bits, wrenches, level |
| Skill Level | Beginner (1-2 hours) | Intermediate (2-3 hours) |
| Best For | Flexibility, renters, casual use | Maximum stability, permanent setup, serious players |
How to Secure and Test Your Pool Basketball Hoop
Whether portable or deck-mounted, the final steps are about verification and safety testing. Skipping this phase can lead to equipment failure or injury. Do not let eager players jump in until this process is complete.
First, perform a visual and physical inspection. Go over every connection point you made during assembly. Check that bolts are tight, pins are locked, and the net is secure.
For a portable model, confirm the base is filled to the brim and sealed properly. For a deck mount, tug firmly on the pole to ensure the mounting plate has no give.
Now, conduct the “wobble test.” Stand on the deck and push firmly against the pole from multiple angles. A properly installed hoop should show minimal flex. For a portable hoop, the base should not shift or tilt.
For a deck mount, there should be no movement at the base plate.
Important: Adjust the hoop height to the lowest setting for initial testing and play. This reduces leverage and strain on the system. You can raise it once you’re confident in the stability.
Finally, test with a ball before the first real game. Shoot a few baskets yourself. Listen for any unusual creaking or rattling sounds, which could indicate a loose part.
Check the height adjustment mechanism to ensure it locks securely at your desired setting. Only after passing these tests should the hoop be considered ready for full-speed play.
Maintenance Tips to Keep Your Pool Basketball Hoop in Top Shape
Your installation work pays off with years of fun, but some basic maintenance keeps it that way. Poolside environments are tough on equipment due to sun, chlorine, and moisture. A few simple habits prevent premature wear and rust.
For portable hoops, make it a routine to check the base water level weekly. Water can evaporate, reducing stability. Top it off as needed.
If you used sand, ensure it hasn’t compacted and settled, which can leave voids in the base. At the end of the season, completely drain the base to prevent winter cracking and to make storage easier.
- Weekly Check: Inspect all bolts and connections for tightness, especially after a day of heavy use.
- Cleaning: Wipe down the backboard, pole, and rim with fresh water and a soft cloth to remove chlorine residue and dirt.
- Rust Prevention: For metal parts, apply a marine-grade wax or protective spray annually to guard against corrosion.
- Net Care: Remove the net during long periods of non-use or harsh weather to prolong its life.
- Off-Season Storage: If not using year-round, disassemble and store components in a dry, shaded area like a garage or shed.
What Are the Most Common Pool Basketball Hoop Installation Mistakes?
Avoiding these frequent errors ensures your game is safe and your equipment lasts. Many problems stem from rushing the process or overlooking simple details in the manual.
The number one mistake is insufficient weighting of a portable base. Users often fill it only partway, thinking it’s “heavy enough.” This drastically lowers the center of gravity and makes the hoop a tipping hazard. Always fill it completely to the manufacturer’s specified material and level.
Another critical error is improper anchoring for deck-mounted hoops. Using the wrong drill bit size, not drilling deep enough, or not using the supplied concrete anchors can lead to a catastrophic failure. The mounting plate must be absolutely solid.
Never substitute hardware with items from your own toolbox unless the manual explicitly approves it.
Warning: Never install a hoop where players must climb over the base to get in or out of the pool. Position it to the side of main entry/exit points to prevent tripping accidents.
Other common mistakes include failing to check for a level setup, which causes stress on the pole, and neglecting to tighten all hardware fully. Taking an extra hour to follow instructions carefully and double-check your work prevents these issues entirely.
Frequently Asked Questions
How high should a pool basketball hoop be?
The official NBA rim height is 10 feet, but for pool basketball, a lower height of 6 to 8 feet is standard. This accommodates players of varying ages and skill levels while preventing excessive strain on the hoop system. Most portable models are adjustable within this range.
Can I install a pool basketball hoop on a wood deck?
Yes, but it requires specific hardware. You must use lag bolts designed for wood, not concrete anchors. The deck must also be structurally sound, with joists directly beneath the mounting location to support the load and impact.
Always check your deck’s construction before drilling.
What is the best material to fill a portable hoop base?
Sand is often recommended because it is denser than water, providing more weight for the same volume and is less prone to evaporation. Pea gravel is another excellent, heavy option. Water is the cheapest and easiest to add/remove but can freeze and requires periodic topping off.
How do I prevent my pool basketball hoop from rusting?
Choose a hoop made from rust-resistant materials like powder-coated steel, aluminum, or high-grade plastic. Regularly rinse the frame with fresh water to remove chlorine and salt. Applying a protective automotive wax or marine-grade sealant once a season adds a strong barrier against corrosion.
Is it safe to leave a portable basketball hoop outside all winter?
It is not recommended. Freezing temperatures can cause any residual water in the base or pole to expand and crack the plastic or metal. It’s best to drain the base completely, disassemble the unit, and store it in a shed or garage during the off-season for maximum longevity.
Final Thoughts
Installing a pool basketball hoop is a straightforward project that delivers endless summer entertainment. The key to success lies in choosing the right hoop for your space, meticulously following the assembly steps, and never compromising on stability through proper weighting or anchoring. With your new hoop securely in place and tested, you’re all set for countless games of splashy, competitive fun right in your own backyard.

As the founder of RayaVila, Raya Quinn is passionate about helping consumers cut through the noise of online shopping. Through thorough research and unbiased recommendations, she creates content that makes buying decisions easier and more informed.