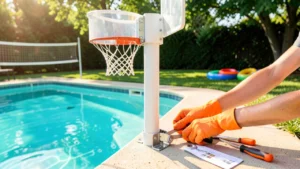
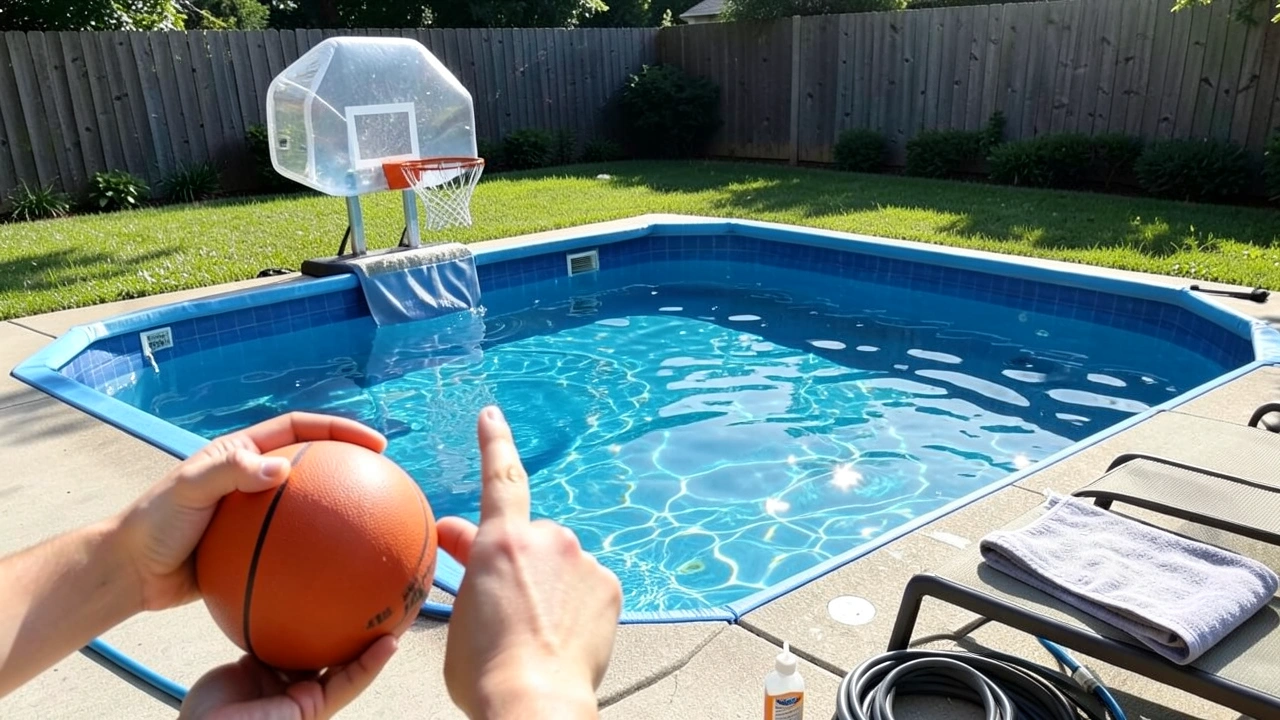
How to put together a pool basketball hoop is a straightforward project that can transform your backyard into an exciting arena. With the right tools and a little patience, you can have a sturdy and fun basketball setup ready for hours of entertainment. This guide provides a clear, step-by-step process to ensure your assembly is safe, secure, and built to last.
Simply put, assembling a pool basketball hoop involves unboxing all parts, building the base and pole, securing the backboard and rim, and finally anchoring the entire structure for safe play. Follow the manufacturer’s instructions carefully, use the provided hardware, and ensure the hoop is weighted down properly to prevent tipping.
Key Takeaways
- Proper pool basketball hoop assembly starts with inventorying all parts and gathering required tools.
- A stable base weighted with water or sand is critical for safety and preventing the hoop from falling.
- Following each step methodically, from pole attachment to backboard alignment, ensures a durable result.
- Most pool basketball hoop models require two adults for safe and efficient setup.
- Regular inspection of bolts and base weight is a key maintenance step after assembly.
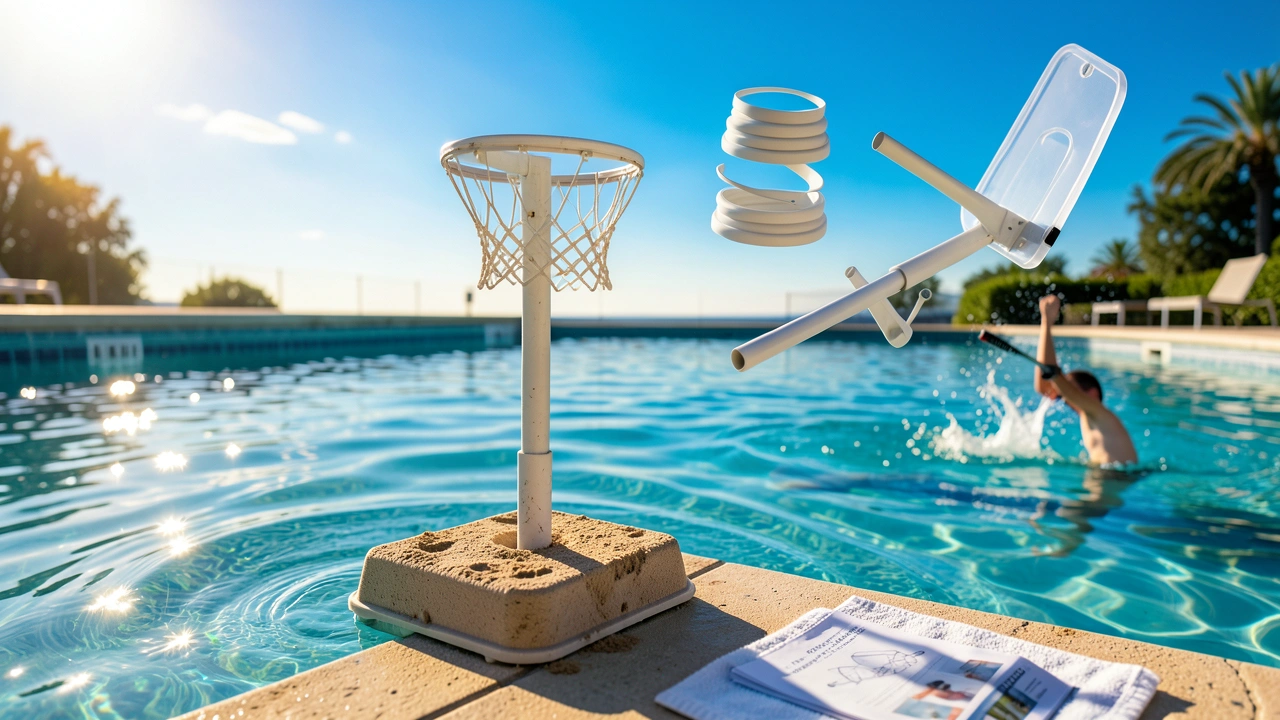
What is a Pool Basketball Hoop and Why Does Assembly Matter?
A pool basketball hoop is a water-resistant basketball system designed for poolside or in-pool play. It typically includes a weighted base, an adjustable pole, a backboard, and a rim with a net. The entire structure is made from materials like durable plastic, rust-proof metal, and UV-resistant components to withstand outdoor and aquatic environments.
Careful assembly is not just about getting the hoop to look right; it’s fundamentally a safety issue. An improperly assembled hoop can become unstable, leading to tipping, breakage, or injury during play. Ensuring every bolt is tightened and the base is sufficiently weighted guarantees a secure setup that can handle energetic games.
The process also determines the longevity of your product. Correct installation prevents premature wear and tear on components like the rim and backboard. Following the instructions helps you avoid cross-threading bolts or over-tightening parts, which can cause damage before you even begin playing.
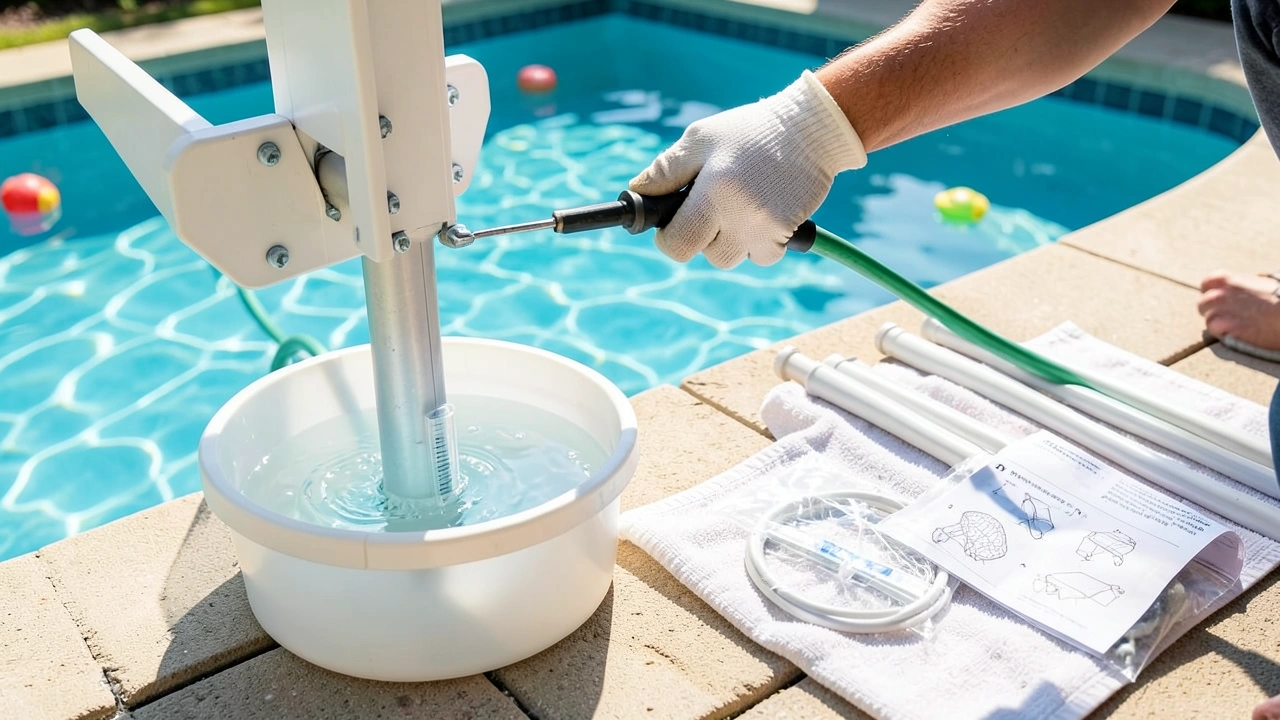
How to Put Together a Pool Basketball Hoop: Step-by-Step
This section breaks down the entire assembly process into manageable phases. Most manufacturers follow a similar sequence, but always defer to your specific model’s manual for unique parts or hardware. The entire process typically takes 45 to 90 minutes depending on your experience level.
Step 1: Unbox, Inventory, and Prepare Your Workspace
Begin by carefully removing all components from the box. Lay everything out on a clean, flat surface like a driveway or patio. This prevents small parts from getting lost in the grass and gives you a clear visual of the entire project.
- Use the parts list in the manual to check off every item: base, pole sections, backboard, rim, net, hardware kit (bolts, nuts, washers), and any anchors.
- Identify all the tools required. Most kits need a Phillips head screwdriver, a socket wrench, and an adjustable wrench. Some may include basic tools.
- Ensure you have water or sand ready if your base is designed to be filled. For sand, a small funnel can be very helpful.
- Clear the final installation area of debris. You’ll need enough space to maneuver the large backboard and to move around the base safely.
Important: Never attempt to assemble the hoop by a swimming pool if the ground is wet or slippery. Choose a dry, stable area nearby and move the finished product into position if possible.
Step 2: Assemble the Weighted Base
The base is the foundation of your hoop’s stability. Most models feature a hollow plastic tank that must be filled with either water or sand. Sand provides more weight and stability but makes the base immovable once filled.
Water is easier to handle but offers less ballast.
| Base Weighting Material | Pros | Cons |
|---|---|---|
| Sand | Heavier, more stable base, less affected by wind. | Very difficult to move or empty, can be messy to fill. |
| Water | Easy to add and remove, allows for repositioning the hoop. | Lighter weight, may need a more level surface to prevent tipping. |
To fill the base, locate the fill port on the top or side. Use a garden hose for water or a funnel and bucket for sand. Fill it completely to the recommended level.
Many bases have a plug; ensure it is securely tightened after filling to prevent leaks.
Step 3: Attach the Lower Pole Section to the Base
With the base stable, it’s time to connect the first part of the pole. This section usually attaches to a mounting plate or bracket on top of the base. Align the holes and insert the large bolts provided in the hardware kit.
Hand-tighten the bolts first to ensure everything is aligned. Then, use your socket wrench to secure them in a star pattern, similar to tightening a car tire. This ensures even pressure.
The pole should stand upright without wobbling at this stage.
Warning: Do not fully tighten all bolts on the pole until all sections are connected and aligned. Partially tightening allows for minor adjustments later.
Step 4: Connect Additional Pole Sections and Secure Height
If your hoop has an adjustable height, you will now add the upper pole sections. These typically connect with a telescoping mechanism or with bolts through pre-drilled height adjustment holes. Slide the upper pole into the lower section to your desired height.
Align the bolt holes for the height you choose. Insert the locking bolt and nut through both pole sections to fix the height permanently. Use two wrenches—one to hold the bolt head and one to tighten the nut—to ensure a secure fit.
A loose height bolt is a major safety hazard.
Step 5: Mount the Backboard to the Pole
This step often requires a second person for safety and ease. Lift the backboard and align its mounting bracket with the corresponding bracket at the top of the pole. The backboard will have pre-drilled holes that should match perfectly with the pole bracket.
Insert the provided bolts through the aligned holes from the backboard side. Secure them with washers and nuts on the bracket side. Tighten these bolts gradually, ensuring the backboard is level and centered.
Step back occasionally to check its alignment before final tightening.
Step 6: Attach the Rim and Net to the Backboard
The rim usually comes with a breakaway or fixed design. Locate the mounting flange on the backboard and align the rim’s base with it. For a breakaway rim, ensure the spring mechanism is in the correct position as per the manual.
Insert the bolts through the rim base and into the backboard flange. Secure them tightly. Once the rim is firmly attached, simply hook the net onto the rim’s hooks, starting from the bottom and working your way up.
Tip: If the net is difficult to attach, use a small pair of pliers to gently open a net loop, hook it onto a rim prong, and then crimp it closed. This prevents the net from coming off during play.
Step 7: Final Installation and Stability Check
Now that the hoop is fully assembled, move it to its final location beside the pool. Ensure the ground is level. If you filled the base with water, double-check that the plug is secure.
If you used sand, give the base a firm shake to ensure it feels solid.
Perform a comprehensive stability check. Push on the backboard and pole from different angles. There should be minimal sway.
Tighten any bolts that feel loose. The entire structure should feel rigid and safe.
What Common Mistakes Should You Avoid During Assembly?
Avoiding these pitfalls will save you time, frustration, and potential damage. The most frequent error is not reading the instructions thoroughly before starting. Skipping the inventory step often leads to discovering a missing part mid-assembly, halting your progress completely.
Another major mistake is using the wrong bolts or hardware. Manufacturers provide specific bolts for specific joints. Using a bolt that is too long can protrude dangerously, while one that is too short won’t secure the joint properly.
Always match bolt and nut pairs exactly as shown in the manual.
Over-tightening bolts is also common. This can strip threads, crack plastic components, or bend metal flanges. Tighten bolts until they are snug and secure, but do not use excessive force.
Finally, never skip weighting the base or use insufficient weight. A top-heavy hoop without a stable base is a serious tipping hazard.
| Mistake | Consequence | How to Avoid It |
|---|---|---|
| Ignoring the parts list | Missing parts halt assembly. | Inventory everything first and contact the manufacturer if parts are missing. |
| Using wrong hardware | Unstable joints, safety risk. | Use only the provided bolts, nuts, and washers for each specific step. |
| Over-tightening bolts | Stripped threads, cracked parts. | Tighten until snug. Use a wrench with a torque setting if available. |
| Under-weighting the base | Hoop tips over easily. | Fill the base completely with sand or water as recommended. |
| Assembling alone | Difficulty lifting, risk of injury. | Ask a friend to help, especially when mounting the backboard. |
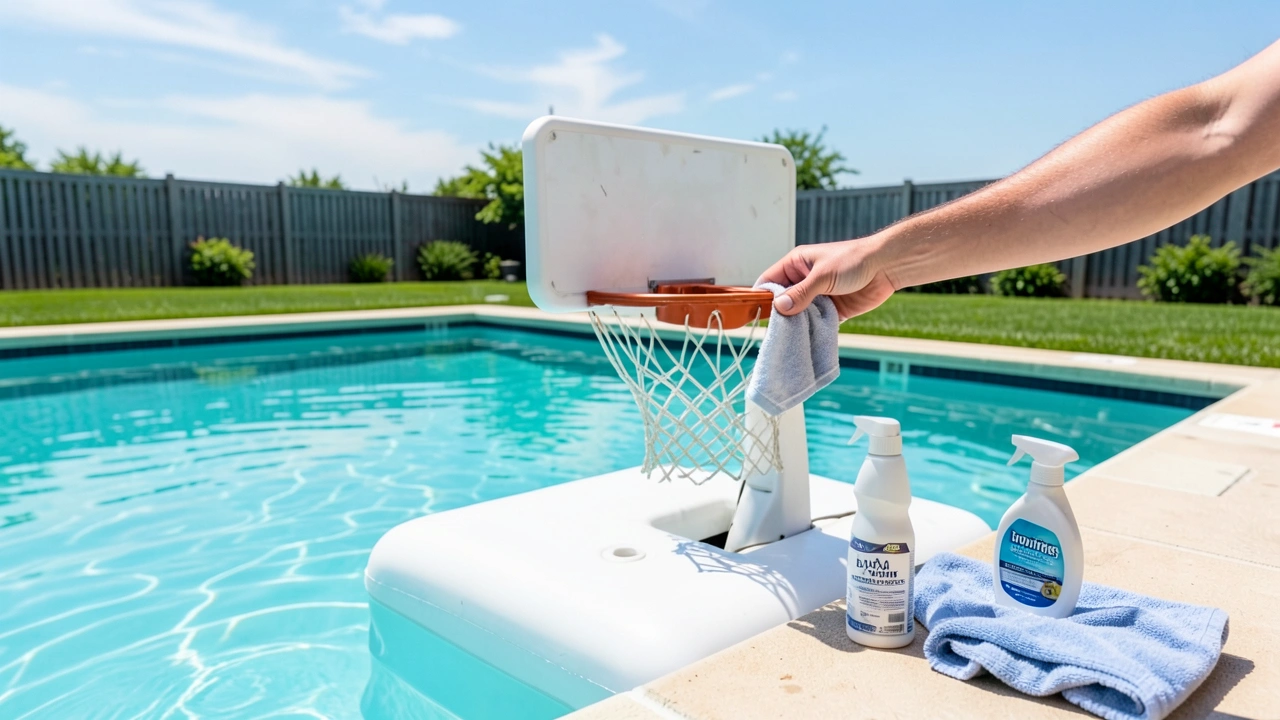
How to Properly Maintain Your Assembled Pool Basketball Hoop?
Once assembled, your hoop needs occasional care to stay safe and functional. A quick monthly inspection is a great habit. Check all visible bolts and nuts to ensure they haven’t loosened from vibration or use.
Pay special attention to the height adjustment bolt and the bolts securing the backboard.
The base should also be checked regularly. If you used water, ensure it hasn’t evaporated significantly, which reduces stability. Top it off as needed.
For sand-filled bases, check for any settling and add more if the weight feels inadequate. Inspect the base for cracks from sun exposure or impact.
The backboard and rim can be cleaned with mild soap and water to remove chlorine residue, sunscreen, or dirt. Do not use abrasive cleaners. Check the net for fraying and replace it when it becomes worn to prevent it from breaking during a game.
- Monthly Bolt Check: Inspect and tighten any loose hardware.
- Base Inspection: Verify weight level and check for cracks or leaks.
- Cleaning: Wipe down backboard and rim with a soft cloth and mild cleaner.
- Net Replacement: Replace the net at the first sign of significant wear or tears.
- Winter Care: If you live in a freezing climate, consider draining the base and covering the hoop or moving it into storage.
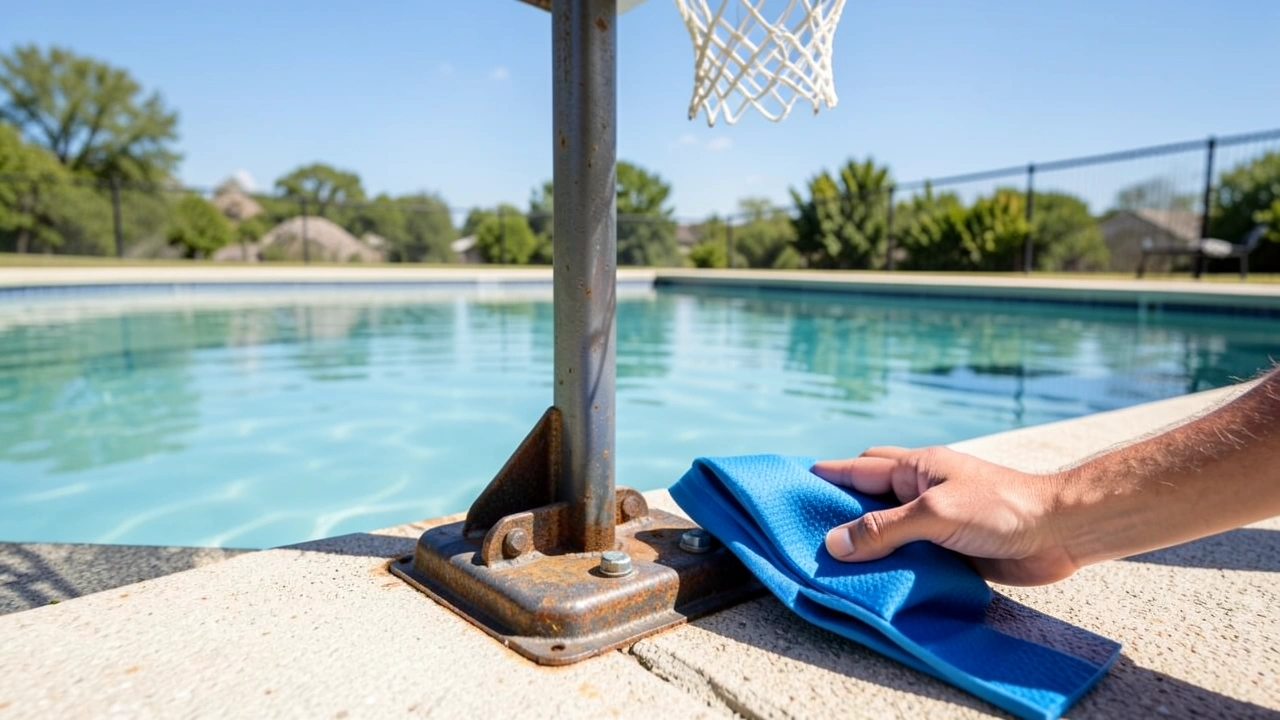
How to Ensure Long-Term Safety for Your Pool Basketball Hoop?
Safety is an ongoing responsibility, not just a one-time assembly task. Always supervise children when they are playing with the hoop. Establish clear rules, such as no climbing on the base or pole and no dunking on the rim, which can cause it to break or the entire structure to tip.
Regularly assess the hoop’s location. Ensure it is placed on the most level ground possible, away from pool edges where water could make the footing slippery. Make sure there is enough clearance around the hoop so players won’t run into fences, furniture, or other obstacles.
If you notice any damage during your inspections—such as a cracked base, bent pole, or broken rim—do not allow play to continue. Disassemble the damaged part and replace it using the manufacturer’s parts. A compromised structure can fail unexpectedly and cause injury.
Frequently Asked Questions
How long does it take to assemble a pool basketball hoop?
For most people, assembly takes between 45 and 90 minutes. This time can vary based on your experience, the complexity of the model, and whether you have a helper. Having all tools and parts ready beforehand will speed up the process significantly.
Do I need any special tools to put it together?
No special tools are usually required. A standard Phillips head screwdriver and a socket wrench (or adjustable wrench) are sufficient for most models. Always check the “Tools Required” section of your manual, as some brands may include the necessary tools in the box.
Can one person assemble a pool basketball hoop?
It is strongly recommended that two adults assemble the hoop, especially when lifting and mounting the backboard. The backboard is awkward and heavy, and attempting it alone risks injury or damage to the product. The rest of the steps can often be done solo with care.
Should I fill the base with water or sand?
Choose sand for maximum stability and if you don’t plan to move the hoop often. Choose water if you might need to relocate the hoop or store it for winter. Sand-filled bases are heavier and more wind-resistant, but water-filled bases are easier to empty and move.
How often should I check the bolts and base weight?
A visual and physical check once a month is a good practice, especially during periods of frequent use. Before the first use of each season, perform a more thorough inspection of all hardware, base condition, and net integrity to ensure everything is safe.
Final Thoughts
Assembling your pool basketball hoop is a rewarding project that leads to countless hours of fun. By following the step-by-step process carefully, avoiding common mistakes, and committing to regular safety checks, you create a safe and durable play environment. Remember to always prioritize stability and proper maintenance to protect your investment and ensure everyone can enjoy the game safely.

As the founder of RayaVila, Raya Quinn is passionate about helping consumers cut through the noise of online shopping. Through thorough research and unbiased recommendations, she creates content that makes buying decisions easier and more informed.