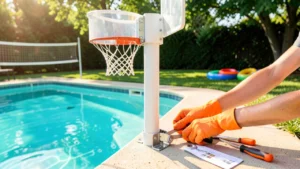
How to put a net on a pool basketball hoop is a simple task that dramatically improves your game by adding authentic basketball feedback. A proper net ensures the ball passes cleanly through the hoop for continuous play. This guide provides a clear, step-by-step process to install or replace your poolside basketball net correctly.
Simply put, attaching a net to a pool basketball hoop involves threading the net loops through the rim’s hook points and securing them. The process takes under 10 minutes with no special tools. A securely attached net prevents tangles and gives you that satisfying “swish” on every shot.
Key Takeaways
- How to put a net on a pool basketball hoop requires only the net itself and your hands for most standard models.
- Proper installation prevents the net from blowing away or tangling during play.
- Regular maintenance and timely replacement keep your hoop looking and performing its best.
- Using a net designed specifically for outdoor or pool use ensures maximum durability against sun and water exposure.
- The correct net length and attachment method contribute to a safer and more enjoyable poolside game.
What Tools and Materials Do You Need?
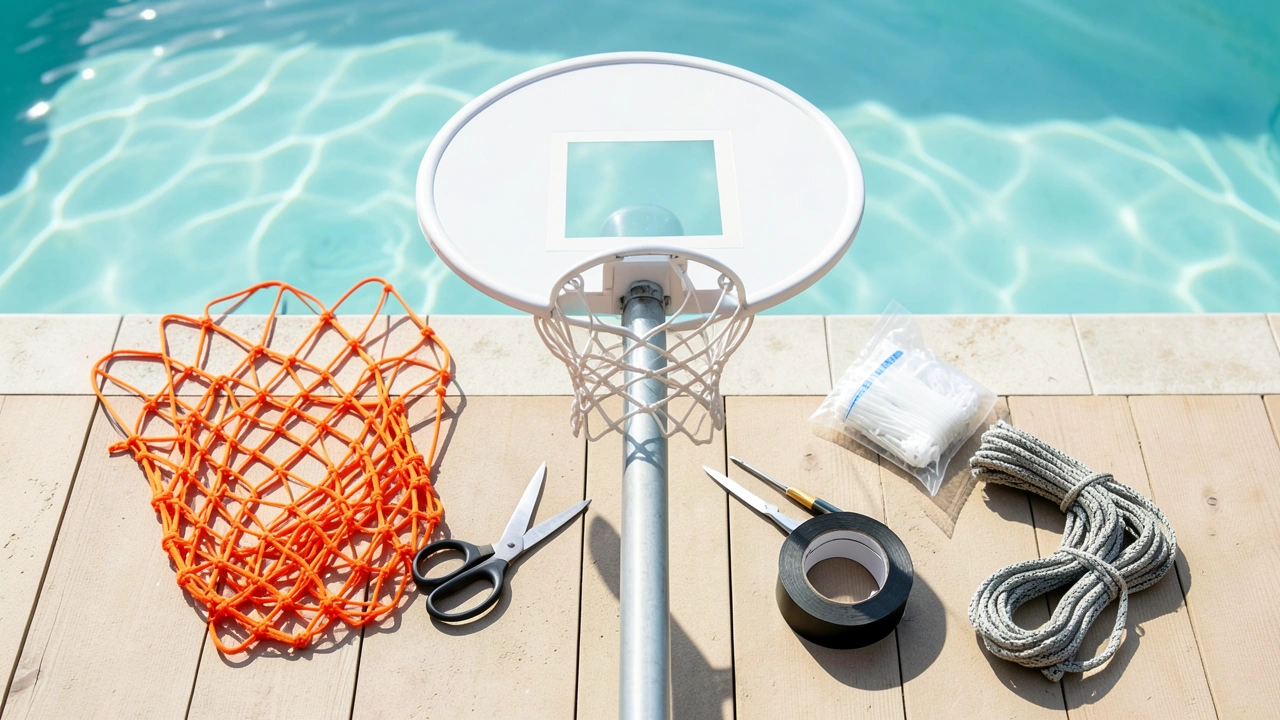
Before you begin installing your new pool basketball net, gather the necessary items. Fortunately, the list is short for most standard pool hoops. Having everything on hand makes the process smooth and quick.
The primary component is, of course, the replacement net itself. It’s critical to choose a net made for outdoor and pool environments. These are typically crafted from durable, water-resistant materials like nylon or polyester with UV treatment.
- Pool Basketball Net: Ensure it matches your hoop’s size (standard 18-inch diameter is common for pool hoops).
- Gloves (Optional): If the metal rim hooks are sharp or hot from the sun, light work gloves can protect your hands.
- Ladder or Sturdy Step (If Needed): For very tall, mounted hoops, a small step stool provides safe access.
- Scissors or Utility Knife: Needed only if you must trim a universal net to fit or remove old, frayed cord.
- Cleaning Cloth: For wiping down the rim before installation to remove debris or algae.
| Net Material | Pros | Cons |
|---|---|---|
| Nylon | Very strong, resists stretching, good UV resistance. | Can feel slightly stiffer than polyester. |
| Polyester | Excellent UV resistance, stays flexible, dries fast. | May stretch slightly more than nylon over time. |
| Stainless Steel Chain | Ultimate durability, permanent solution, vandal-resistant. | Heavy, expensive, does not provide the classic “swish.” |
The best choice for most residential pool hoops is a high-quality nylon or polyester net. According to the American Society for Testing and Materials (ASTM), synthetic fibers treated with UV inhibitors can last 2-3 times longer than untreated materials in sunny climates.
How to Safely Access Your Pool Basketball Hoop
Safety is the first priority. Pool environments are slippery. Assess how your hoop is mounted to determine the safest way to reach the rim.
Never overreach or balance precariously. The Consumer Product Safety Commission (CPSC) reports that falls are a leading cause of injury in recreational settings.
If your hoop is mounted on the pool deck or is a freestanding model at a low height, you may be able to reach the rim while standing firmly on the deck. Ensure the ground is dry before you begin. For wall-mounted or over-pool hoops that are taller, you need stable footing.
Warning: Never stand on the pool edge or any wet, unstable surface to reach the rim. If the hoop is too high, use a non-slip step stool placed on a flat, dry part of the deck. Never use a chair not designed for outdoor use.
For hoops mounted on a tall pole or backboard system, a small, sturdy step ladder is often the safest option. Place it on the most stable part of the deck. Always maintain three points of contact with the ladder.
Having a spotter nearby adds an extra layer of safety. Once you are safely in position, you can proceed with the installation.
Step-by-Step: How to Install the Net on the Rim
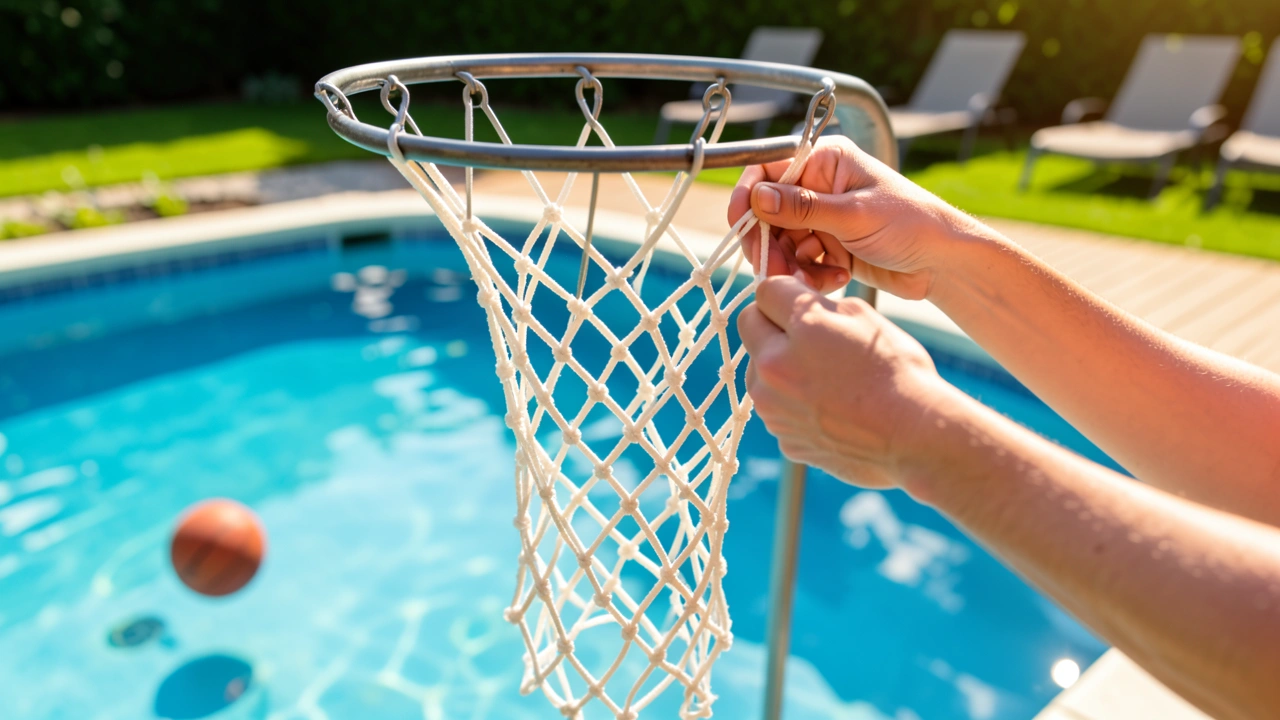
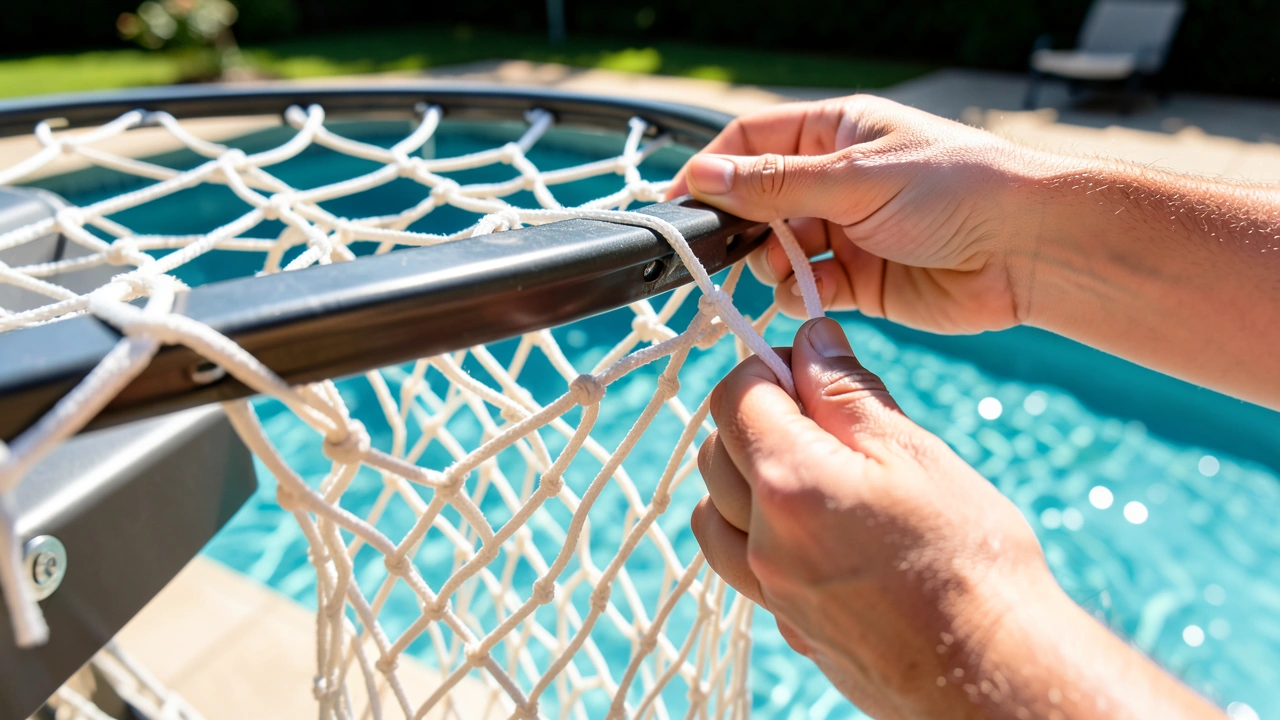
With the right net and safe access established, the attachment process is straightforward. Most pool basketball rims feature a series of small, welded metal loops or hooks around the underside. The net has corresponding loops at its top cord.
The goal is to connect them sequentially.
- Prepare the Rim: First, remove any remnants of the old net. Check the rim hooks for rust or damage. Wipe the rim clean with a cloth. This ensures a secure connection.
- Position the New Net: Unfold the new net and hold it by its top, corded edge. The wider opening of the net should face downward.
- Start at One Point: Choose a starting hook on the rim. Take the first loop on the net’s cord and hook it onto this metal point. Push it firmly to seat it.
- Work Your Way Around: Proceed around the rim, attaching the next net loop to the next rim hook. Use a consistent pattern, like clockwise. Keep the net untwisted as you go.
- Secure All Connections: After attaching all loops, double-check that every net loop is firmly seated on a rim hook. Give the net a gentle tug from below to ensure it’s secure.
- Test the Hang: Release the net. It should hang evenly in a symmetrical shape below the rim. Toss a basketball through to confirm it moves freely without snagging.
| Installation Step | Common Mistake to Avoid |
|---|---|
| Preparing the Rim | Skipping the cleaning step, which can lead to a loose fit. |
| Starting Attachment | Twisting the net before you begin, causing tangles later. |
| Working Around | Skipping a hook, which creates uneven tension and gaps. |
| Final Check | Not testing the net, leading to it falling off during the first game. |
The entire process typically takes less than five minutes. The satisfying result is a net that adds professional feel and functionality to your pool basketball setup.
How to Adjust and Tighten the Net for Perfect Fit
Some pool basketball hoops come with an adjustable tensioning system or a secondary cord at the net’s base. This allows you to customize how the net hangs and responds to a made basket. A properly adjusted net swishes cleanly without being too loose or too tight.
If your net has a bottom drawstring or cord, it’s used to gather the lower opening slightly. This can prevent the ball from passing through too slowly and can reduce wind interference. After installing the top loops, you can fine-tune the net’s shape.
Tip: For a classic basketball net look and function, adjust the bottom cord so the opening is about 8-10 inches in diameter. This allows the ball to fall through quickly while maintaining the iconic net movement.
To make adjustments, simply pull the bottom cord tighter or loosen it while observing the net’s shape. Secure it with the provided toggle or by tying a secure knot. If your net lacks this feature but is too long, you can sometimes trim the very bottom row of knots carefully, though this is not recommended as it can cause fraying.
The best solution is to ensure you purchase the correct length net for your rim size initially.
What Maintenance Extends Your Pool Net’s Lifespan?
Once installed, your pool basketball net will be exposed to harsh elements: sun, chlorine, saltwater, and constant moisture. Regular maintenance is key to maximizing its lifespan. A well-maintained net can last several seasons, while a neglected one may deteriorate in one summer.
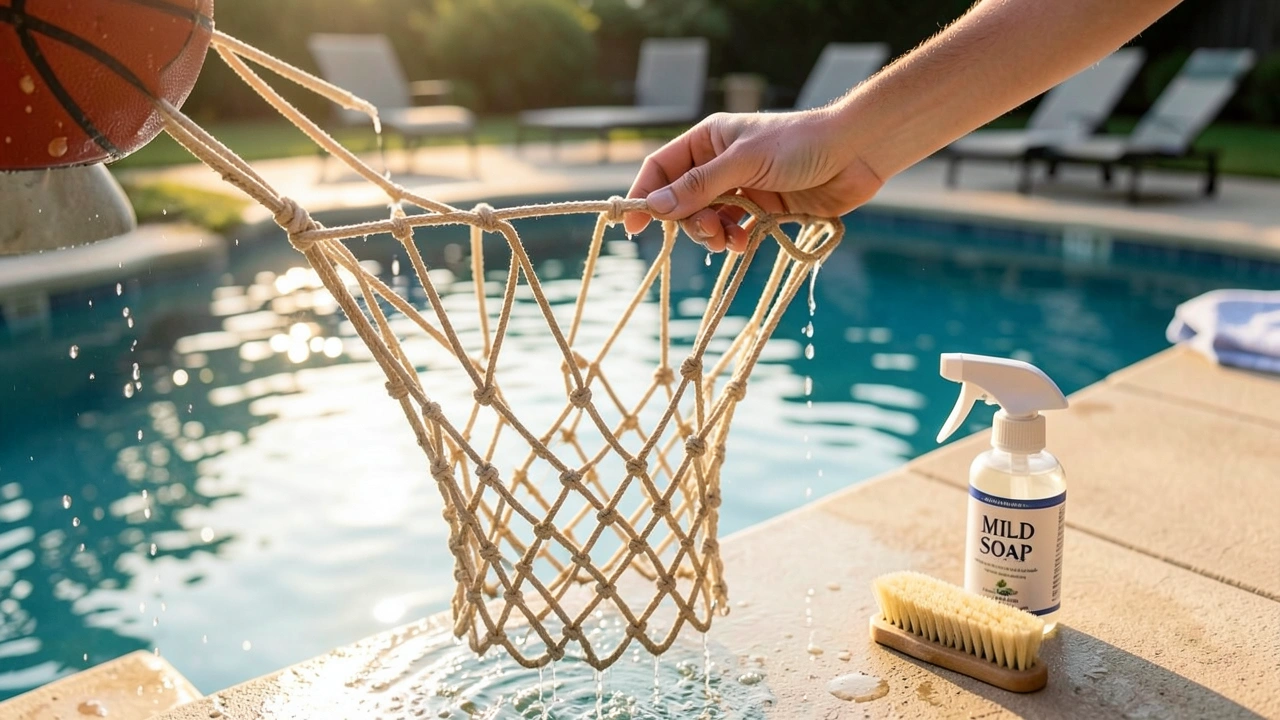
Rinsing the net with fresh water after use is the single most effective maintenance step. This washes away chlorine, salt, and other chemicals that break down synthetic fibers over time. Simply use a garden hose to rinse the net and rim thoroughly.
- Rinse After Each Use: A 30-second rinse with a hose removes damaging chemicals.
- Weekly Inspection: Check for signs of fraying, sun damage (color fading), or weak spots in the cord.
- Cleaning: For grime or algae, use a mild soap solution and a soft brush. Rinse exceptionally well.
- Winter Storage: In cold climates, remove the net before winter. Store it indoors in a dry place to prevent freezing and cracking.
- Prompt Repairs: If a loop tears, you can sometimes use a heavy-duty zip tie as a temporary fix, but replacement is the permanent solution.
The Pool & Hot Tub Alliance notes that regular chemical balancing in your pool also indirectly helps by reducing the harshness of the water itself. A net that appears dirty may just need a cleaning. However, if the fibers are visibly broken or the cord is brittle, it’s time for a replacement.
When Should You Replace the Pool Basketball Net?
Even with perfect maintenance, all pool basketball nets have a finite lifespan. Sun exposure is the biggest enemy, as UV rays slowly weaken synthetic fibers. Knowing when to replace the net prevents it from breaking mid-game and ensures safety and performance.
A net that has become significantly faded in color often indicates UV degradation. If the cord feels stiff or brittle to the touch, it has lost its flexibility and is prone to snapping. Visibly frayed or broken loops mean the net is no longer securely attached.
Important: A damaged net can pose a safety hazard. A net that breaks and falls into the pool can become an entanglement risk. It can also get caught in pool filters or skimmers, causing expensive damage to your pool equipment.
Consider replacing your net proactively every 1-2 seasons, depending on your climate and usage intensity. Investing in a new net periodically is far cheaper than dealing with pool filter repairs. It also keeps your game setup looking crisp and inviting.
Most pool sports retailers sell universal 18-inch nets compatible with the majority of pool hoops.
What Are Common Mistakes When Installing a Pool Net?
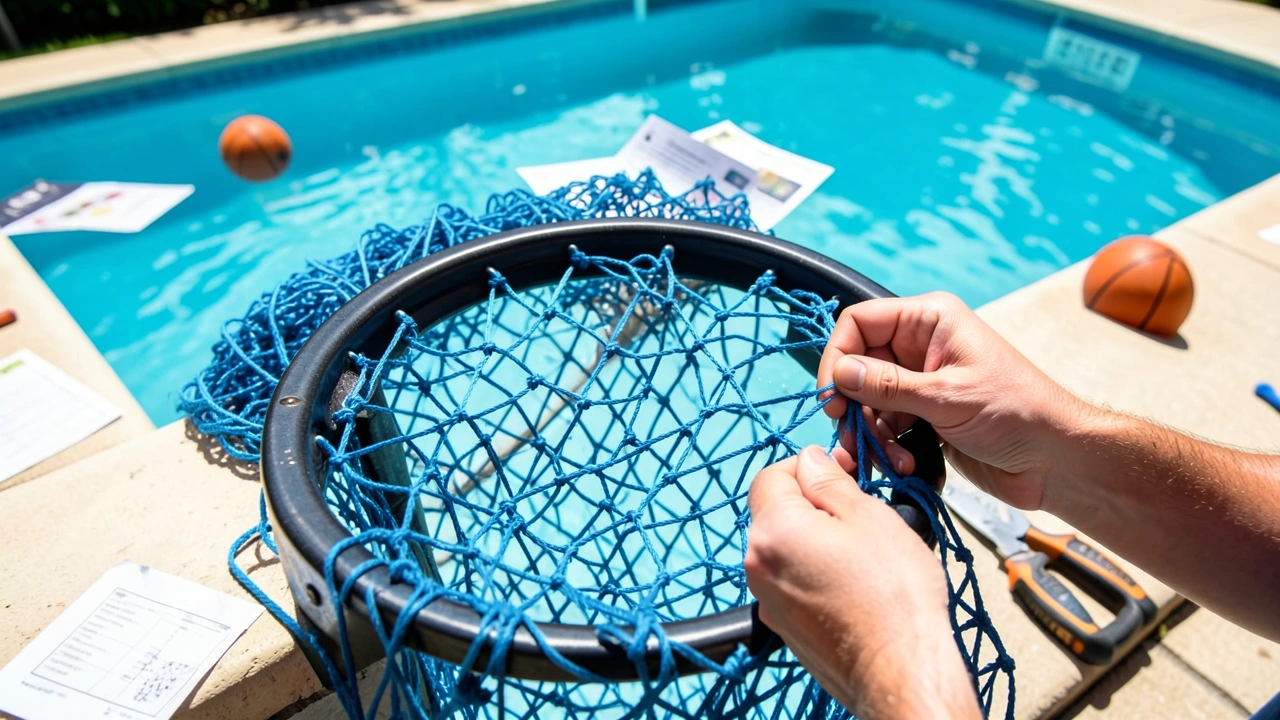
Avoiding a few common errors ensures your net installation is perfect the first time. These mistakes often lead to a net that falls off, tangles easily, or wears out prematurely. Learning from others’ experiences saves time and frustration.
- Using the Wrong Size Net: A net that is too large will hang awkwardly and tangle. One too small won’t cover the rim properly. Always measure or check your hoop’s specifications.
- Skiping Rim Preparation: Attaching a new net to a dirty or rusty rim reduces friction and can cause loops to slip off. Always clean the rim first.
- Ignoring UV Damage: Using a standard indoor net outdoors will lead to rapid failure. Only use nets rated for outdoor or pool use.
- Overtightening the Bottom Cord: Pulling the base cord too tight distorts the net’s shape and can strain the fibers, shortening its life.
- Neglecting the Post-Installation Check: Always test the net with a ball after installation. This confirms all connections are secure and the hang is correct.
By paying attention to these details, you ensure your pool basketball net functions as intended. It provides the authentic feel of the sport while withstanding the challenging poolside environment for as long as possible.
Frequently Asked Questions
How do I know what size net to buy for my pool basketball hoop?
Most pool basketball hoops use a standard 18-inch diameter rim, which is smaller than a regulation 10-foot basketball hoop. Check the product manual or measure the rim’s inner diameter. When in doubt, an “18-inch universal” net will fit the vast majority of pool hoops.
Can I use a regular indoor basketball net on my pool hoop?
It is not recommended. Indoor nets are not treated for UV resistance and will degrade quickly when exposed to sun and chemicals. They may also be a different size.
Always use a net specifically designed for outdoor or pool use.
How long does a pool basketball net typically last?
Lifespan varies based on material, climate, and maintenance. A high-quality nylon net with regular rinsing and winter storage can last 2-3 seasons. A neglected net in intense sun may only last one season before significant fraying occurs.
The net keeps blowing off in the wind. What can I do?
Ensure each loop is securely seated on its rim hook. You can also use small, stainless steel clips or heavy-duty zip ties to secure key loops, but be aware this may void any warranty. The best solution is a net designed for high-wind areas, often with reinforced loops.
Is installing a pool basketball net difficult?
No, it is very easy. The process involves simply hooking each loop on the net’s cord onto the corresponding hooks on the rim. Most people can complete the installation in under 10 minutes with no tools required.
The main challenge is safely accessing the rim.
Final Thoughts
Knowing how to put a net on a pool basketball hoop empowers you to maintain your poolside game with ease. The process is simple: ensure you have the right net, access the rim safely, and attach each loop securely. Regular rinsing and seasonal maintenance will keep the net performing like new.
With a properly installed net, you’re ready for countless hours of fun, competitive play in your backyard.

As the founder of RayaVila, Raya Quinn is passionate about helping consumers cut through the noise of online shopping. Through thorough research and unbiased recommendations, she creates content that makes buying decisions easier and more informed.