
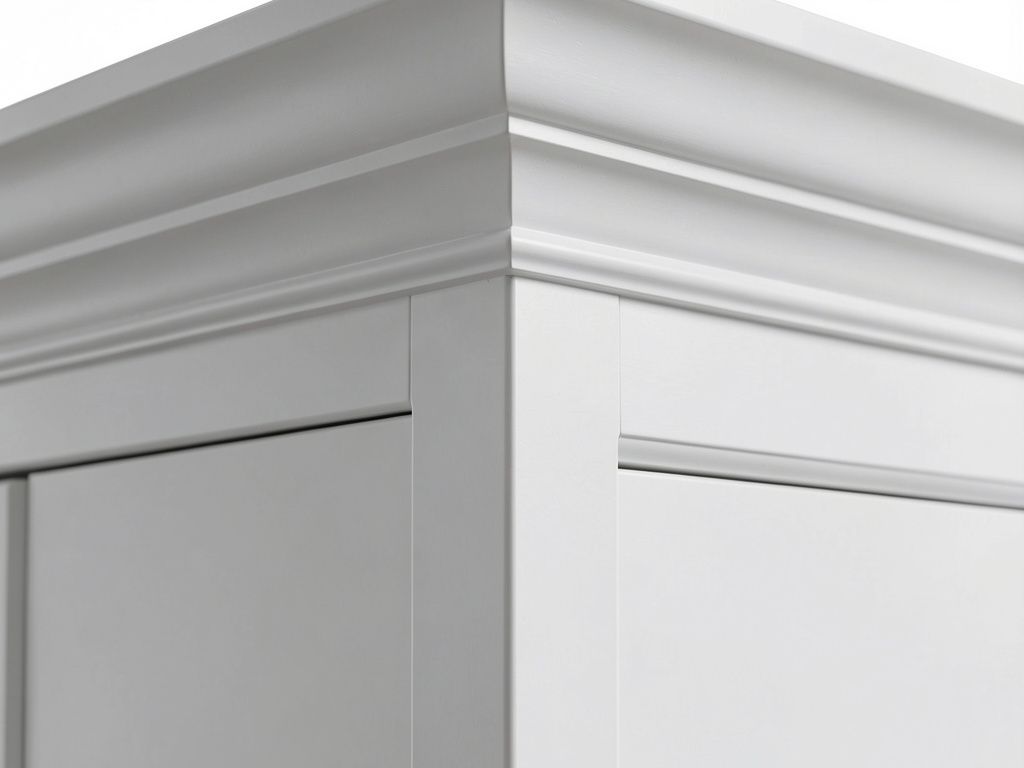
Adding crown molding to your cabinets instantly makes them look like high-end, custom furniture. The process requires precision, but with the right techniques, any dedicated DIYer can achieve professional results.
This guide covers the tools you need, the exact cutting process, and the tips that separate a good job from a great one.
Quick Verdict: Simply put, cutting crown molding for cabinets requires you to cut the piece upside down on a miter saw. This creates the correct compound angle so the molding sits flat against both the top of the cabinet and the front edge. Always make test cuts on scrap wood first to verify your angle settings.
Key Takeaways
- Crown molding has a spring angle (typically 38 or 45 degrees) that the saw needs to account for by cutting the piece upside down.
- Inside corners on cabinets should be coped instead of mitered to create a seamless joint that won’t gap open over time.
- Measure the top edge of each cabinet section individually rather than trusting your original tape measure readings.
- Using a stop block on your miter saw guarantees identical lengths for repetitive cabinet sections.
- Glue and brad nails provide the strongest bond for attaching crown molding to cabinet tops.
Tools and Materials You Need
Having the right equipment makes how to cut crown molding for cabinets much easier. You do not need a full cabinet shop, but specific tools will save you time and frustration.
| Tool | Purpose | Recommended Type |
|---|---|---|
| Miter Saw | Cutting precise angles | 12-inch compound sliding miter saw |
| Coping Saw | Cutting inside joint profiles | Swivel blade coping saw |
| Tape Measure | Measuring cabinet sections | 25-foot tape with 1/8-inch marks |
| Brad Nailer | Attaching molding to cabinets | 18-gauge pneumatic or cordless |
| Wood Glue | Bonding joints | Titebond II or III |
| Sandpaper | Smoothing cut edges | 120- and 220-grit |
Tip: Invest in a high-quality saw blade with 60 teeth or more. A fine-tooth blade leaves a smoother edge, which reduces the need for caulk and touch-up paint.
Understanding Spring Angle Before You Cut
Spring angle is the single most important concept in cutting crown molding. It refers to the angle between the back of the molding and the wall or cabinet face when the molding is sitting flush on the top surface.
The two standard spring angles are 38 degrees and 45 degrees. The 45-degree spring is most common for cabinets because it allows for a more dramatic profile. You need to know this angle because the miter saw must compensate for it by tipping the molding backward.
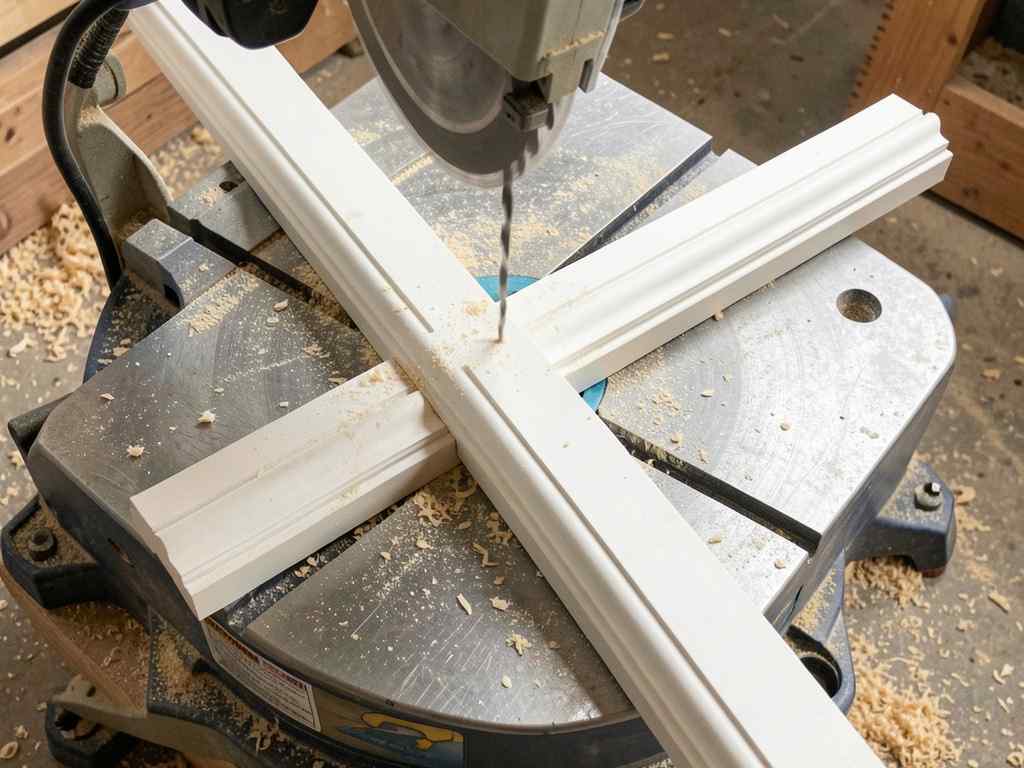
When you learn how to cut crown molding for cabinets, the universal rule is to cut the piece upside down. This places the top of the crown against the saw fence and the bottom on the saw base. The saw blade then cuts the correct compound miter and bevel automatically.
Step-by-Step Cutting Process
Follow these steps in order for the most accurate results. Rushing the setup phase is the number one cause of failed cuts.
Step 1: Measure Each Cabinet Section Separately
Do not assume all cabinets are the same width. Measure the top edge of each cabinet section where the molding will sit. Write down each measurement and label it clearly.
For corner cabinets, measure the left side and the right side separately. Crown molding for cabinets requires individual pieces for each face of the cabinet.
- Measure along the top front edge of the cabinet.
- Add 1/8 inch to each measurement for a tight fit.
- Double-check your measurements after cutting the first piece.
Step 2: Set Your Miter Saw for Upside-Down Cutting
Place the crown molding upside down on the saw deck. The bottom of the crown rests against the fence, and the top of the crown sits on the base. For a 45-degree spring angle, keep the miter saw bevel at 0 degrees and set the miter to 45 degrees for corners.
For outside corners, set the miter to 45 degrees left for the left piece and 45 degrees right for the right piece. For inside corners, set the miter to 45 degrees as well, but you will cope the final joint instead of relying on the miter alone.
Tip: Cut a few test pieces on scrap molding to dial in your angles. Place them in the corner to verify the gap is minimal before cutting your final pieces.
Step 3: Cut the Straight Flat Stock First
Start with the longest straight runs. Cut these pieces square (90 degrees) on both ends. These sections sit between the corner pieces. Use a stop block on your saw to guarantee every piece for identical cabinets matches exactly.
Sand the cut ends lightly with 120-grit sandpaper to remove any saw marks. This ensures a tight glue joint when you assemble the pieces.
Step 4: Cut the Outside Corners with a Miter
Outside corners on cabinets typically point outward into the room. Cut a 45-degree miter on each piece. Remember to cut the molding upside down. Hold the piece firmly against the fence to prevent the molding from rolling during the cut.
Test the two pieces together. The inside corner of the miter should meet perfectly with no gap on the visible edges. If you see a gap, adjust your miter angle by 1 degree at a time until the joint closes.
Step 5: Cope the Inside Corners for a Seamless Fit
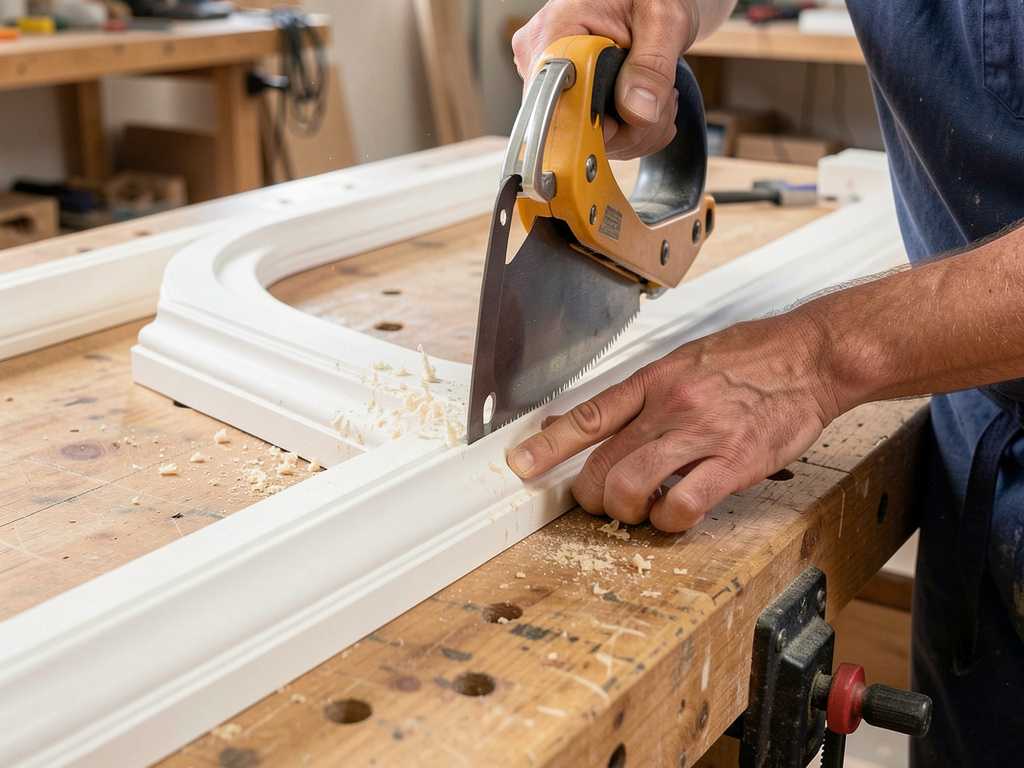
Coping is the technique of cutting the profile of one piece of molding so it overlaps the profile of the adjacent piece. This creates a gap-proof joint that handles seasonal wood movement.
Cut a 45-degree miter on the end of the piece that will overlap. Then use a coping saw to cut along the profile of the molding. Angle the coping saw blade backward slightly so you undercut the edge. This ensures the shoulder of the joint sits tight and the front edge touches perfectly.
- Cut the miter first to establish the profile lines.
- Angle the coping saw at 45 degrees to back-cut the edge.
- Use a round file to clean up tight curves in the profile.
Step 6: Dry Fit Everything Before Gluing
Place all the cut pieces on the cabinet tops without glue or nails. Check every joint for gaps. Tap the pieces together gently with a block of wood and a hammer if they are slightly tight.
Mark any pieces that need adjustment. It is much easier to re-cut or sand a piece before it is glued in place. This step saves hours of frustration later.
Step 7: Apply Glue and Secure with Brad Nails
Apply a thin bead of wood glue on the back edge of the molding that contacts the cabinet top. Also apply glue to the mitered and coped joints. Position the molding and use a brad nailer to attach it.
Place nails every 6 to 8 inches along the molding. Angle the nails slightly downward so they catch the cabinet top. Countersink the nail heads slightly below the surface so you can fill them with wood putty.
Step 8: Fill, Sand, and Finish the Joints
Fill all nail holes with a stainable or paintable wood filler. Allow the filler to dry completely. Sand the filled areas smooth with 220-grit sandpaper.
Apply primer and paint to the entire molding assembly. Painting the assembly after installation hides the joints and creates a unified look. For stained molding, use a color-matched filler and carefully apply stain to the filled areas.
Warning: Never rely on caulk alone to hide large gaps in crown molding. Caulk shrinks over time and the gap will reappear. Coped joints and tight miter cuts are the only reliable way to achieve a lasting professional finish.
Common Mistakes to Avoid
Even experienced woodworkers make errors when cutting crown molding for cabinets. Here are the most frequent problems and how to avoid them.
- Measuring incorrectly: Always measure the exact top edge of the cabinet where the molding sits, not the floor or the box below it. Cabinet tops can vary by 1/8 inch or more.
- Cutting right-side up: Cutting crown molding right-side up on a miter saw inverts the angles. The top of the molding must touch the fence, and the bottom must rest on the saw base.
- Not coping inside corners: Standard miter cuts on inside corners will open up as wood expands and contracts with humidity changes. Coped joints remain tight for years.
- Skipping the dry fit: Skipping the dry fit step can lead to discovering big gaps after the glue has set. A dry fit lets you fix fit issues without ruining the final piece.
- Using too many nails: Over-nailing weakens the molding and creates unnecessary holes. One nail at each stud location is usually sufficient.
Important: Humidity changes can cause the wood to move as much as 1/16 inch across a 36-inch cabinet section. Coping inside corners instead of simply mitering them gives the joint room to move without creating an ugly gap.
Pro Tips for Professional Results
These advanced techniques will take your work from good to truly professional.
- Back-bevel the miter cuts: When cutting a miter for an outside corner, tilt the saw blade by 1 degree back. This guarantees the front edge of the molding touches first, eliminating any visible gap.
- Use a template for repetitive cuts: Create a template of the inside and outside corner cuts on a piece of scrap wood. Hold this template against the molding to mark your cut lines with a knife.
- Mark the face of the molding: Crown molding has a subtle curve. Mark the top edge on the back side before you cut. This helps you orient the piece correctly every time.
- Pre-finish the molding before installation: Painting or staining the crown molding before you cut and install it saves masking time. You only need to touch up the cut ends and nail holes after installation.
- Tighten joints with a pin nailer: Use a 23-gauge pin nailer on the face of the joint for outside corners. The pinholes are so small they require almost no filler.
Troubleshooting Common Fit Issues
When how to cut crown molding for cabinets goes wrong, the problem is usually an angle miscalculation. Use this table to diagnose and fix fit issues.
| Symptom | Likely Cause | Solution |
|---|---|---|
| Gap at the top of the molding | Spring angle is set too low | Increase the bevel angle on the saw by 1-2 degrees |
| Gap at the bottom of the molding | Spring angle is set too high | Decrease the bevel angle on the saw by 1-2 degrees |
| Outside corner has a gap in the center | Miter angle is too low or too high | Adjust the miter angle by 1/2 degree and test again |
| Molding does not sit flat on the cabinet | Debris or old caulk on the cabinet top | Clean the cabinet top thoroughly before installation |
| Molding length is too short | Measurement taken from the wrong surface | Measure from the back of the cabinet to the face frame |
Frequently Asked Questions
What angle do you cut crown molding for cabinets?
The most common angle is a 45-degree miter cut for corners. You make this cut with the molding upside down on the saw. The spring angle of the molding determines the bevel setting, but for standard 45-degree spring molding, the bevel stays at 0 degrees.
Can you use a miter box instead of a power miter saw?
Yes, a miter box with a fine-tooth backsaw works for small projects. The challenge is holding the molding upside down at the correct angle while sawing. A power miter saw is much faster and more accurate, especially for repetitive cuts across multiple cabinet sections.
Should crown molding be flush with the top of the cabinet?
Crown molding typically sits flush against the top of the cabinet face frame. It can extend slightly above or below depending on the style you want. The top edge of the molding usually touches the ceiling or a light rail. The bottom edge sits flush on the cabinet top.
What is the difference between 38-degree and 45-degree spring angle?
The 45-degree spring angle creates a steeper profile, which gives the molding a more dramatic look. A 38-degree spring angle has a lower profile and is more traditional. Most cabinet applications use a 45-degree spring angle for the best proportion against the cabinet size.
Do I need to cope both ends of an inside corner?
No, you only cope one end of the inside corner piece. The square-cut end of the adjacent piece butts into the wall. The coped end of the second piece overlaps the first piece, hiding the joint entirely. This method creates one seamless inside corner.
How do you cut crown molding for cabinets without a coping saw?
You can use a Dremel tool with a sanding drum to shape the profile instead of a coping saw. Some people use a sharp utility knife to shave the profile down in layers. A coping saw remains the fastest and most accurate tool for this specific task.
Final Thoughts
Cutting crown molding for cabinets comes down to measuring accurately, understanding the spring angle, and always cutting upside down. Coping the inside corners separates an average installation from a truly professional one. Take your time with the setup and test cuts, and you will get tight joints that look great for years.