Converting a portable basketball hoop to an in-ground setup is a question many hoop owners ask when they desire more stability and a permanent court. Many people invest in a portable system for its convenience and lower initial cost. However, they often find the base wobbles or shifts during play, leading them to dream of a solid, in-ground installation.
This guide explores whether that conversion is feasible, breaks down the key differences between hoop types, and provides clear, cost-effective alternatives. You will learn why a direct swap is rarely practical and discover the best path to achieving a permanent, sturdy basketball setup in your driveway or backyard.
Simply put, you cannot directly convert a standard portable basketball hoop’s components into a true in-ground system. The pole designs, base mechanisms, and structural foundations are fundamentally different. Instead, the best solution is to invest in a new, dedicated in-ground hoop system with a concrete anchor kit, which provides the permanence and play quality you are seeking.
Key Takeaways
- Portable basketball hoop systems are engineered for mobility and temporary placement, using a weighted base and a distinct pole design that differs from permanent models.
- A direct conversion of a portable hoop to in-ground is not feasible for most models because the components are not interchangeable and lack the structural integrity for permanent installation.
- The most effective path to a permanent court is purchasing a new in-ground basketball hoop with a ground sleeve or anchor system, which offers superior stability and a professional playing experience.
- Cost-effective alternatives, like enhancing your portable hoop’s stability or building a dedicated court surface, can improve play without a full system replacement.
- Professional installation is highly recommended for in-ground systems to ensure safety, proper anchoring, and optimal hoop height and alignment.
What Is the Difference Between Portable and In-Ground Hoops?
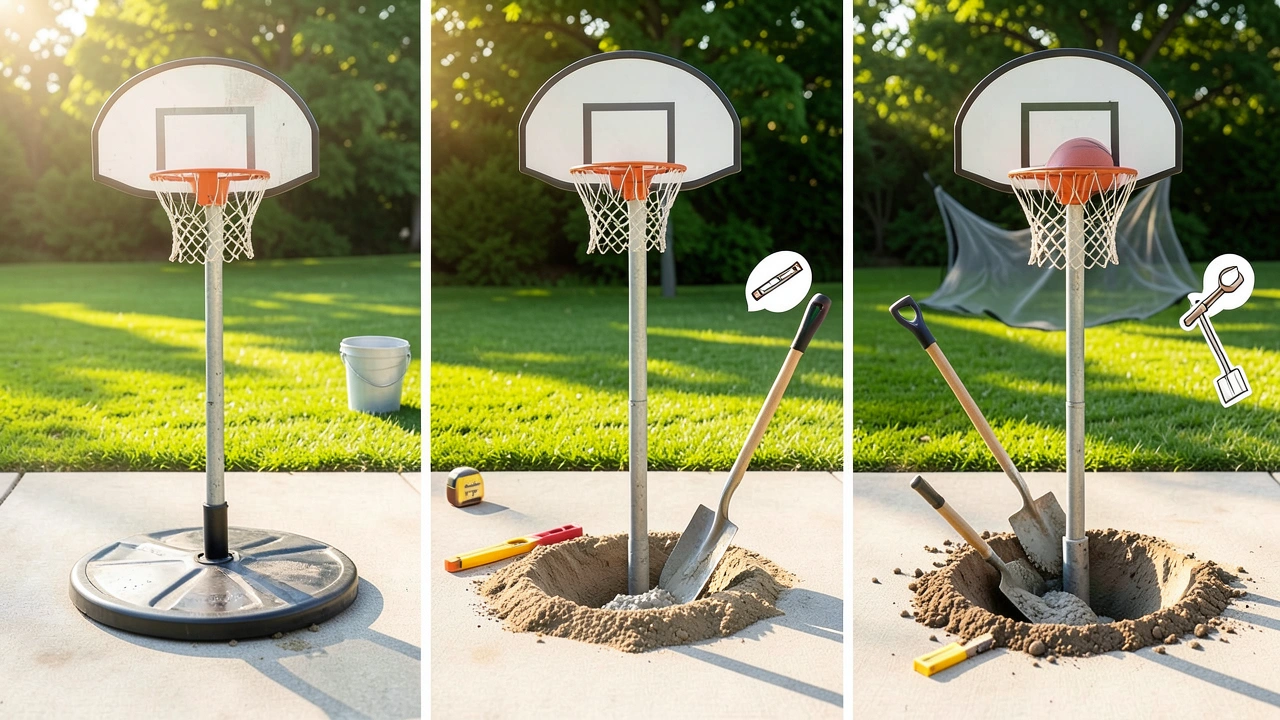
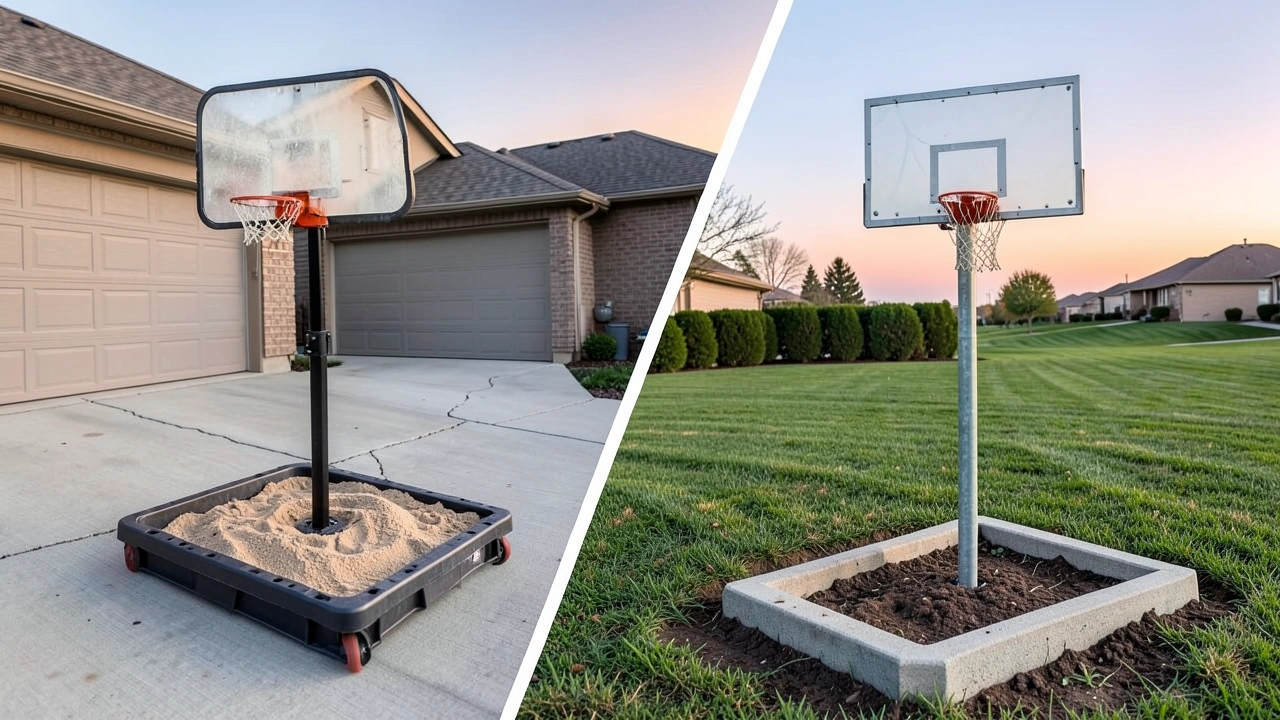
Understanding the core design differences explains why conversion is impractical. Portable hoops are self-contained units designed for setup and takedown. In-ground hoops are permanent fixtures anchored into the earth.
Their engineering serves two completely different purposes.
The primary distinction lies in the foundation. A portable hoop relies entirely on a large plastic base that you fill with sand or water for ballast. An in-ground hoop’s stability comes from a concrete footing poured several feet into the ground, to which a ground sleeve or J-bolt anchor is attached.
The poles themselves are also constructed differently, with in-ground poles often being heavier-gauge steel.
| Feature | Portable Hoop | In-Ground Hoop |
|---|---|---|
| Foundation | Weighted plastic base (sand/water) | Concrete footing with anchor system |
| Pole Attachment | Bolted to the top of the base unit | Inserted into a ground sleeve or bolted to anchor |
| Stability | Moderate; can wobble and shift | Excellent; feels like a professional court |
| Portability | Designed to be moved | Permanent installation |
| Typical Cost | $150 – $600 | $400 – $2,500+ |
This table clearly shows that the two systems are built on entirely different principles. The pole of a portable hoop is not designed to withstand the forces applied to it without the counterbalance of a large, weighted base at its immediate foot.
Why Can’t You Directly Convert a Portable Hoop?
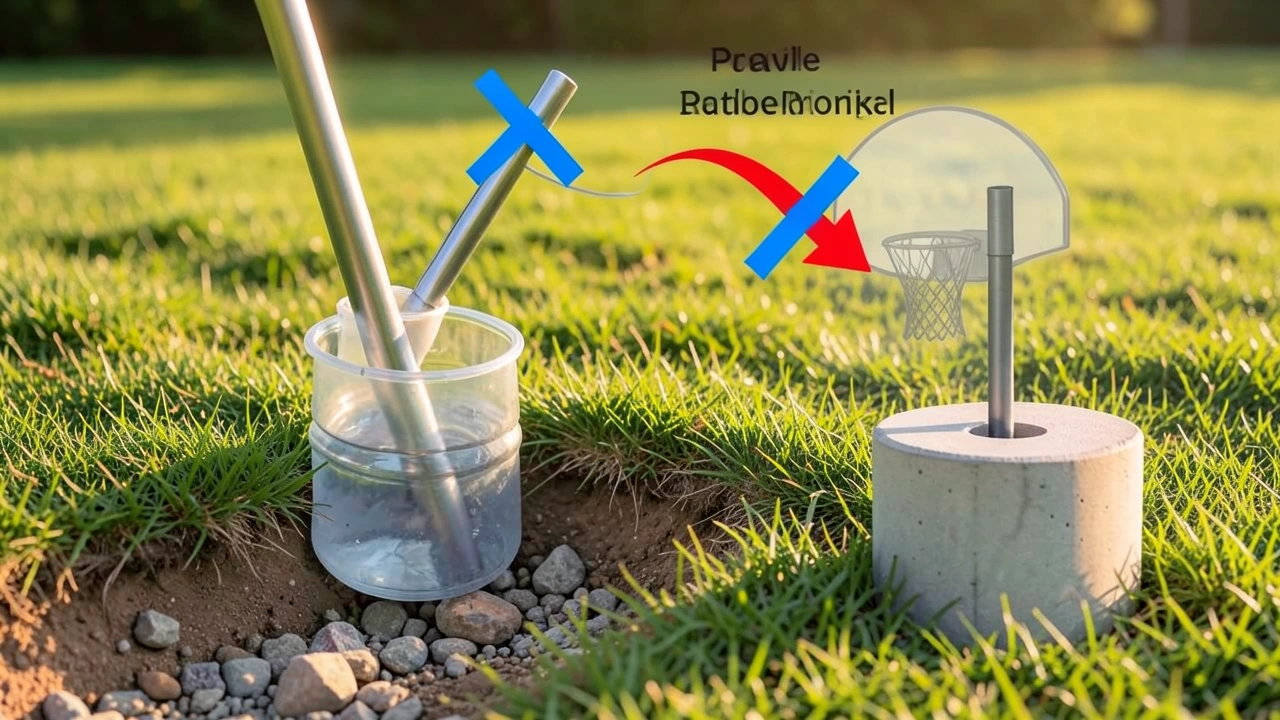
Attempting to convert a portable hoop presents significant safety and structural challenges. Manufacturers design these systems as integrated units. The pole, backboard support, and base are engineered to work together.
Separating them compromises the entire structure.
The main reasons a conversion fails are the mismatched connection points and insufficient material strength. The base of a portable hoop has a specific mounting plate. It is not compatible with a ground sleeve or concrete anchor.
Drilling new holes or welding brackets to a portable pole can weaken the metal, leading to a dangerous collapse during play.
Warning: Attempting to modify a portable hoop for permanent installation can void your warranty and create a serious safety hazard. A failing hoop can cause injury to players and damage to property.
Even if you could physically attach the pole to the ground, the hoop would lack the necessary rigidity. In-ground systems use heavier steel poles and often include additional support braces that portable models do not. The American Society of Home Inspectors (ASHI) notes that improperly anchored sports equipment can pose liability risks for homeowners.
Cost-Effective Alternatives to In-Ground Conversion
Since a direct conversion is off the table, consider these practical alternatives to improve your playing experience. These solutions address stability and performance without the cost of a full system replacement. They are perfect for renters or those on a budget.
You can dramatically enhance a portable hoop’s stability with a few key modifications. Alternatively, focusing on the court surface itself can reduce perceived wobble and improve ball response. Here are the best strategies:
- Reinforce the Existing Base: Fill the base completely with dry sand instead of water. Sand is denser, adds more weight, and won’t evaporate. You can also add additional weight by placing sandbags or cinder blocks around the base.
- Create a Level Surface: Ensure the hoop is on a perfectly flat, hard surface like asphalt or concrete. A slope or uneven ground is the primary cause of shifting. Use a level to check before final placement.
- Install a Base Stabilizer Kit: Some aftermarket kits are available that bolt to the existing base and provide a wider footprint. This distributes weight more evenly and reduces tipping.
- Use a Backboard Stabilizer: For hoops with a glass or acrylic backboard, adding support braces that connect the backboard frame to the pole can reduce vibration and improve rebound consistency.
- Focus on Court Quality: A well-maintained, clean playing surface with crisp lines makes the game feel more professional, distracting from minor equipment limitations.
How to Properly Install an In-Ground Basketball Hoop
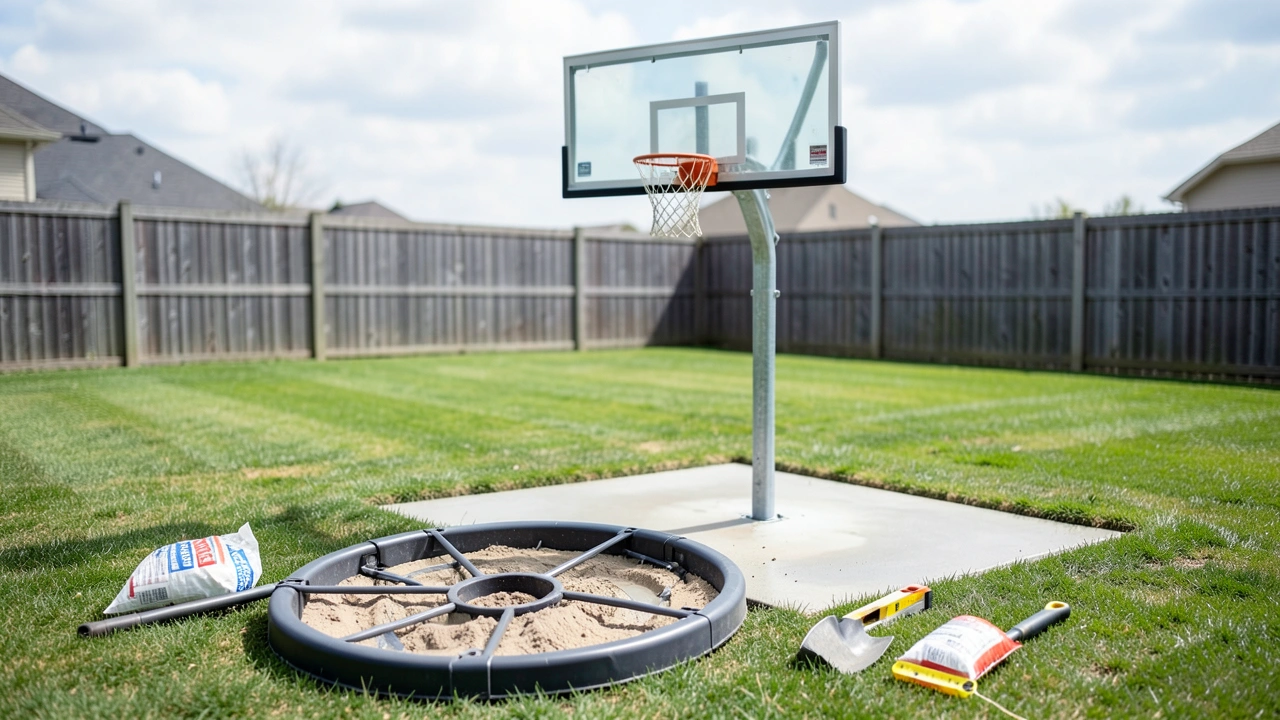
If you decide to invest in a permanent system, proper installation is critical. The process involves excavation, concrete work, and precise assembly. While it can be a DIY project for the experienced, hiring a professional is often the wisest choice.
This ensures safety and longevity.
The core of the installation is the anchor system. The most common method uses a ground sleeve. A concrete footing is poured, and the sleeve is set into the wet concrete.
Once cured, the pole slides into the sleeve and is secured with bolts. This allows for future height adjustments and pole replacement if needed.
Follow this general step-by-step process. Always refer to the specific instructions included with your hoop system, as designs vary. Permits may be required in your area, so check with your local building department first.
- Choose the Location: Select a flat area with proper drainage. Ensure there is enough space for safe play around the backboard and that the hoop will not interfere with underground utilities. Call 811 before you dig.
- Excavate the Hole: Dig a hole for the concrete footing, typically 12-18 inches in diameter and 24-36 inches deep, depending on your frost line and the manufacturer’s specifications.
- Prepare and Pour Concrete: Mix and pour concrete into the hole. Use a high-strength mix. Insert the ground sleeve or J-bolt anchor into the wet concrete, ensuring it is perfectly plumb and at the correct height.
- Allow to Cure: Let the concrete cure completely. This is non-negotiable and can take 3-7 days. Do not attach the pole during this period.
- Assemble and Mount the System: Once cured, assemble the pole, backboard, and rim according to the manual. Slide the pole into the ground sleeve and secure it. Adjust the height to the official 10 feet.
- Final Adjustments: Tighten all hardware. Check the rim torque and ensure the backboard is level. Do a final safety inspection before use.
Tip: For a truly professional finish, consider hiring a concrete contractor for the footing and an installer from a sporting goods store. The combined cost often provides excellent value for peace of mind and a perfect setup.
Who Should Consider an In-Ground Setup?
An in-ground basketball hoop is a significant investment, both in cost and permanence. It is not the right choice for everyone. Understanding who benefits most helps you decide if it’s a worthwhile upgrade for your home.
This setup is ideal for serious players and families committed to the sport.
Consider an in-ground system if you fall into one of these categories. The benefits of stability and a professional feel are most appreciated by these users. According to the Sporting Goods Manufacturers Association (SGMA), households with frequent players see a higher return on investment from permanent equipment.
- Serious Young Athletes: Children or teens training for school or competitive teams need consistent, stable practice conditions to develop proper shooting form.
- Passionate Adult Players: Adults who play regularly for fitness or recreation will enjoy the improved game quality and durability.
- Home Court Owners: Homeowners building a dedicated sport or entertainment area in their driveway or backyard.
- Those with Permanent Residence: If you own your home and plan to stay long-term, an in-ground hoop adds value and enjoyment for years.
- Players Prioritizing Safety: The rigid stability of an in-ground system eliminates the wobble and shift that can lead to awkward landings and injuries.
Common Mistakes to Avoid When Upgrading Your Hoop
Whether you reinforce a portable hoop or install a new in-ground system, certain missteps can undermine your efforts and safety. Being aware of these pitfalls saves you time, money, and frustration. Plan carefully to avoid these common errors.
The most frequent mistake is inadequate planning. Rushing into a project without the right tools, materials, or knowledge often leads to poor results. Always prioritize safety and follow manufacturer guidelines to the letter.
| Mistake | Consequence | How to Avoid It |
|---|---|---|
| Not Checking Underground Utilities | Risk of hitting gas, water, or electric lines, causing damage, outages, or injury. | Always call 811 (“Call Before You Dig”) a few days before excavation. |
| Using Insufficient Concrete | Weak foundation that can heave, crack, or tilt, making the hoop unstable. | Follow the manufacturer’s depth and diameter specs. Use a high-strength concrete mix. |
| Forgetting to Account for Height Adjustment | Installing the ground sleeve too high or low, limiting future adjustment or play. | Mark the desired 10-foot height on a guide pole before setting the sleeve in wet concrete. |
| Over-Tightening Hardware | Stripped bolts, cracked acrylic backboards, or damaged frame components. | Use a torque wrench if specified. Hand-tighten bolts snugly, then add a quarter turn. |
| Ignoring Drainage | Water pooling around the base, leading to foundation erosion or ice hazards. | Slope the surrounding ground away from the footing. Consider a gravel base for drainage. |
Avoiding these mistakes ensures your investment lasts and provides safe, enjoyable play for years to come.
Frequently Asked Questions
How much does it cost to install a permanent basketball hoop?
The total cost varies widely based on the hoop system and installation method. A high-quality in-ground hoop system alone typically costs between $400 and $2,500. Professional installation, including excavation, concrete work, and assembly, can add $500 to $1,500 to the project.
A full DIY installation saves labor costs but requires renting equipment like an auger.
Can I move an in-ground basketball hoop after it’s installed?
Yes, but it is a major undertaking. The most flexible systems use a ground sleeve, which allows you to unbolt the pole, remove it, and potentially sell the system. However, the concrete footing and anchor sleeve will remain permanently in the ground.
Moving the entire foundation requires demolition and a new installation.
What is the best surface for a basketball court at home?
A properly paved asphalt or concrete surface is ideal. Concrete offers the best durability and ball bounce consistency, though it can be harder on joints. Asphalt is slightly more forgiving and less expensive but requires sealing every few years.
Ensure the surface is perfectly level and has a slight slope for water drainage.
Do I need a permit to install a basketball hoop?
Requirements vary by city and county. Many municipalities require a permit for structures attached to the ground, especially if new concrete is poured. Check with your local building or zoning department before starting any excavation.
Ignoring permit rules can result in fines or orders to remove the structure.
How long does the concrete need to cure before I can use the hoop?
Concrete typically reaches 70% of its design strength in about 7 days, which is the minimum safe wait time. Full curing takes about 28 days. Attaching the pole and playing before the concrete has adequately cured can stress the anchor, causing it to loosen or fail over time.
Final Thoughts
While the idea of transforming your portable basketball hoop into an in-ground system is appealing, the technical and structural differences make it an impractical and unsafe project. The design mismatch is simply too great. Your best course of action is to either maximize your portable hoop’s stability with simple reinforcements or invest in a dedicated in-ground hoop system for a true permanent upgrade.
By understanding the clear distinctions between the two types and following proper installation guidelines for new systems, you can create a safe, durable, and enjoyable home court that will stand the test of time. Choose the option that best fits your commitment, budget, and long-term plans.

As the founder of RayaVila, Raya Quinn is passionate about helping consumers cut through the noise of online shopping. Through thorough research and unbiased recommendations, she creates content that makes buying decisions easier and more informed.